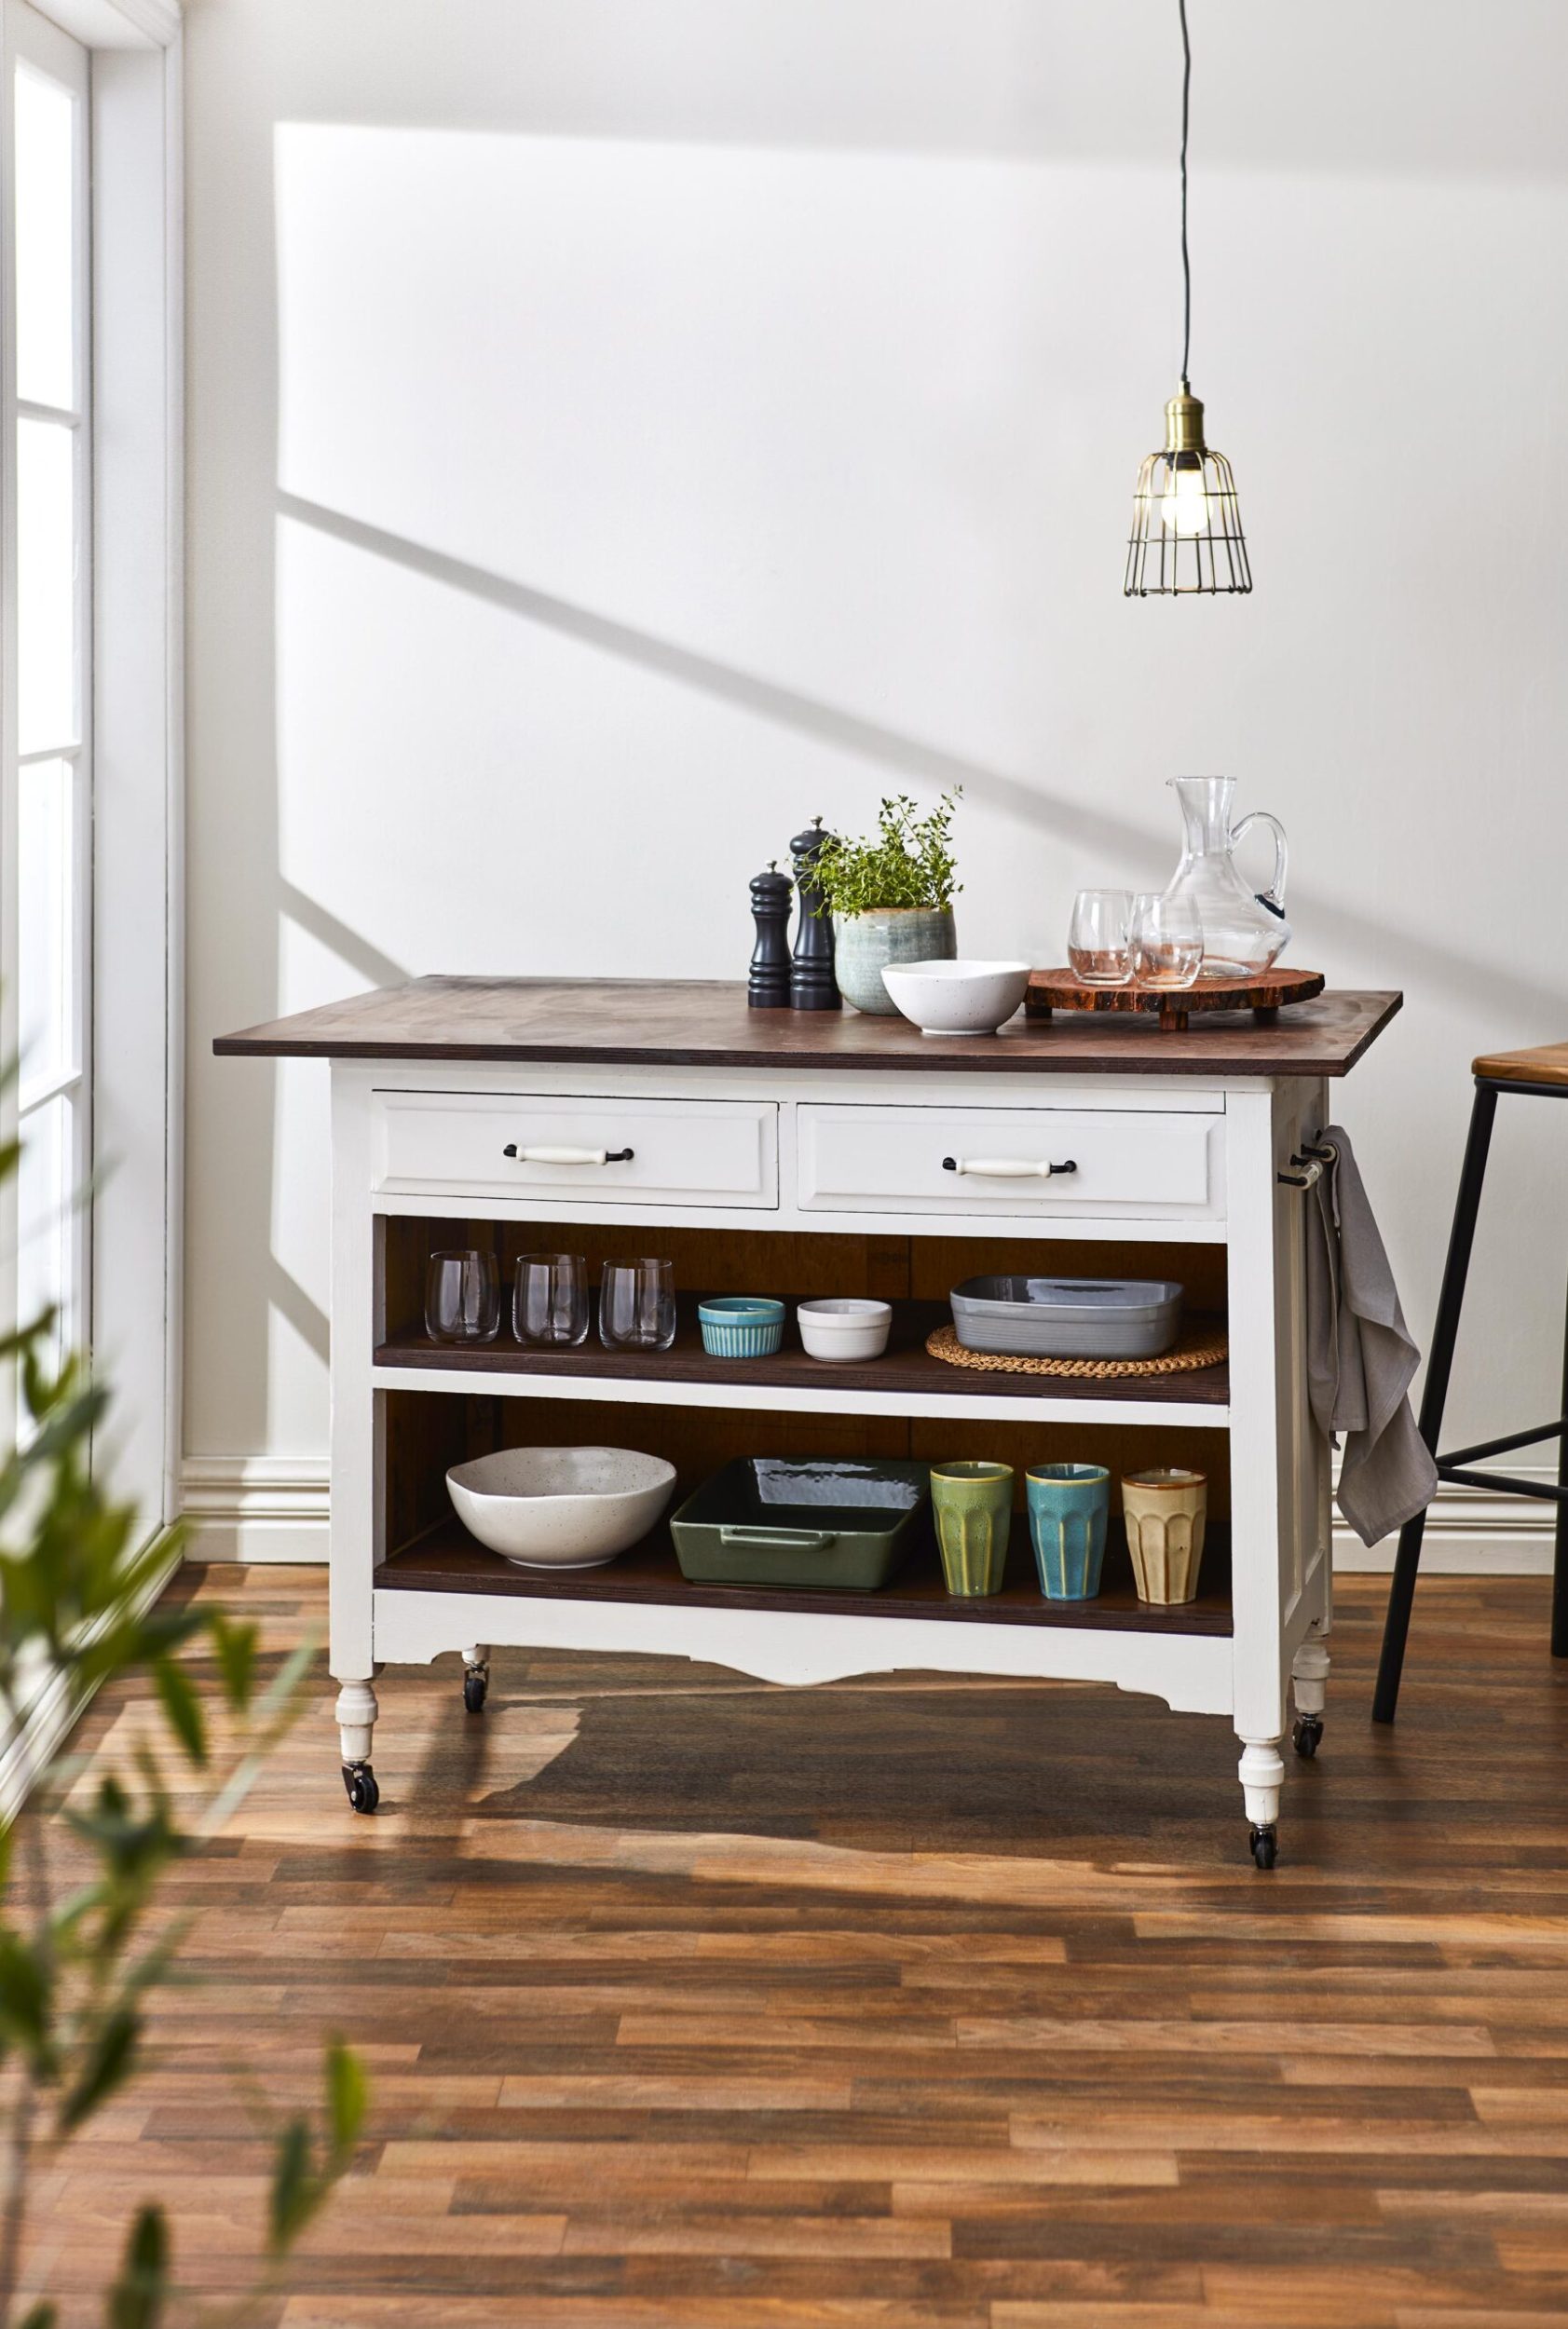
You don’t need to fork out thousands to create more storage in your kitchen. Follow these steps to upcycle a tired chest of drawers into a chic kitchen island.
What you need
- Vintage chest of drawers
- Plywood for top and shelves (we recommend at least 18mm thick)
- Screwdriver and/or spanner
- Measuring tape
- Saw and drill
- Resene EzyFill Quick
- Sander and sandpaper
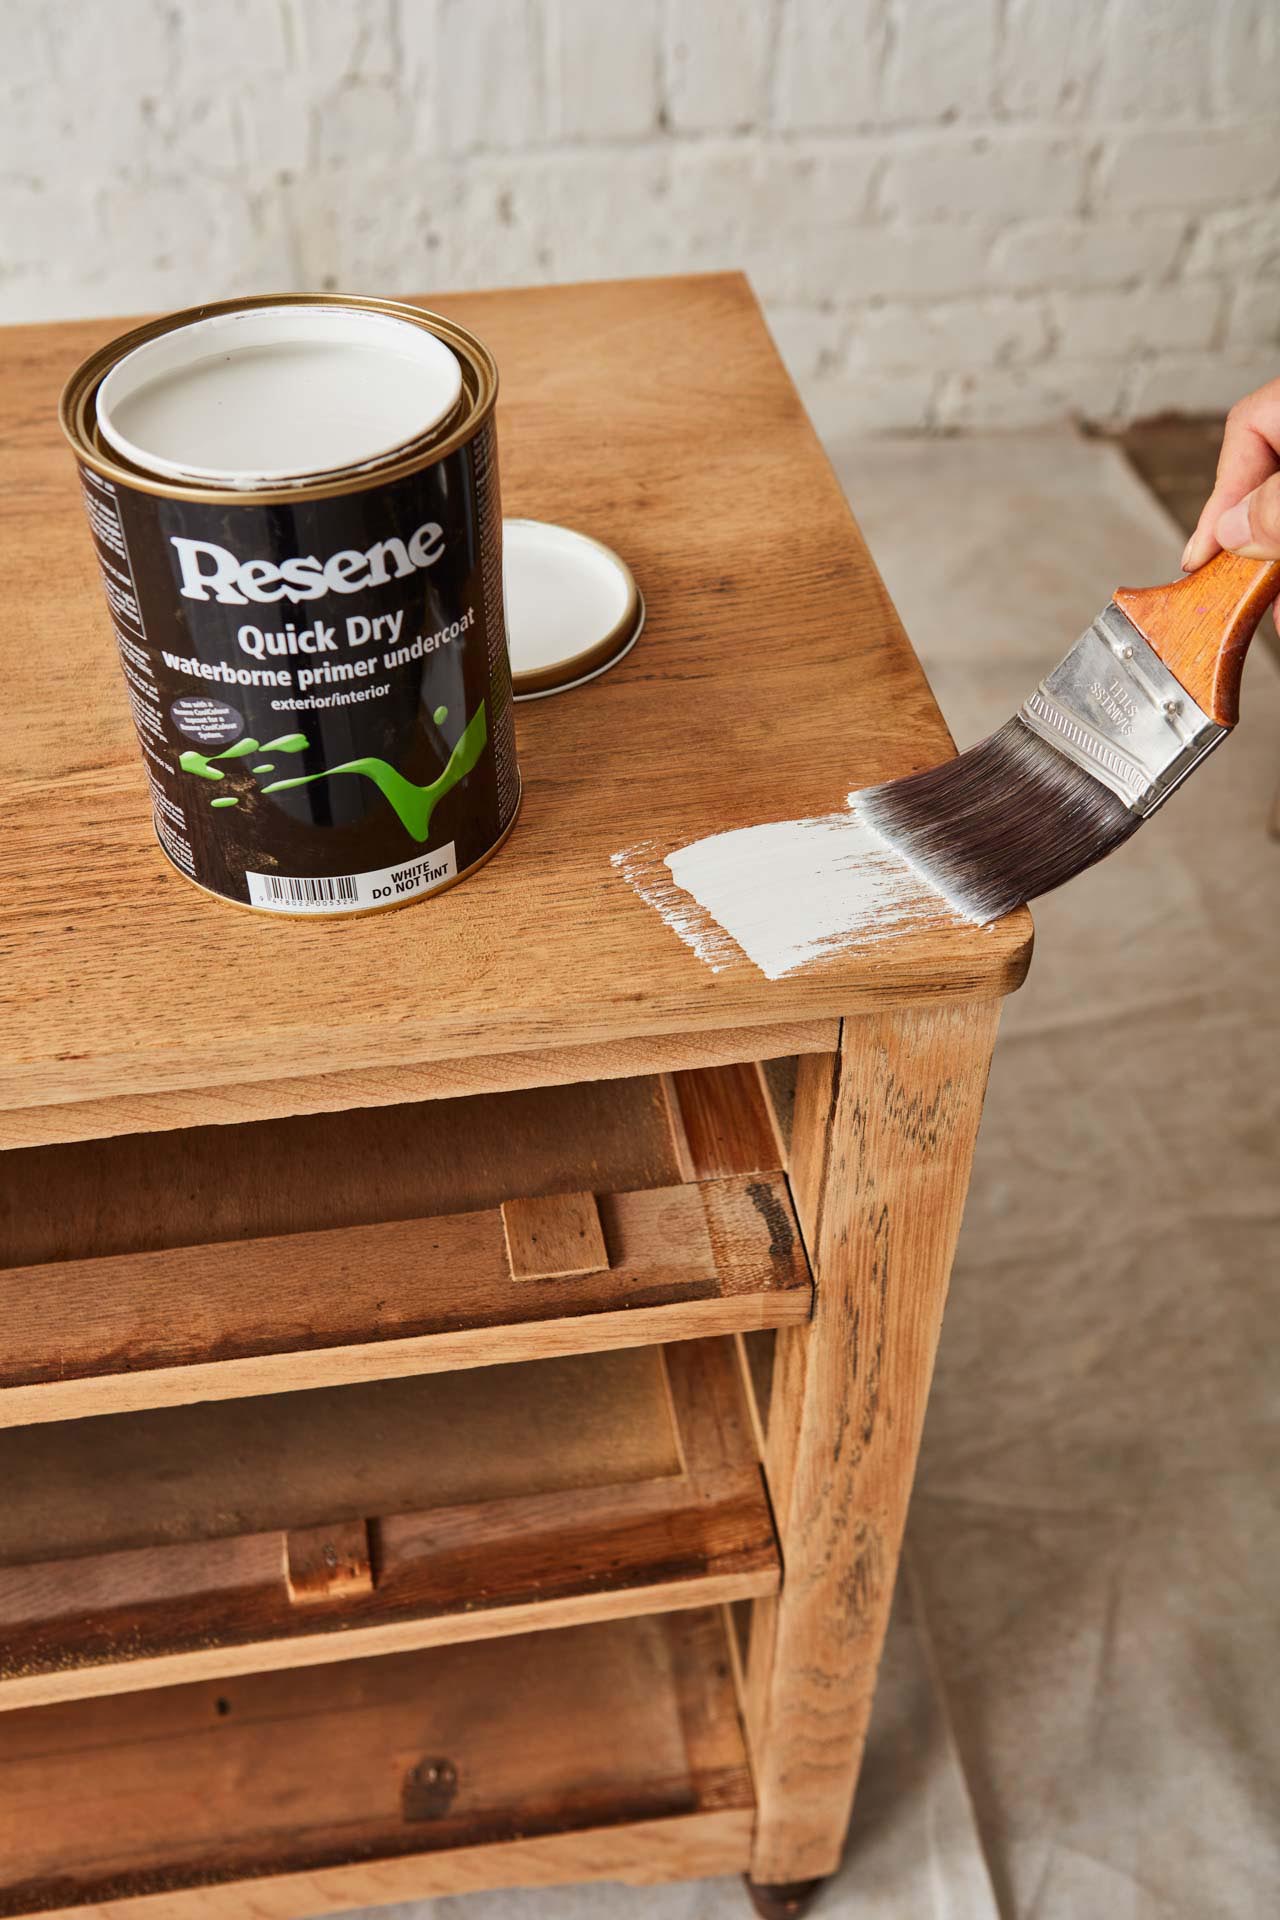
- Resene Quick Dry waterborne primer undercoat
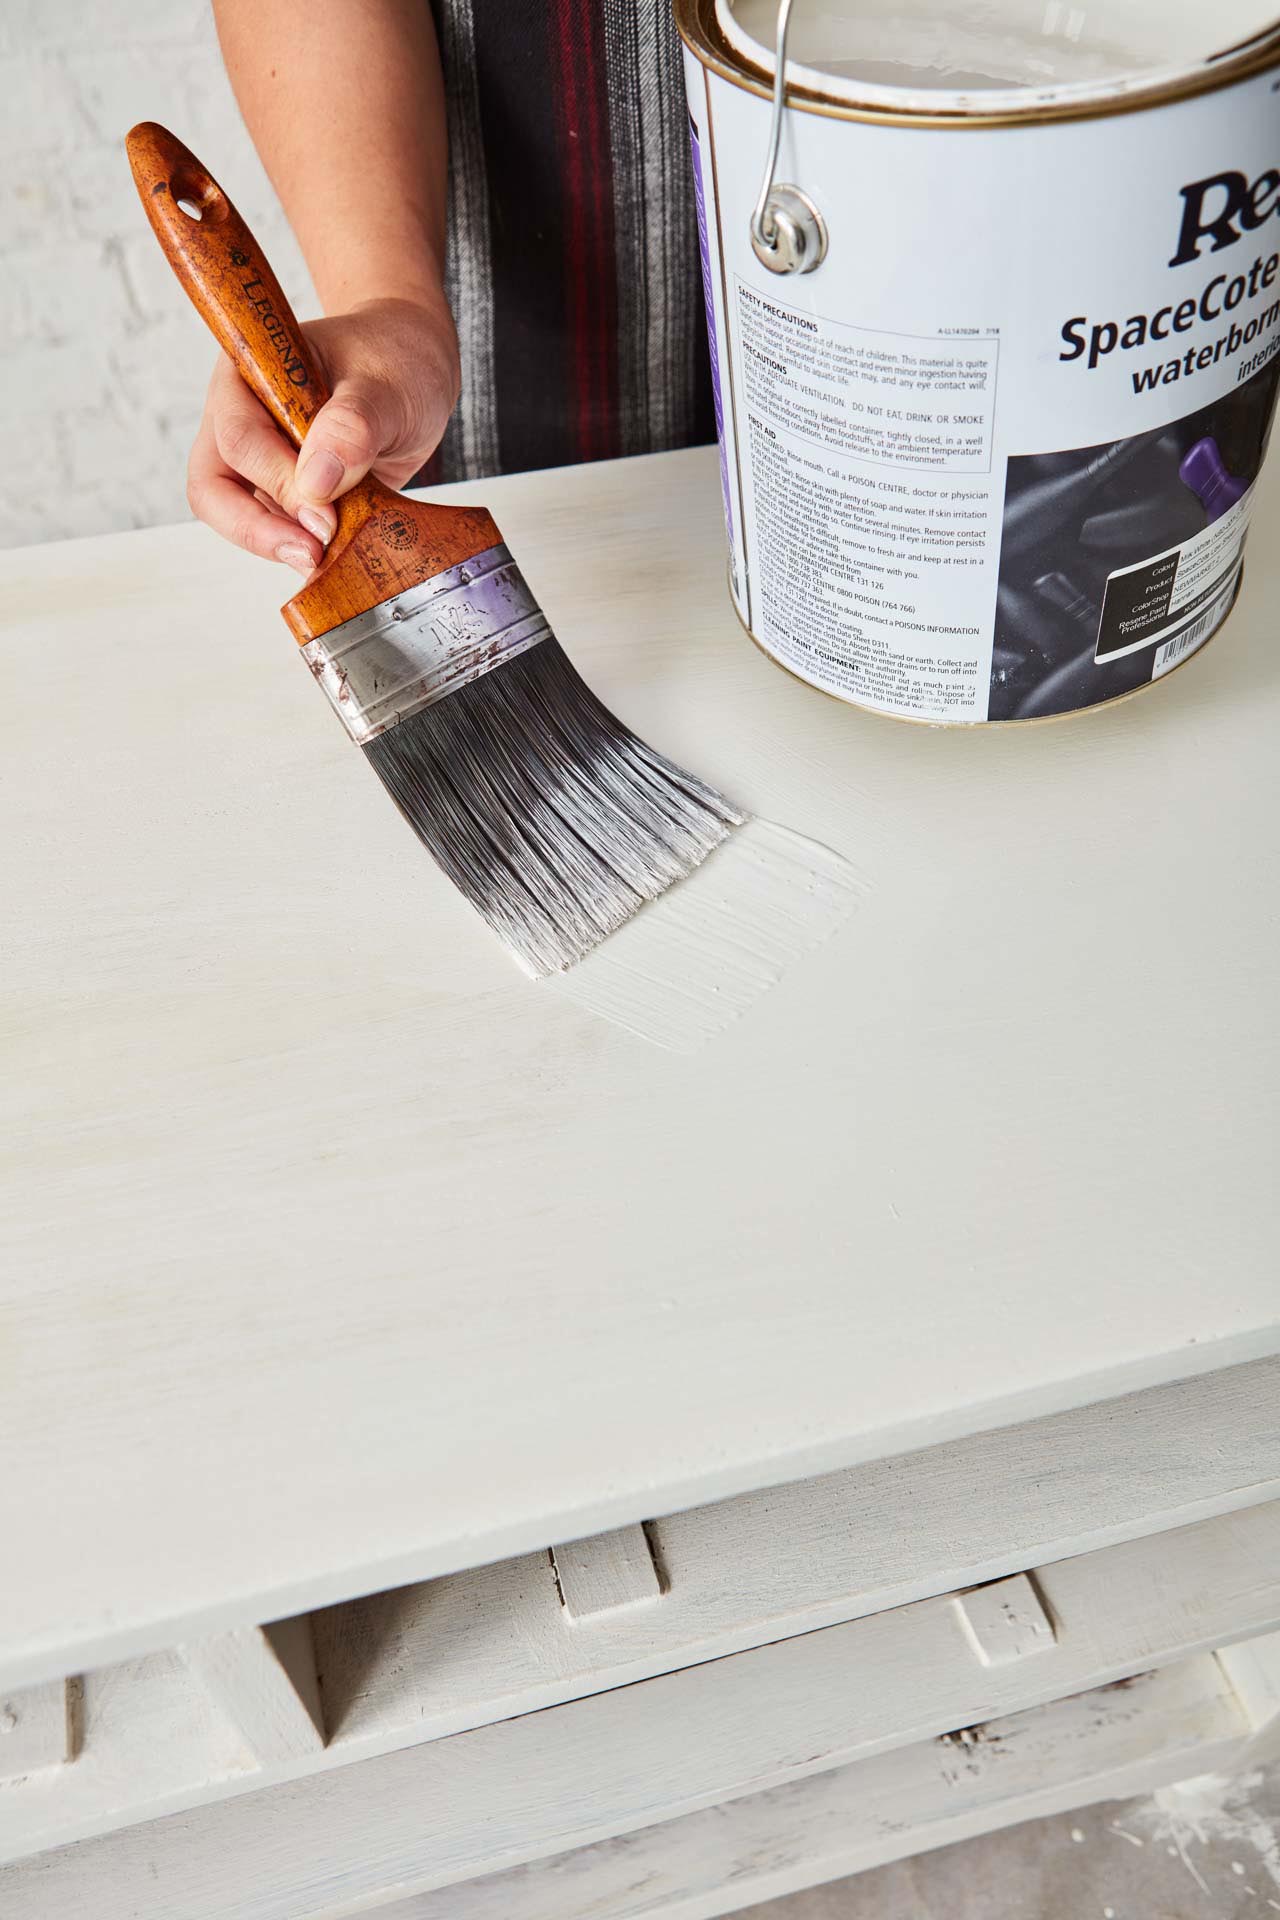
- Resene SpaceCote Low Sheen waterborne enamel in Resene Milk White from the Karen Walker Paints collection
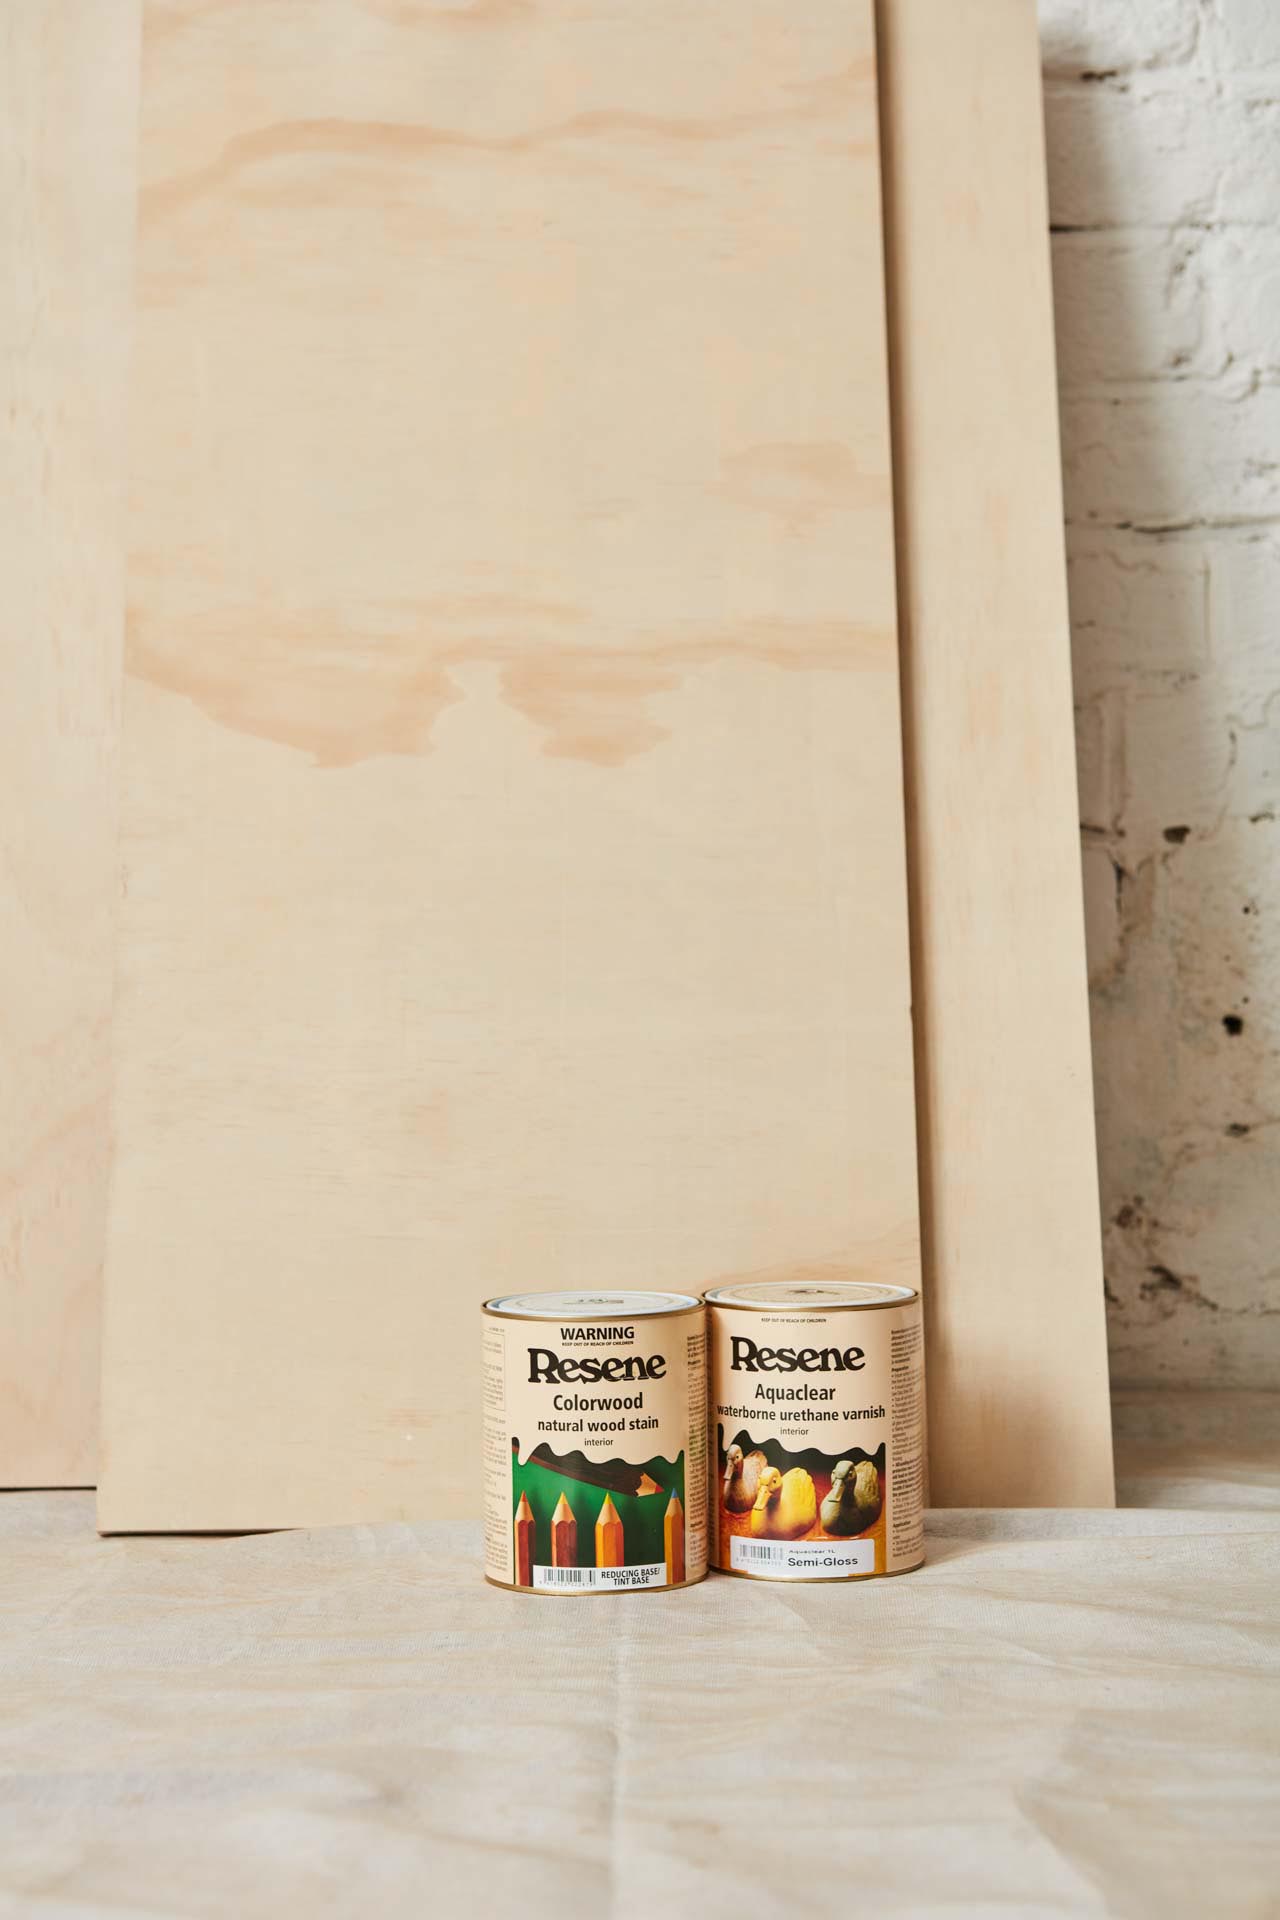
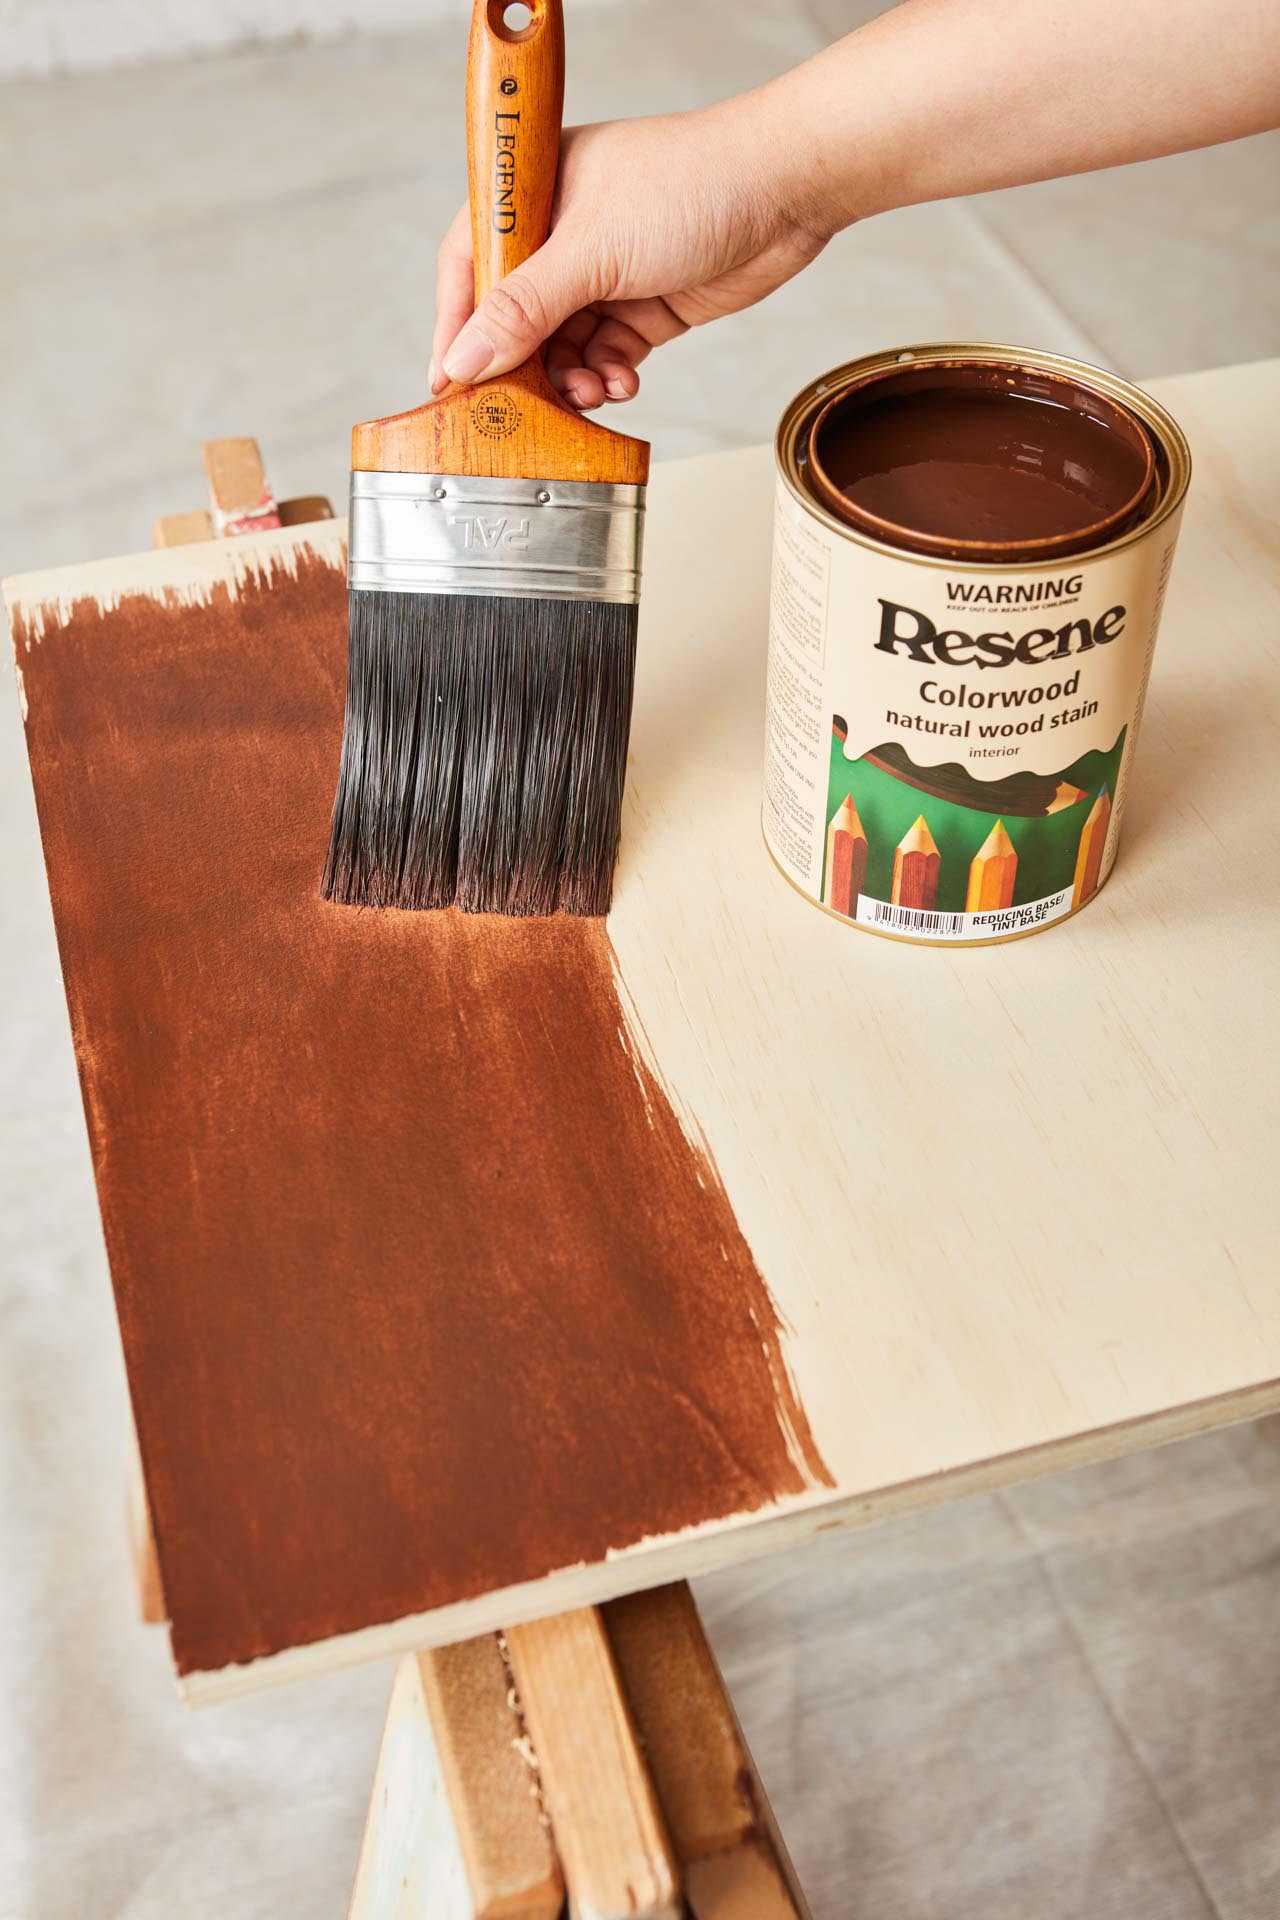
- Resene Colorwood wood stain in Resene Deep Oak
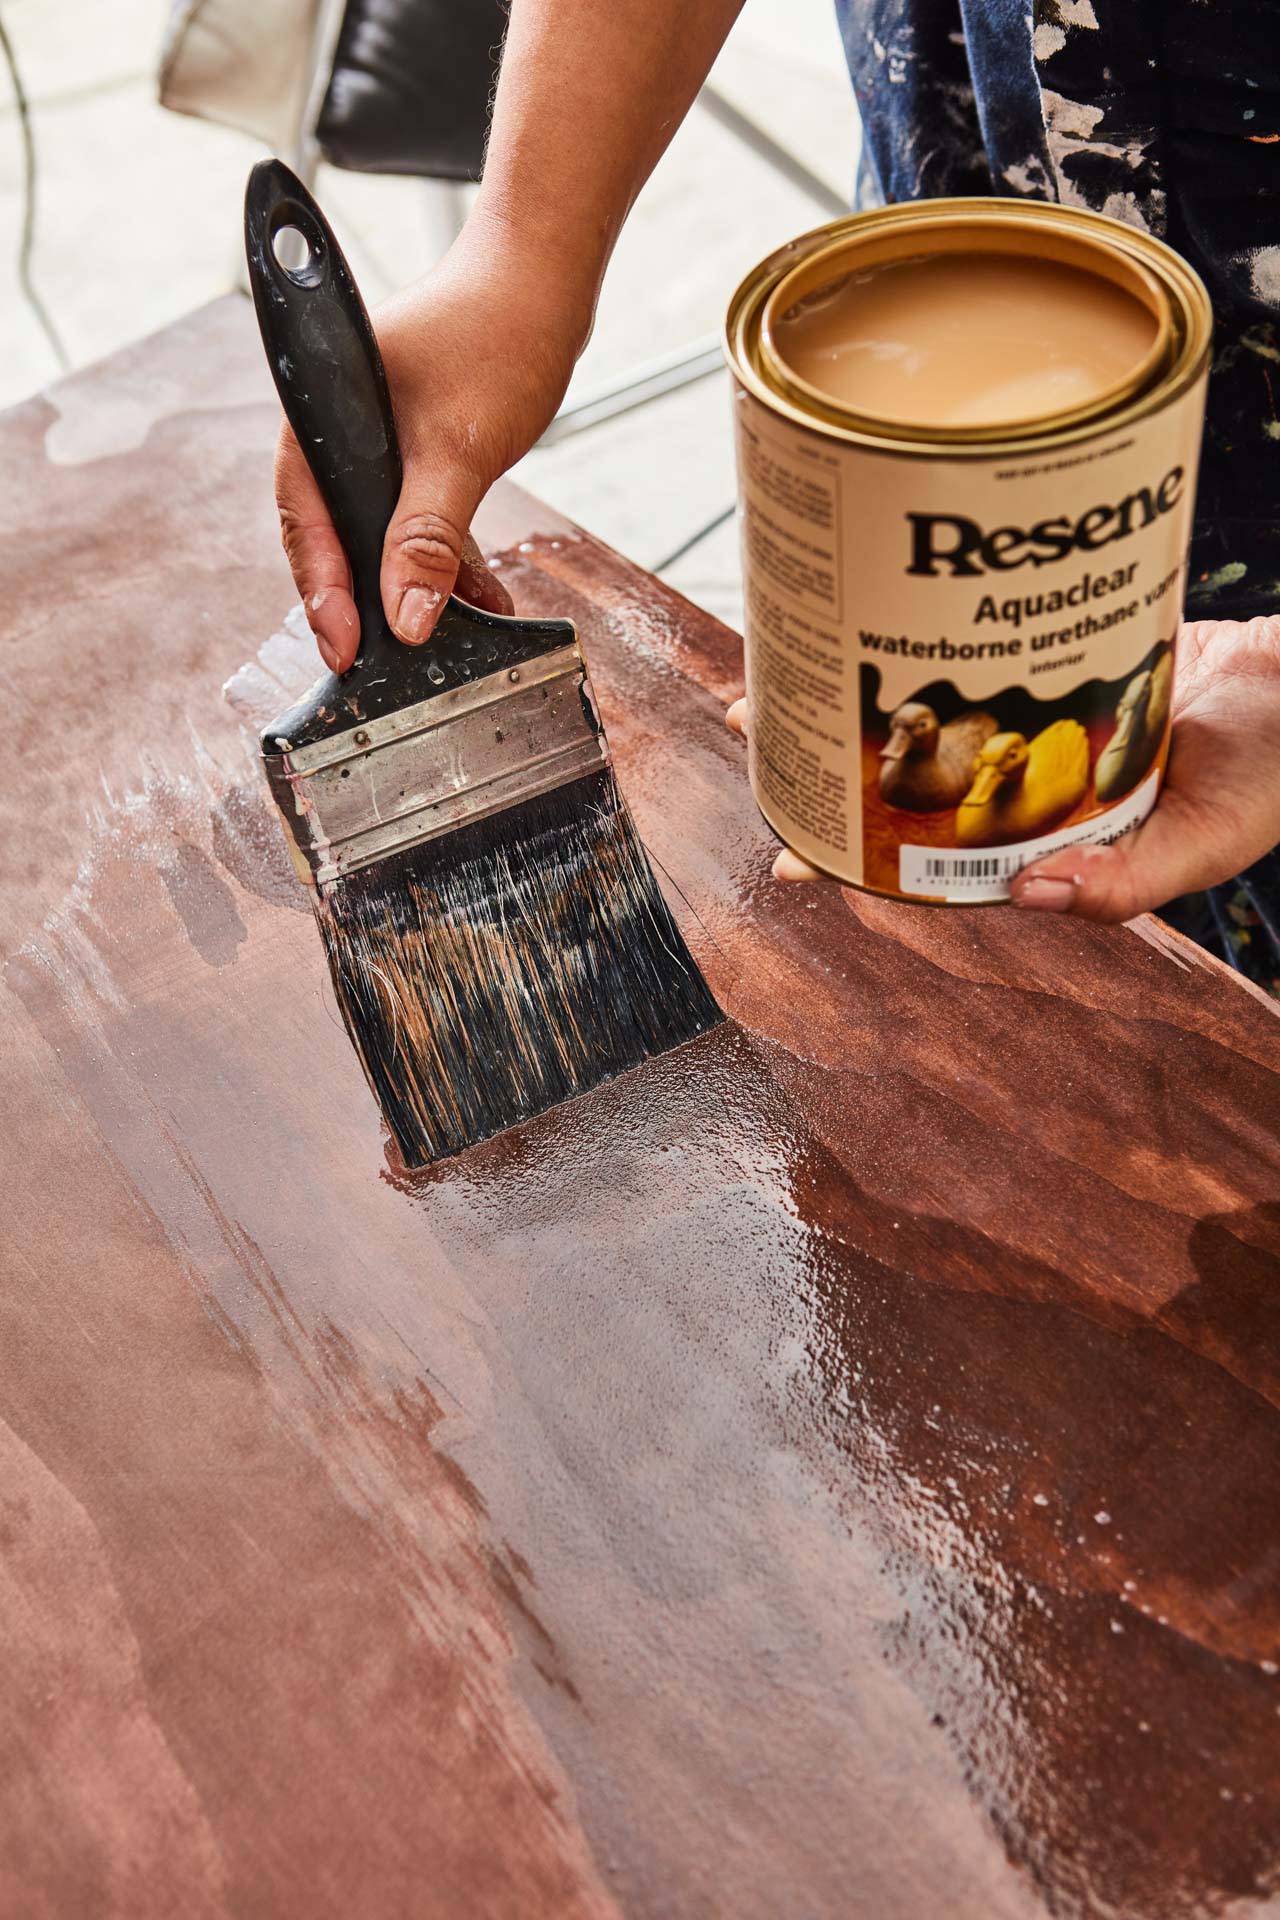
- Resene Aquaclear waterborne urethane varnish
- Liquid glue suitable for timber
- Handles and roller wheels
Resene tips
Can’t find the perfect wood colour for your DIY? Resene has a wide range of wood stain colours so you can change up the colour scheme. Always do a test patch before applying and go light on the first coat – you can always build up the colour later.
Resene waterborne enamels are recommended for furniture DIY. They are low odour, dry fast and are easy to keep clean.
Method
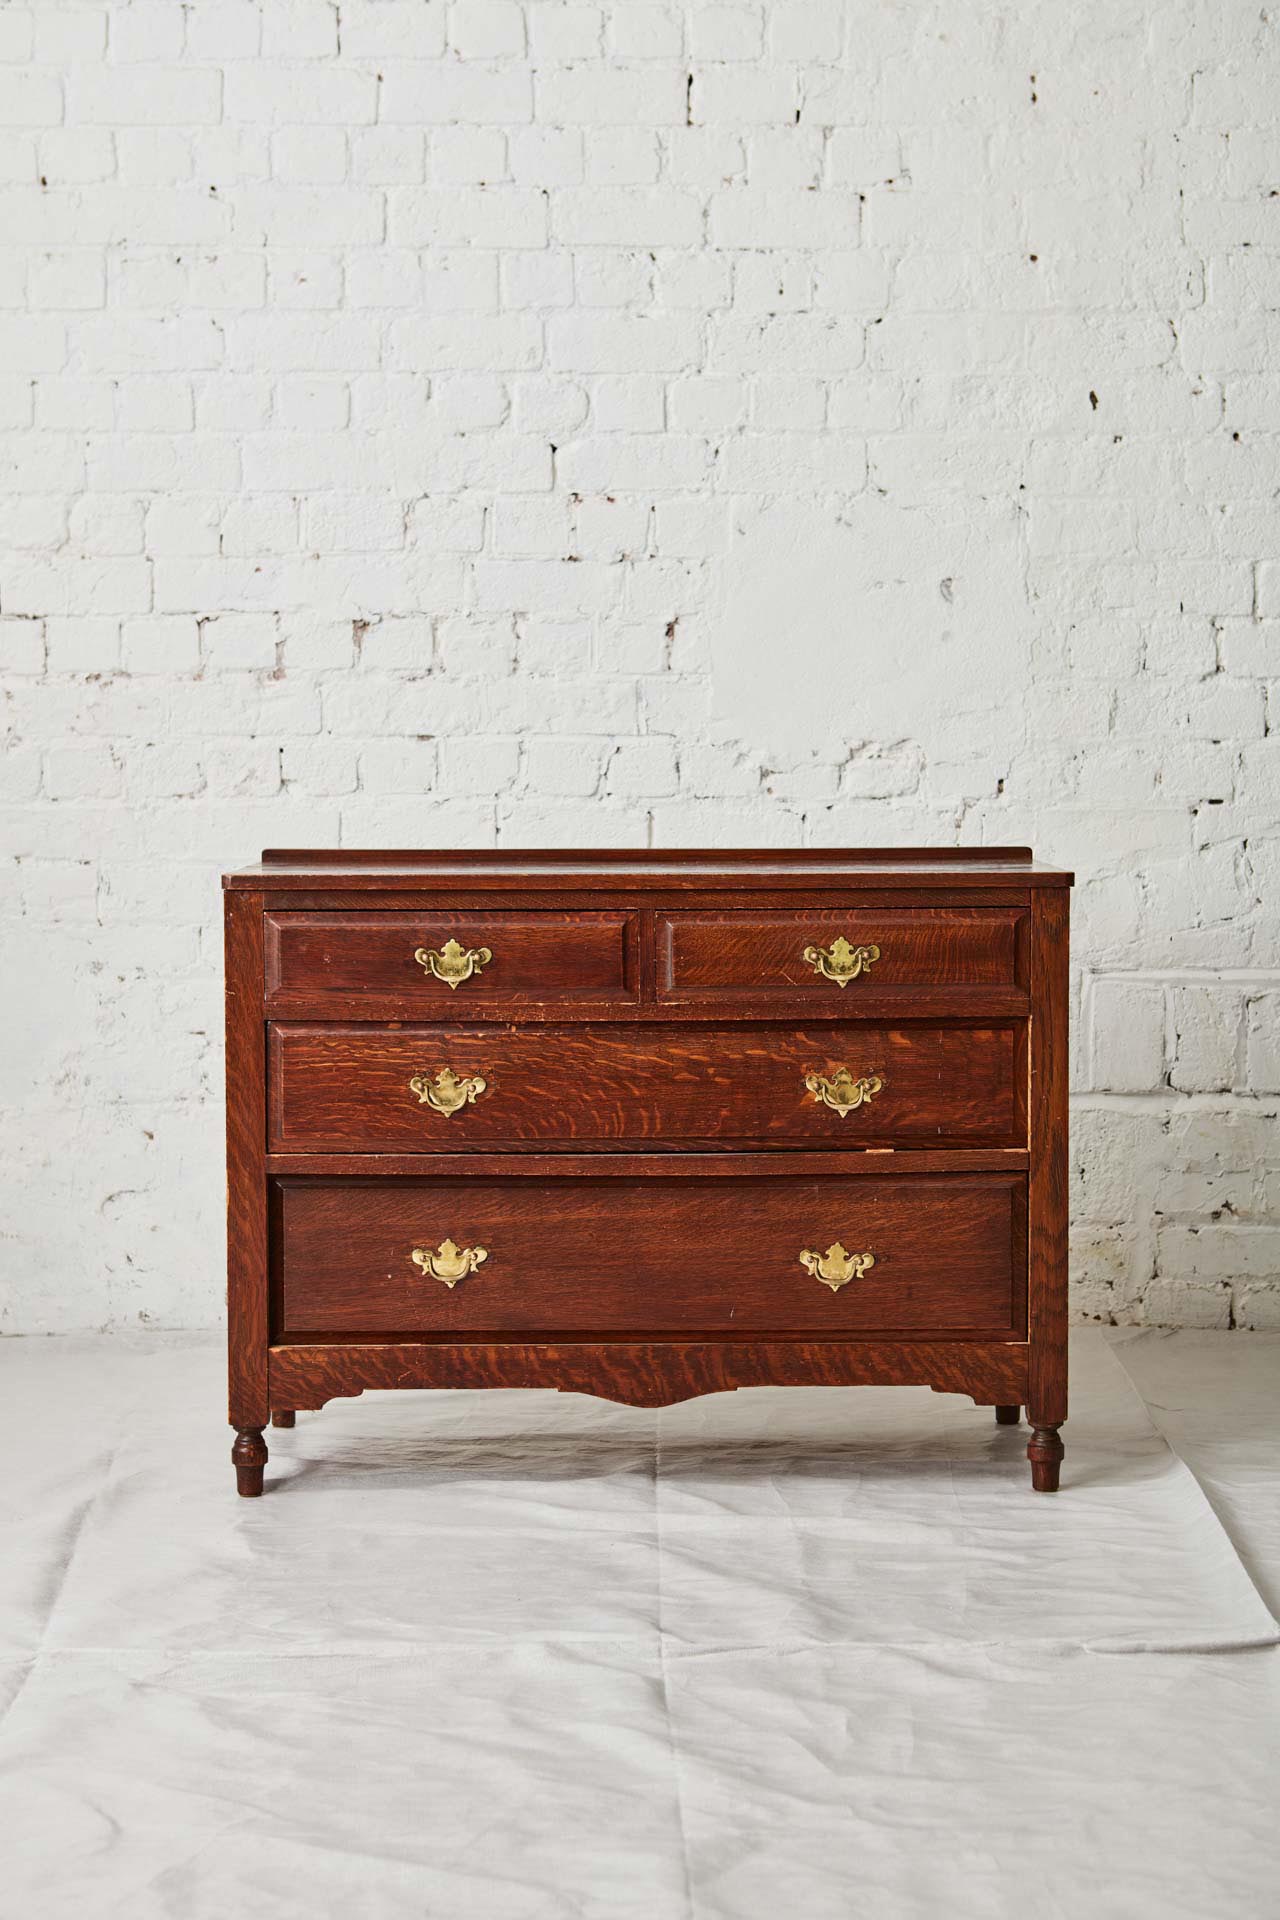
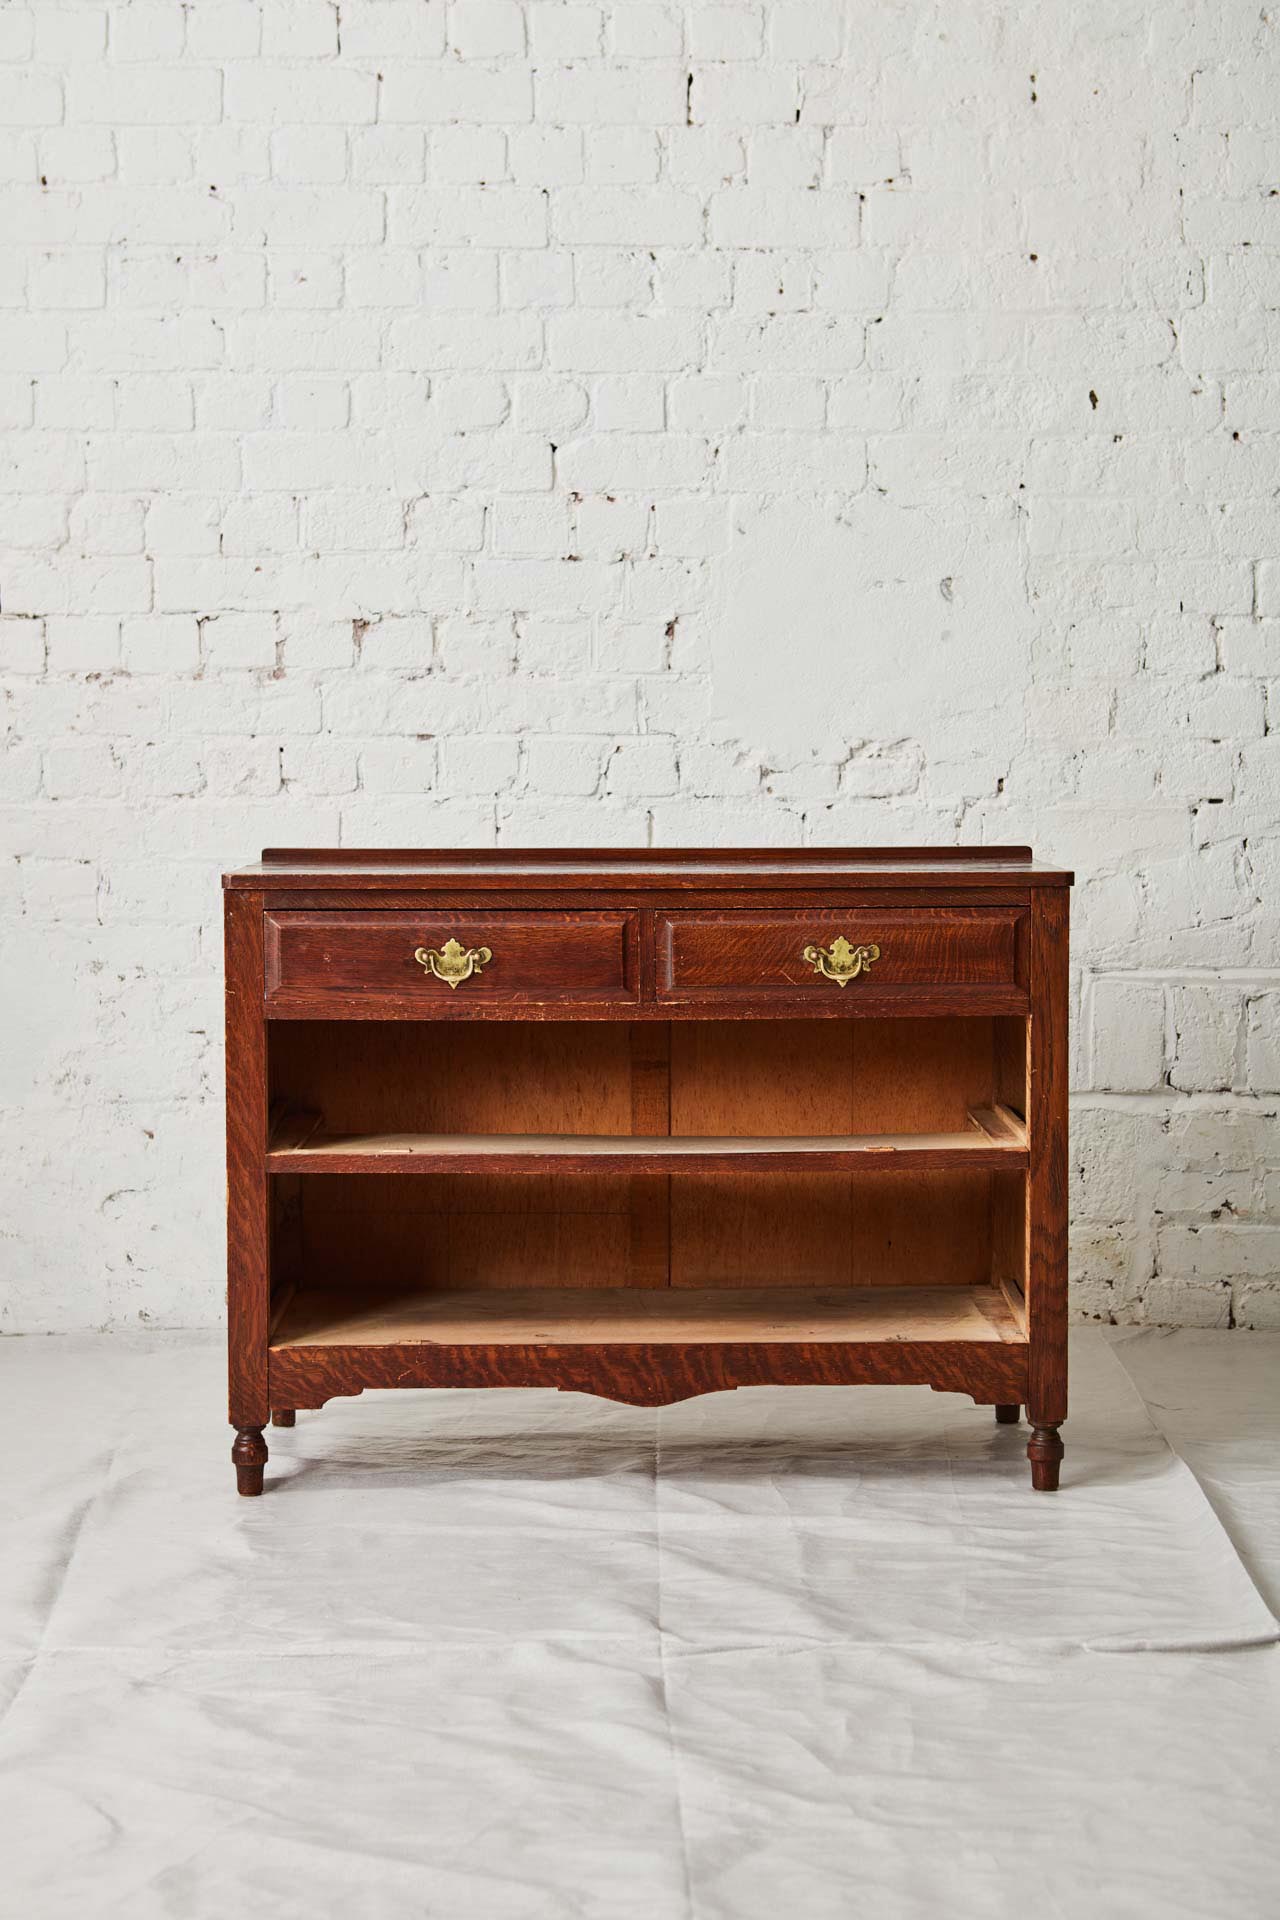
1. Have a good look at the chest of drawers to decide which section you will use for shelving. In the piece we refurbished, the bottom drawers were wonky, but the top drawers were fine. So we kept the top two for cutlery and removed the bottom two drawers. (A)
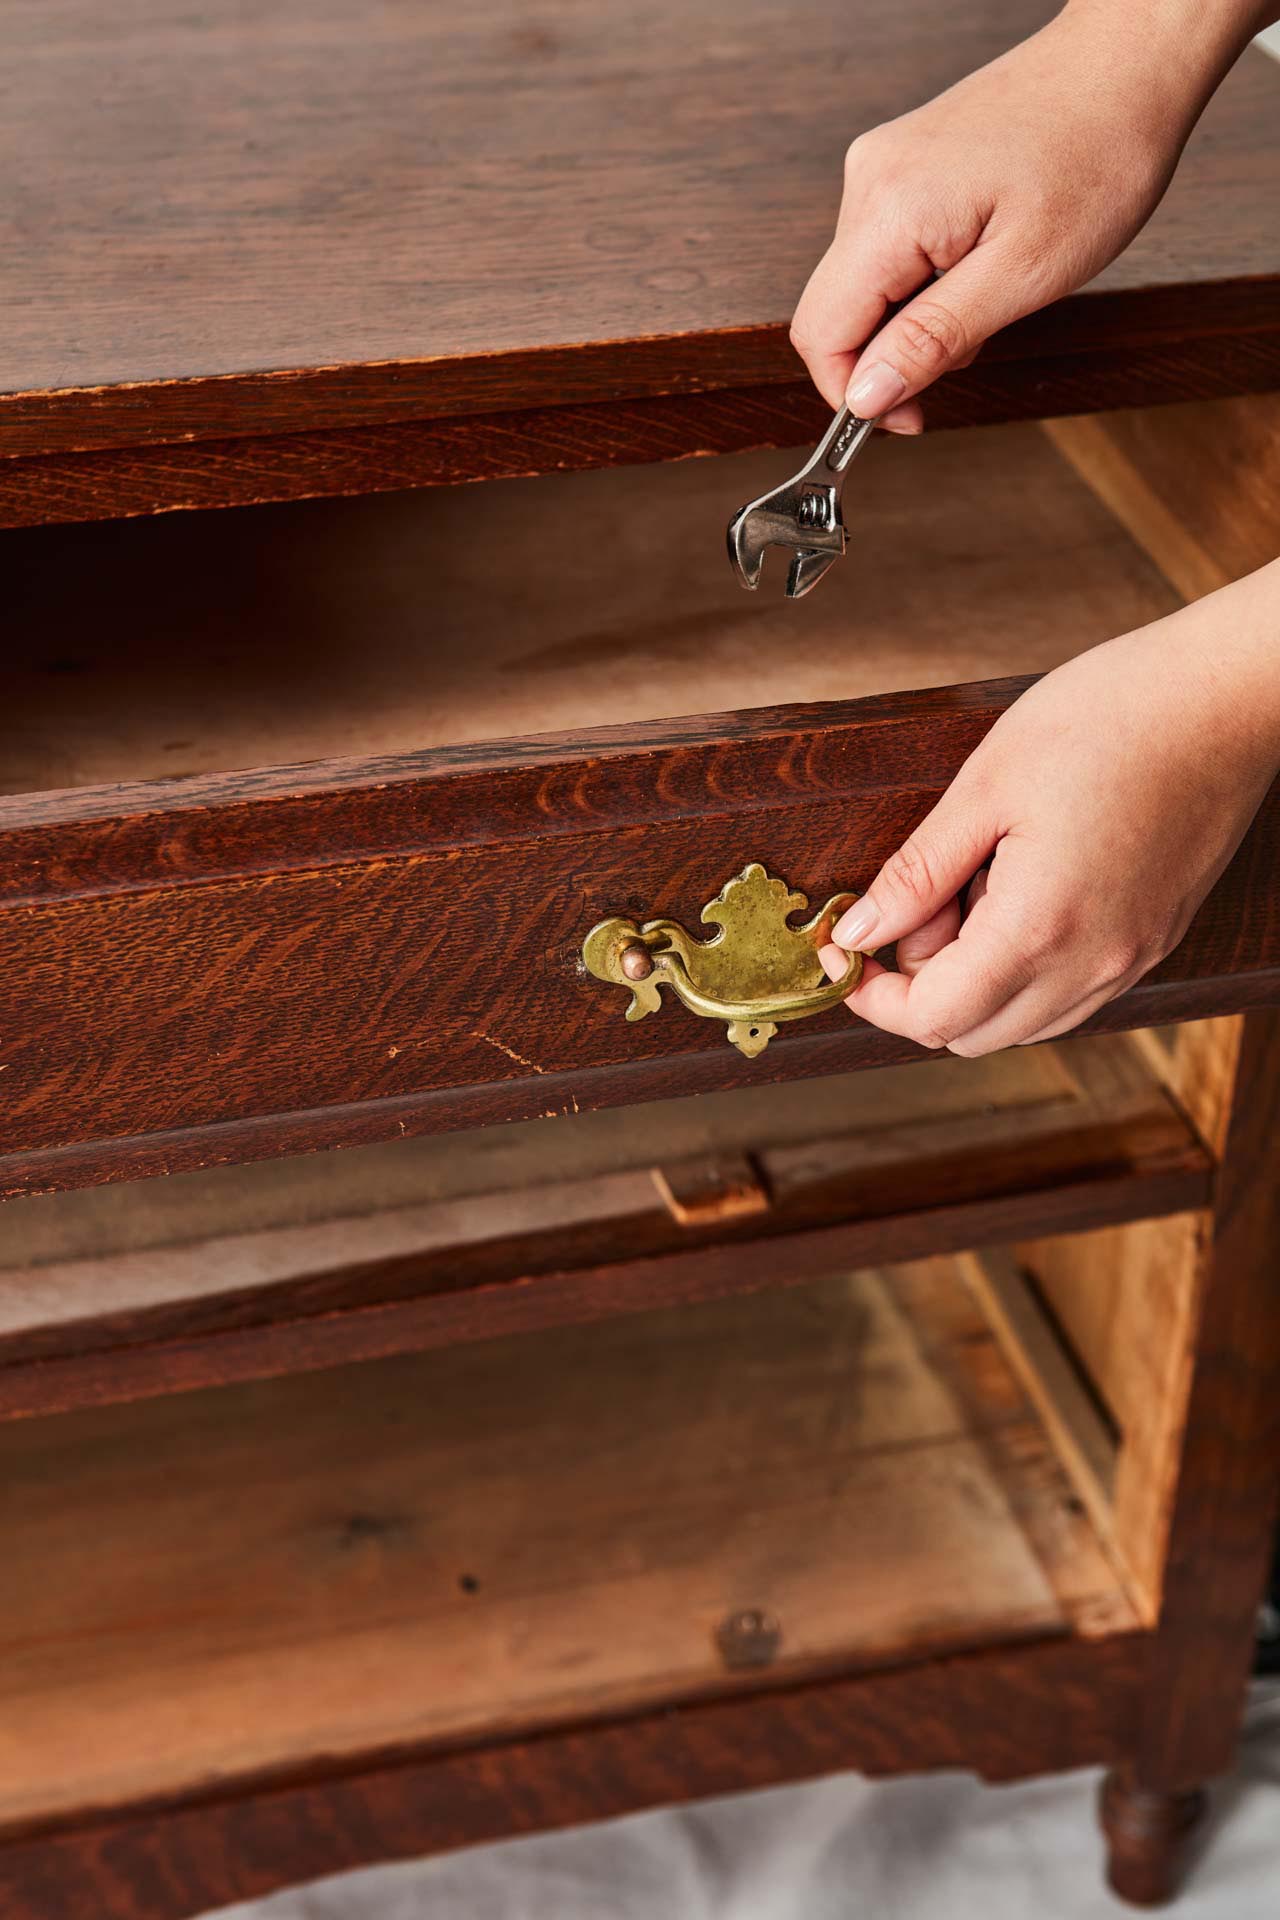
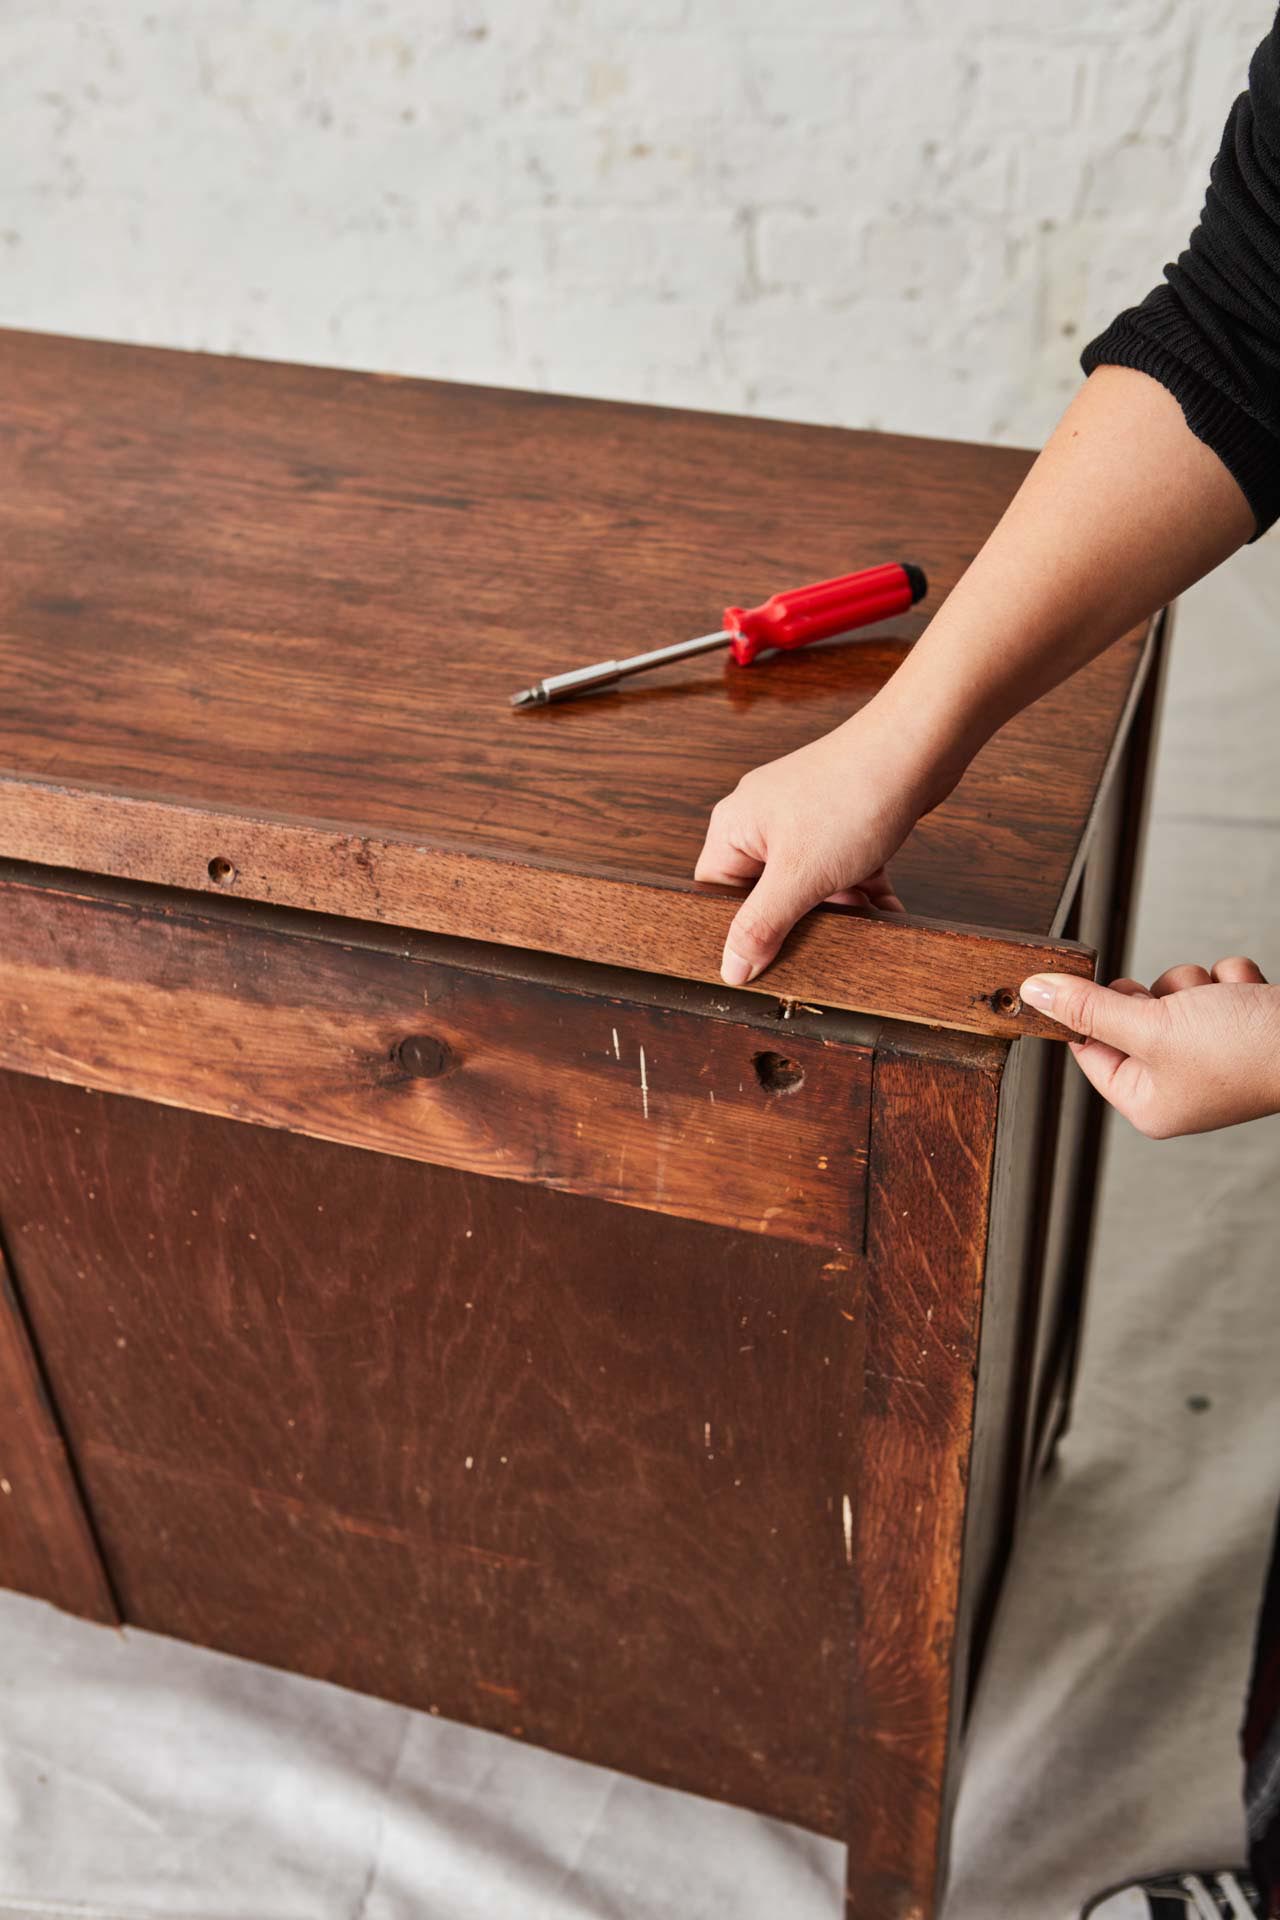
2. Carefully remove handles. (B)
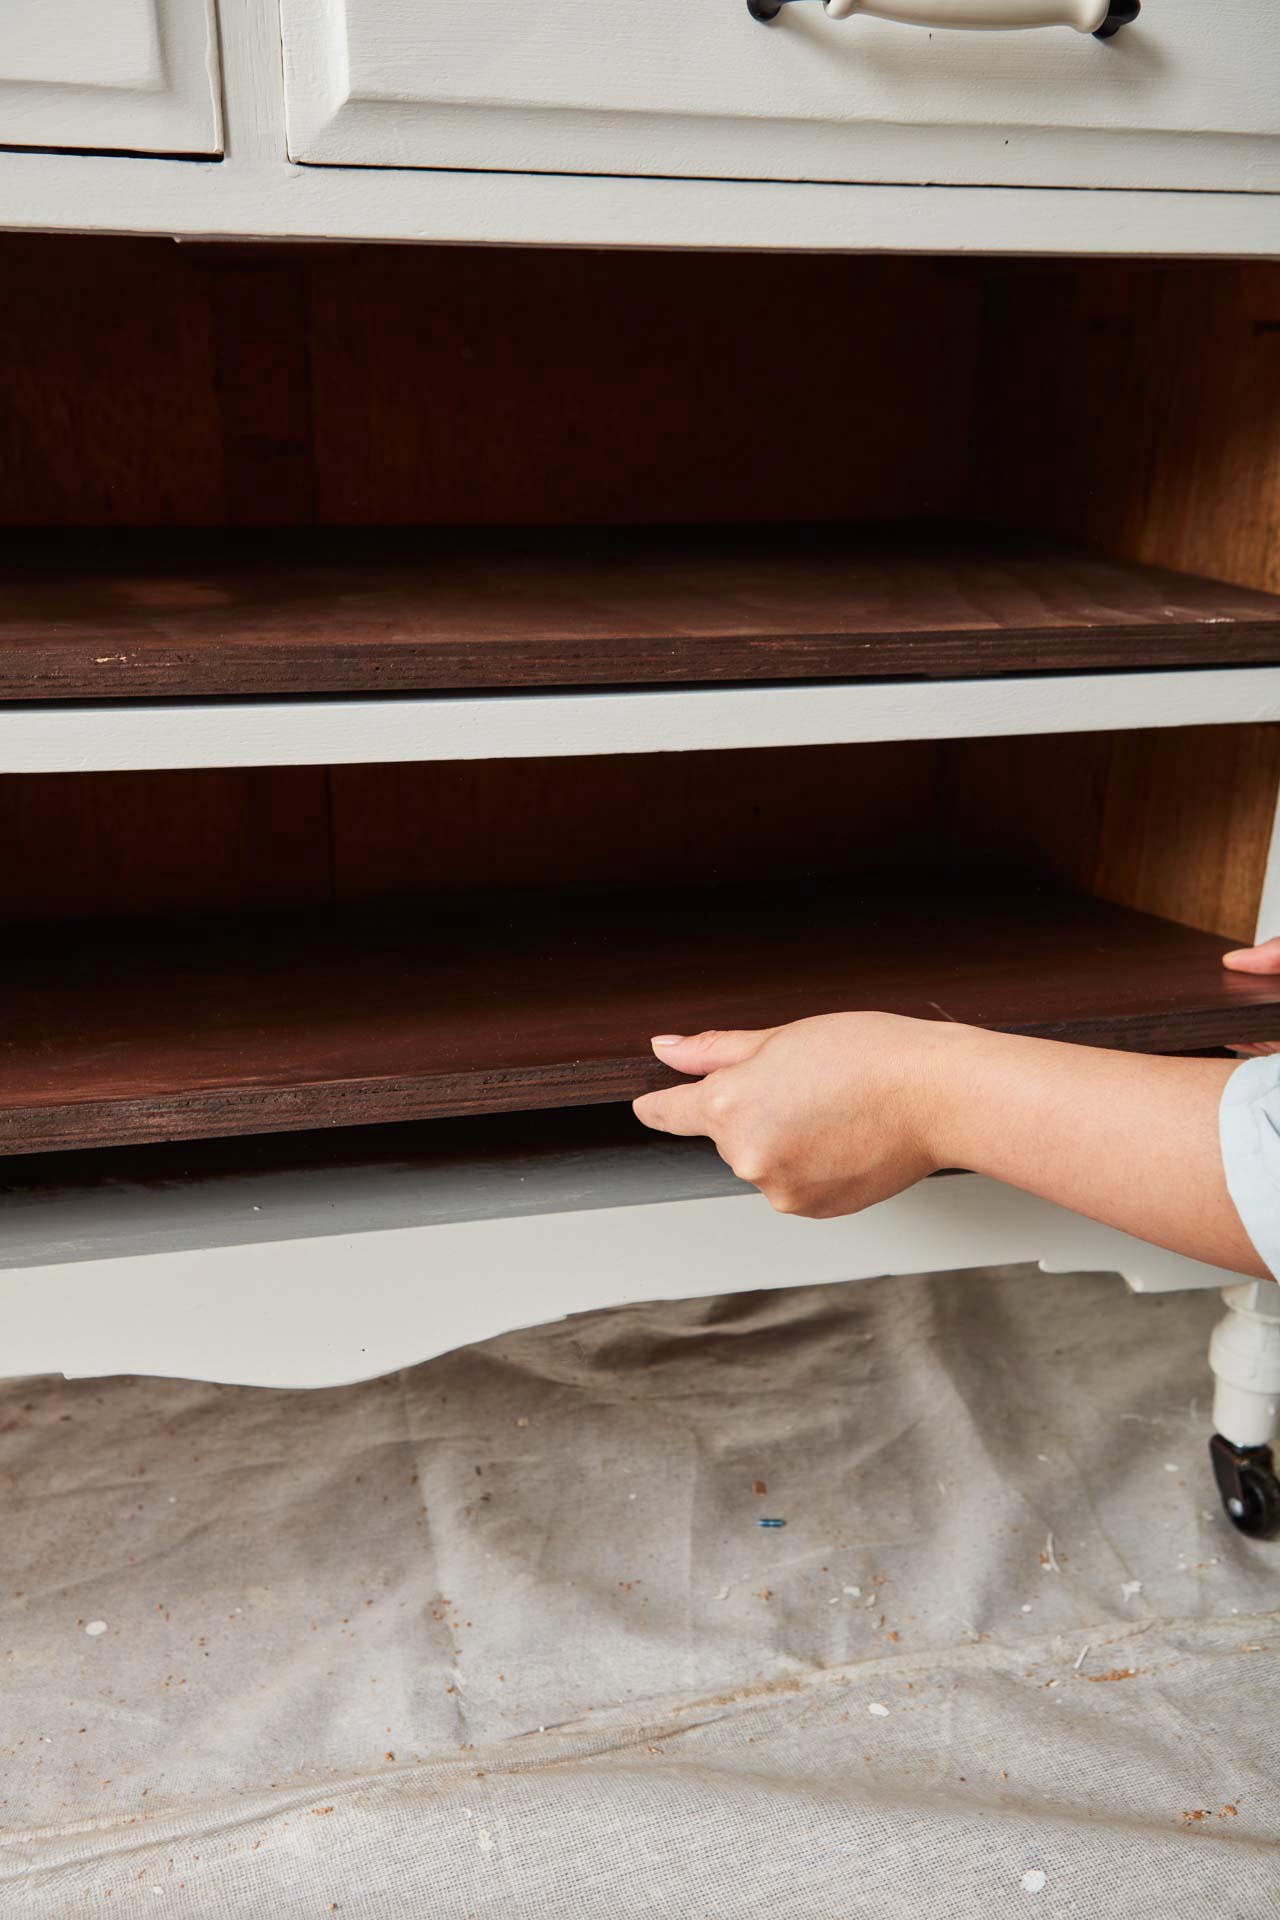
3. Measure the depth and width of the dresser and cut the plywood to size so it will sit on the drawer supports to create shelves. For the top, leave at least 50-100mm overhang on either side, giving you a larger working space. (C-D)
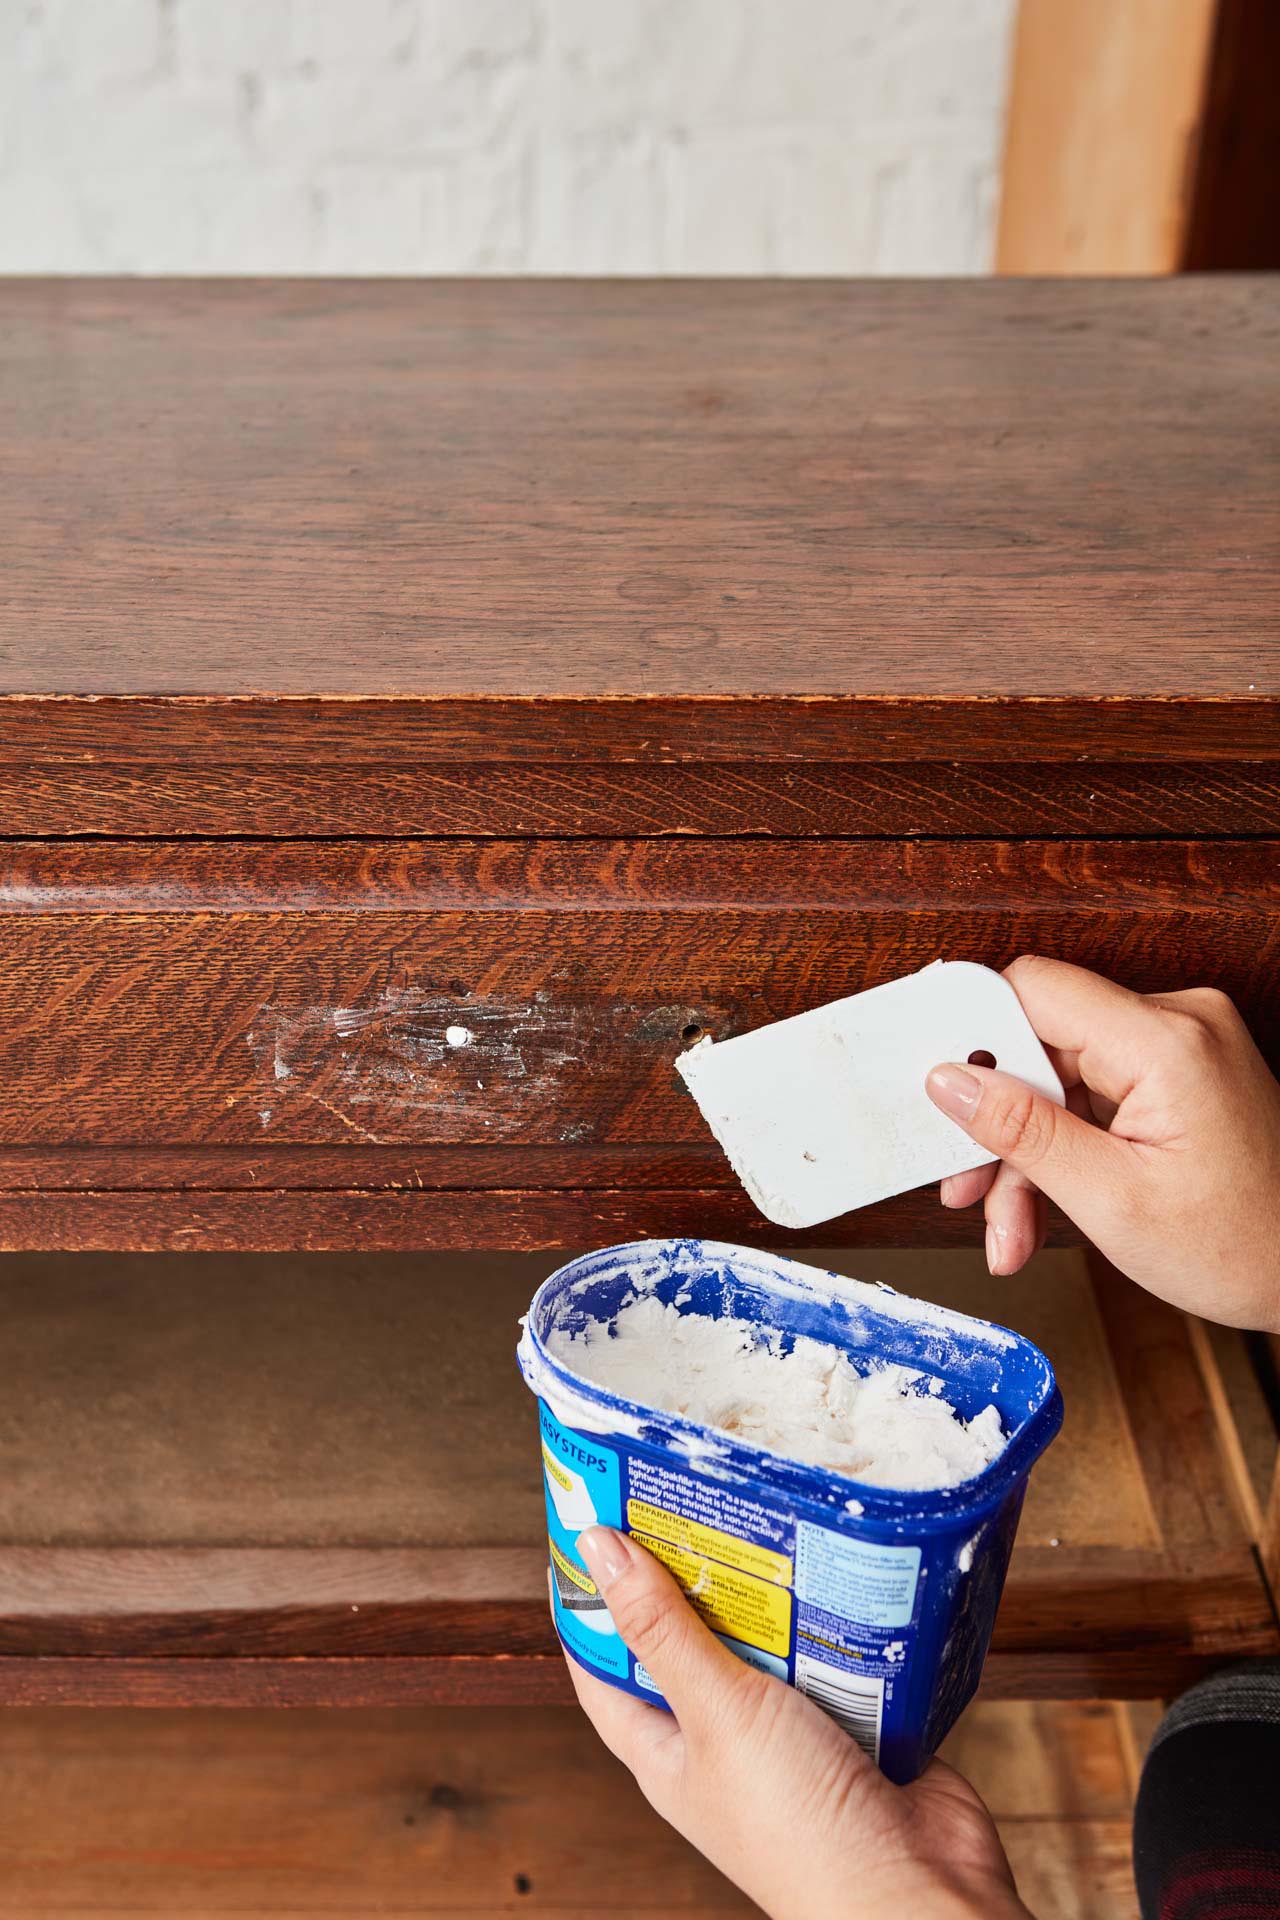
4. Our drawers had some unwanted backing we removed. Fill in any holes and gaps with Resene EzyFill Quick. (E)
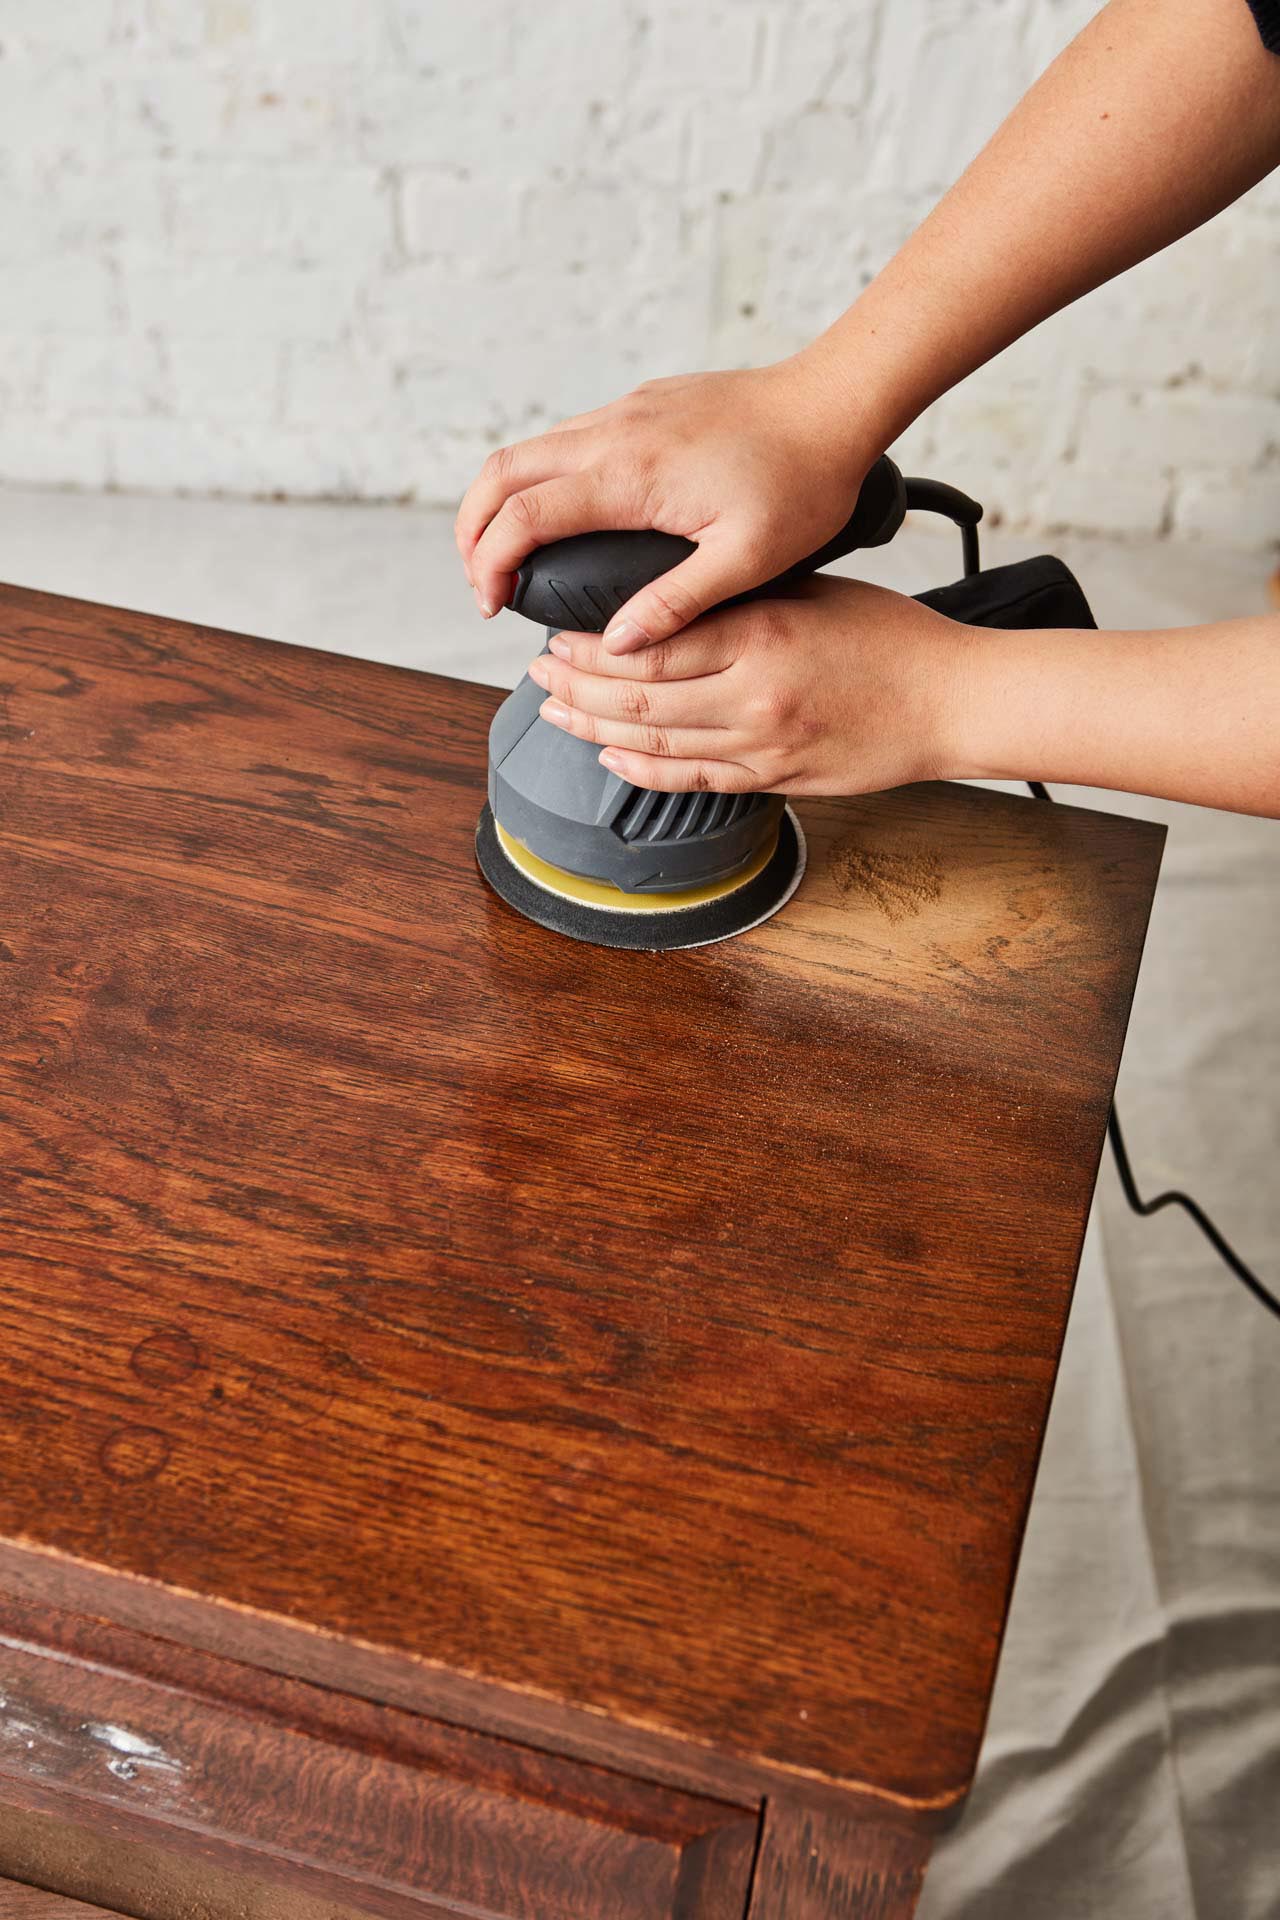
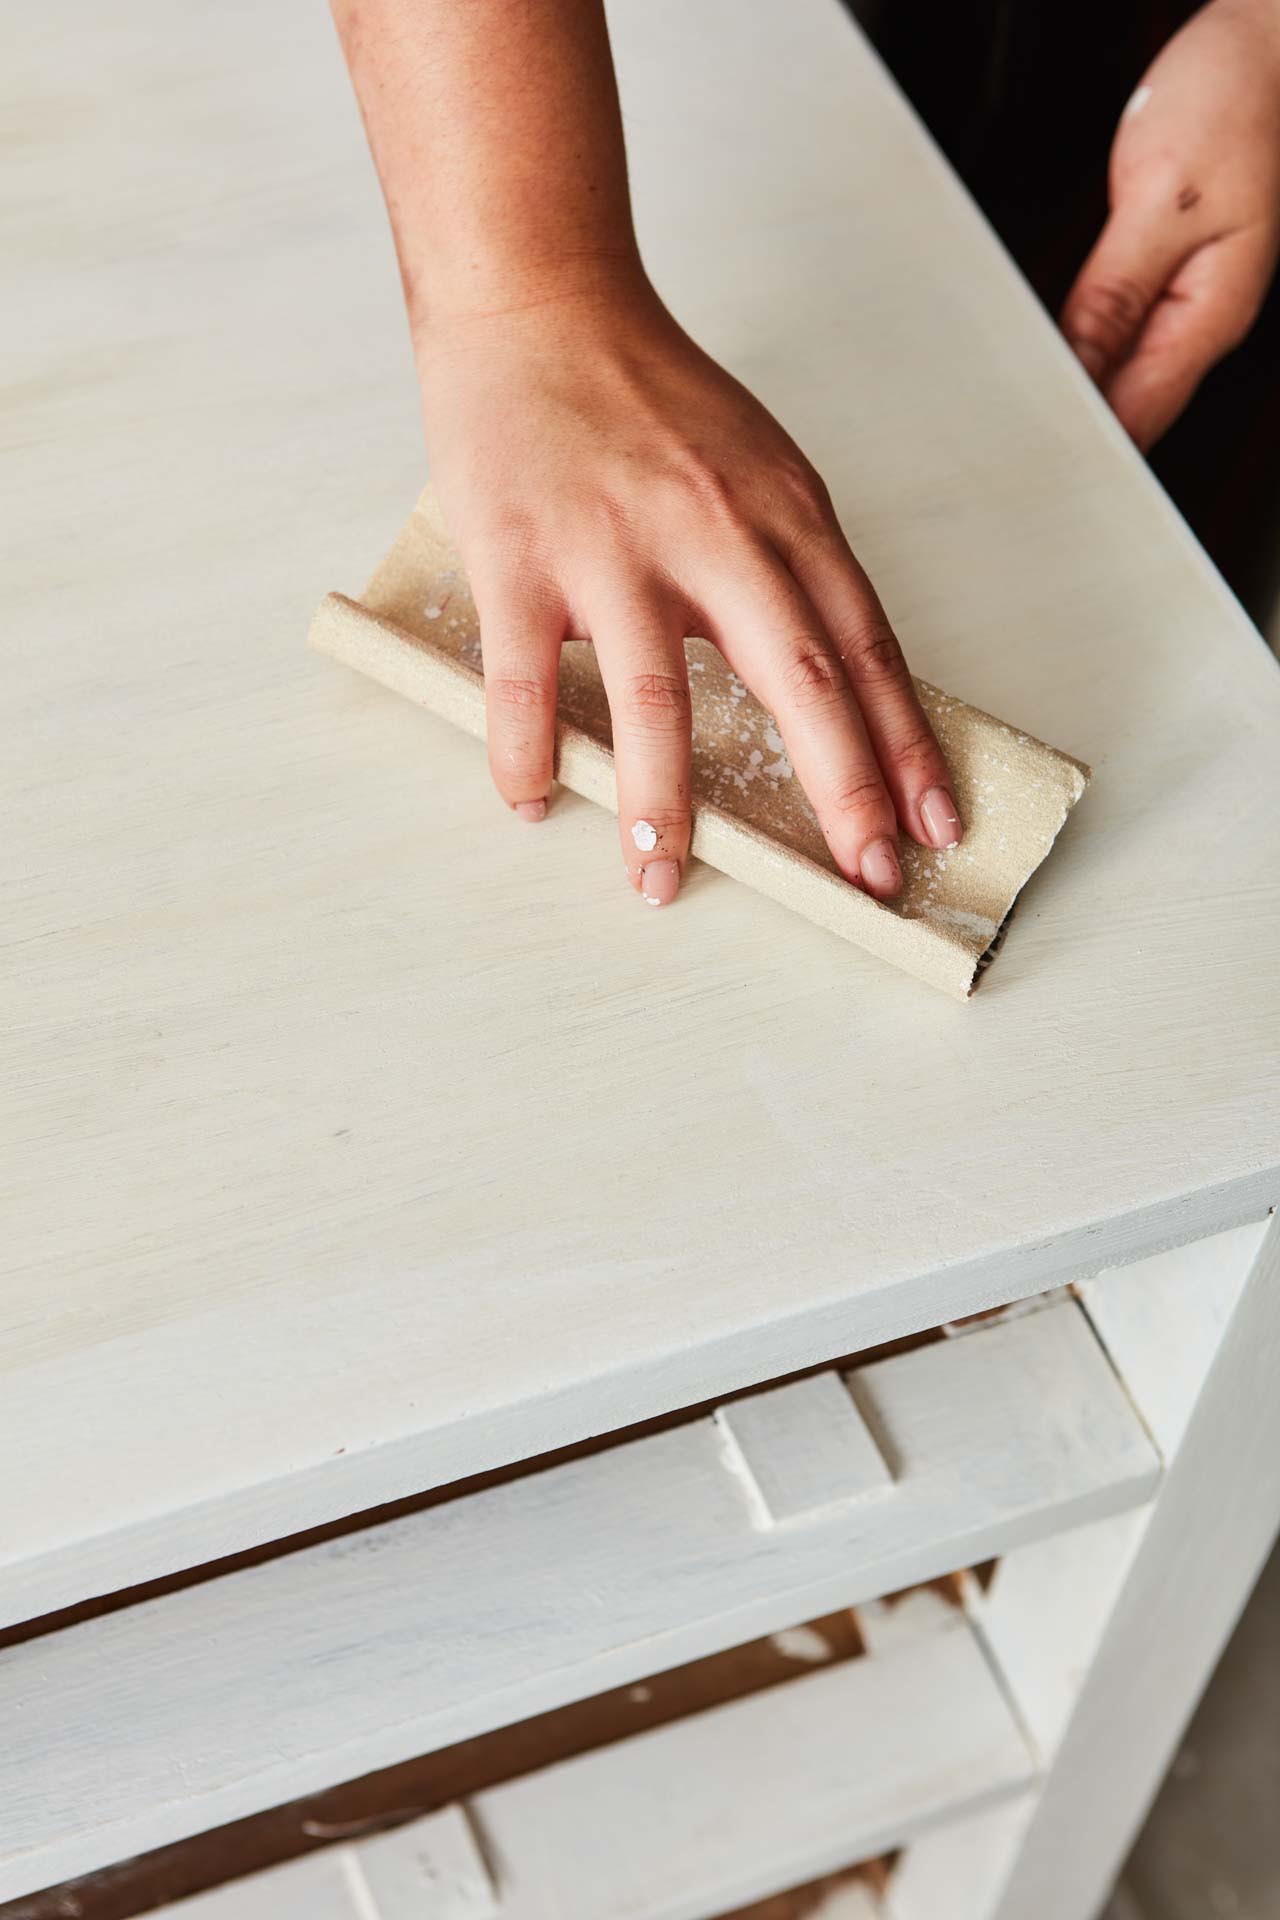
5. Sand thoroughly to expose the natural wood and provide a smooth surface. (F)
6. Apply one or two coats of Resene Quick Dry waterborne primer undercoat to the chest of drawers. Sand between coats. Finish with Resene SpaceCote Low Sheen. (G-I)
7. Lightly sand the plywood shelves and top so they are smooth. Stain with Resene Colorwood wood stain. Read the instructions before starting. Apply the stain with a large brush then quickly wipe away any excess with a towel. When dry, finish with Resene Aquaclear waterborne urethane varnish. (J-K)
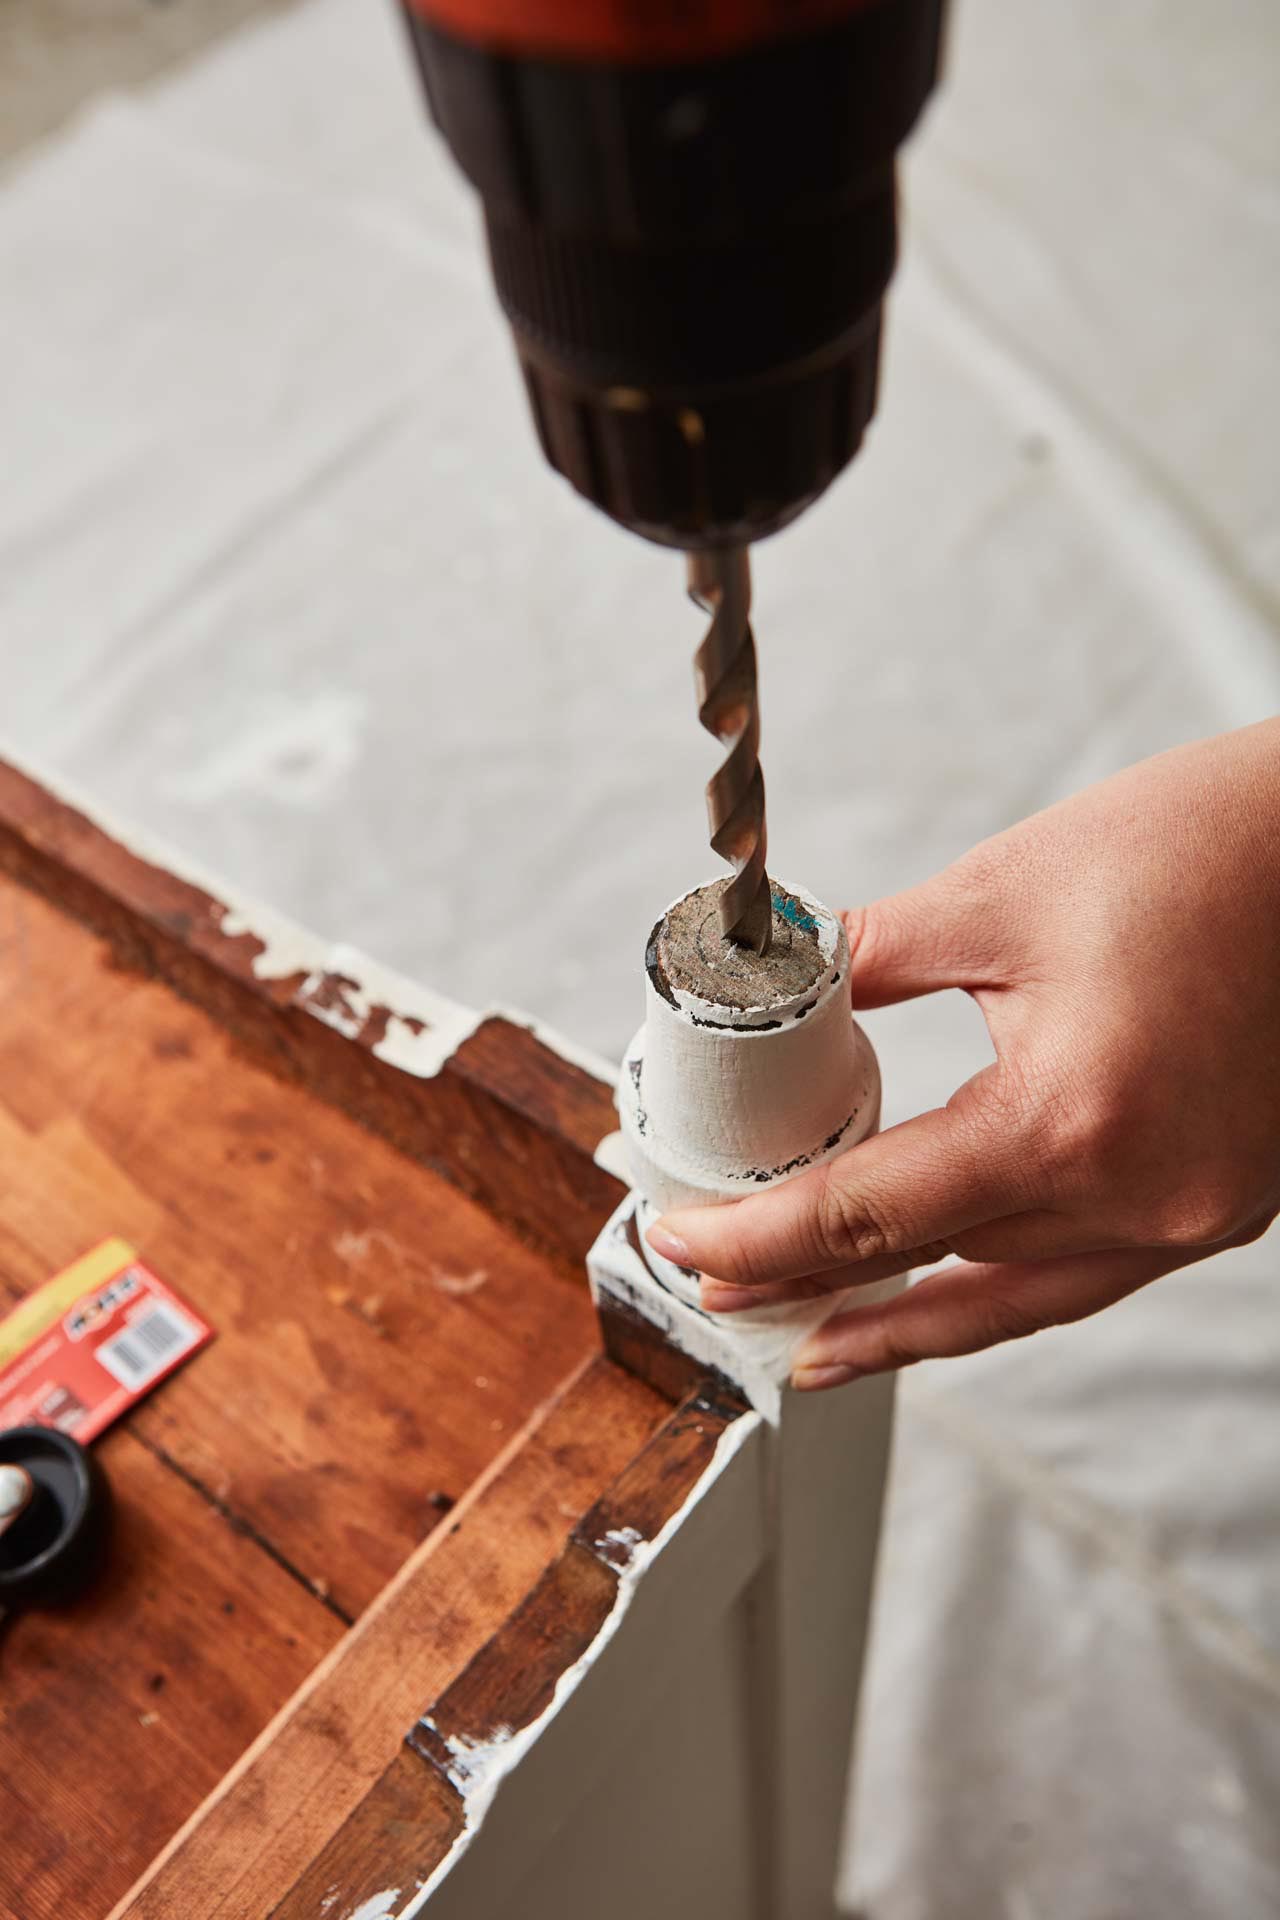
8. Drill a hole in the centre of each leg, making sure it is a suitable size to slot in wheels. (L)
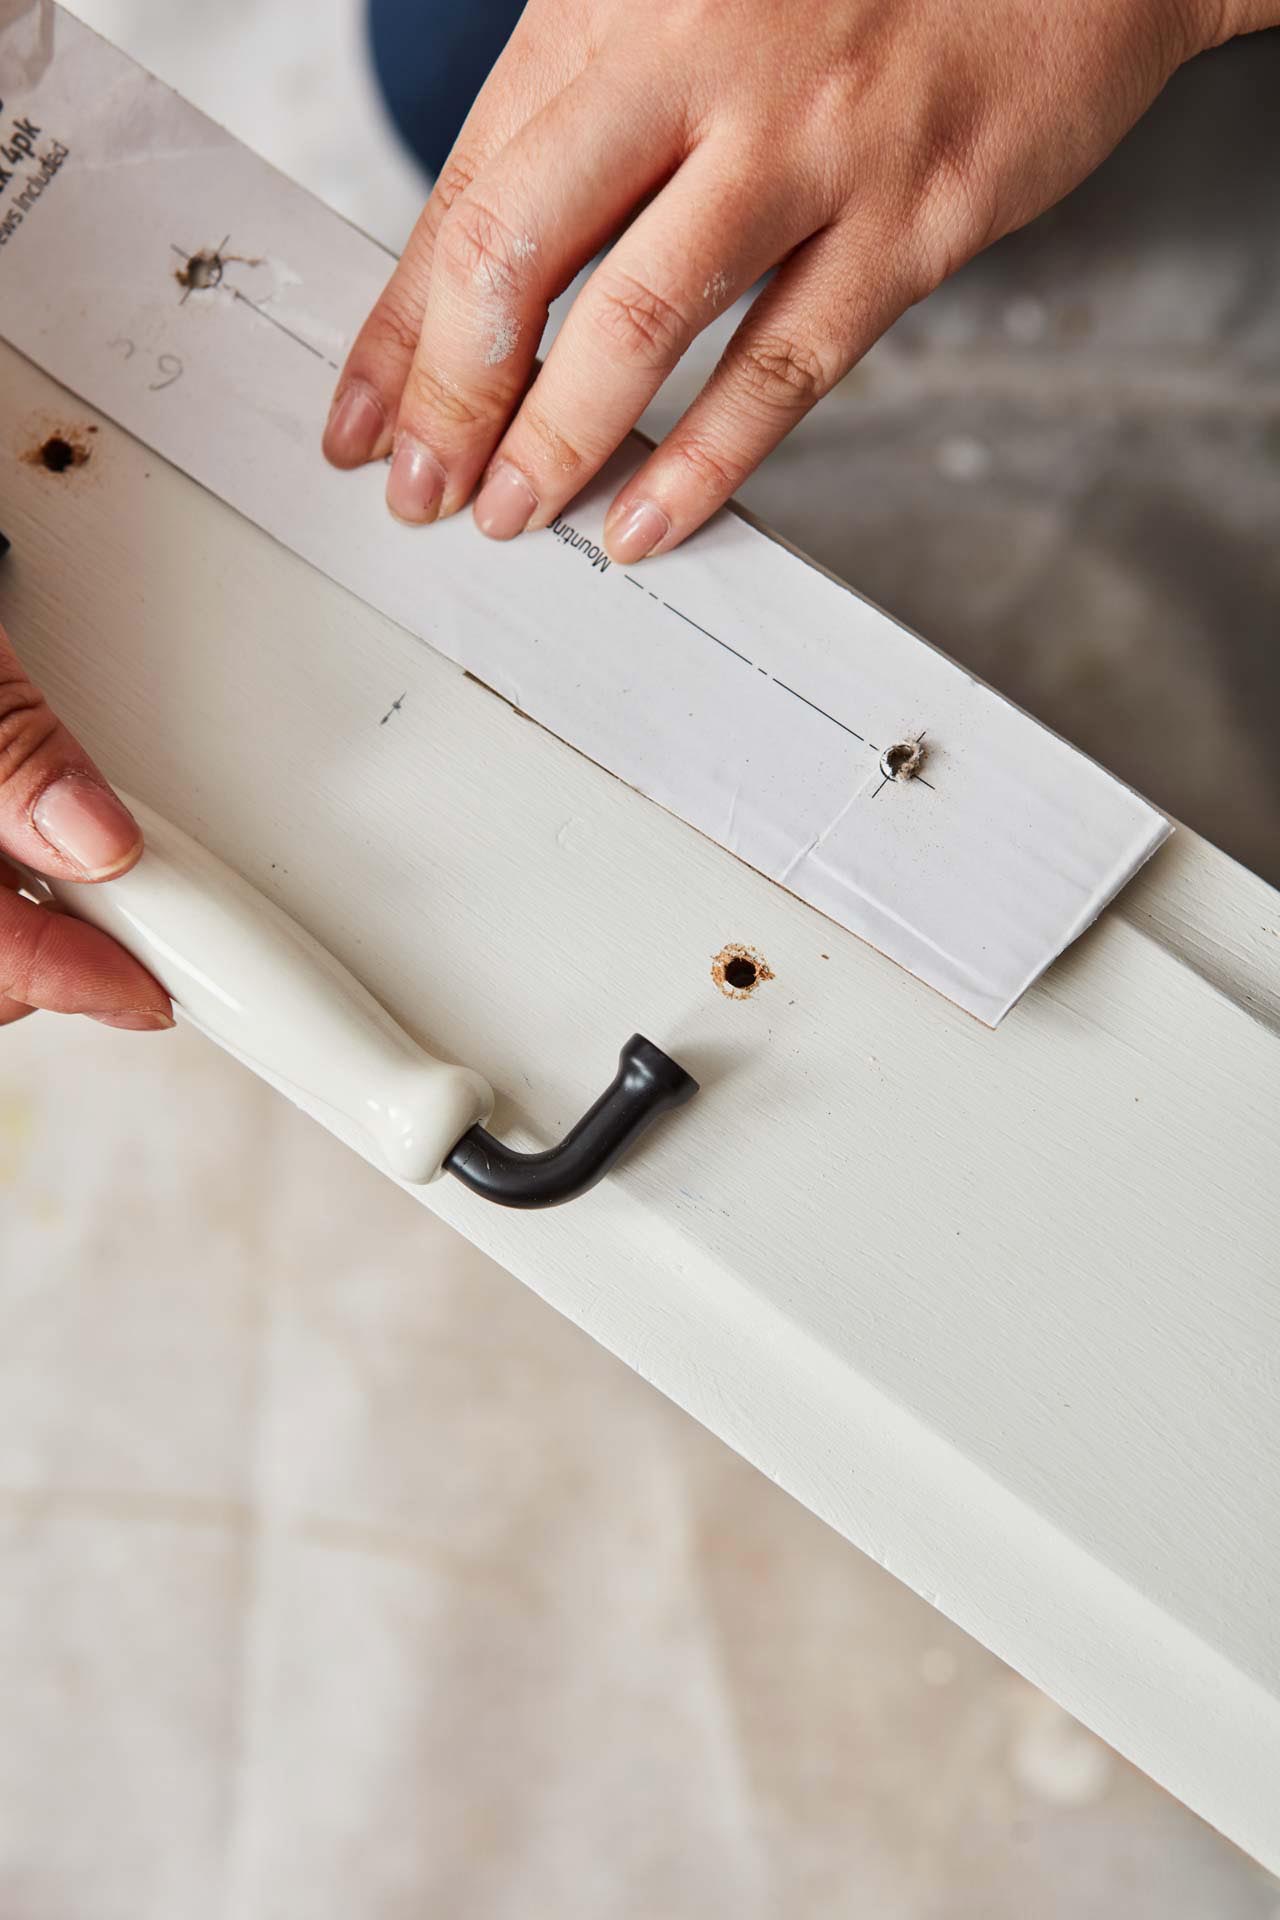
9. Find the centre point of the drawers and attach the new handles. Add extra handles on the side to hang tea towels. (M-N)
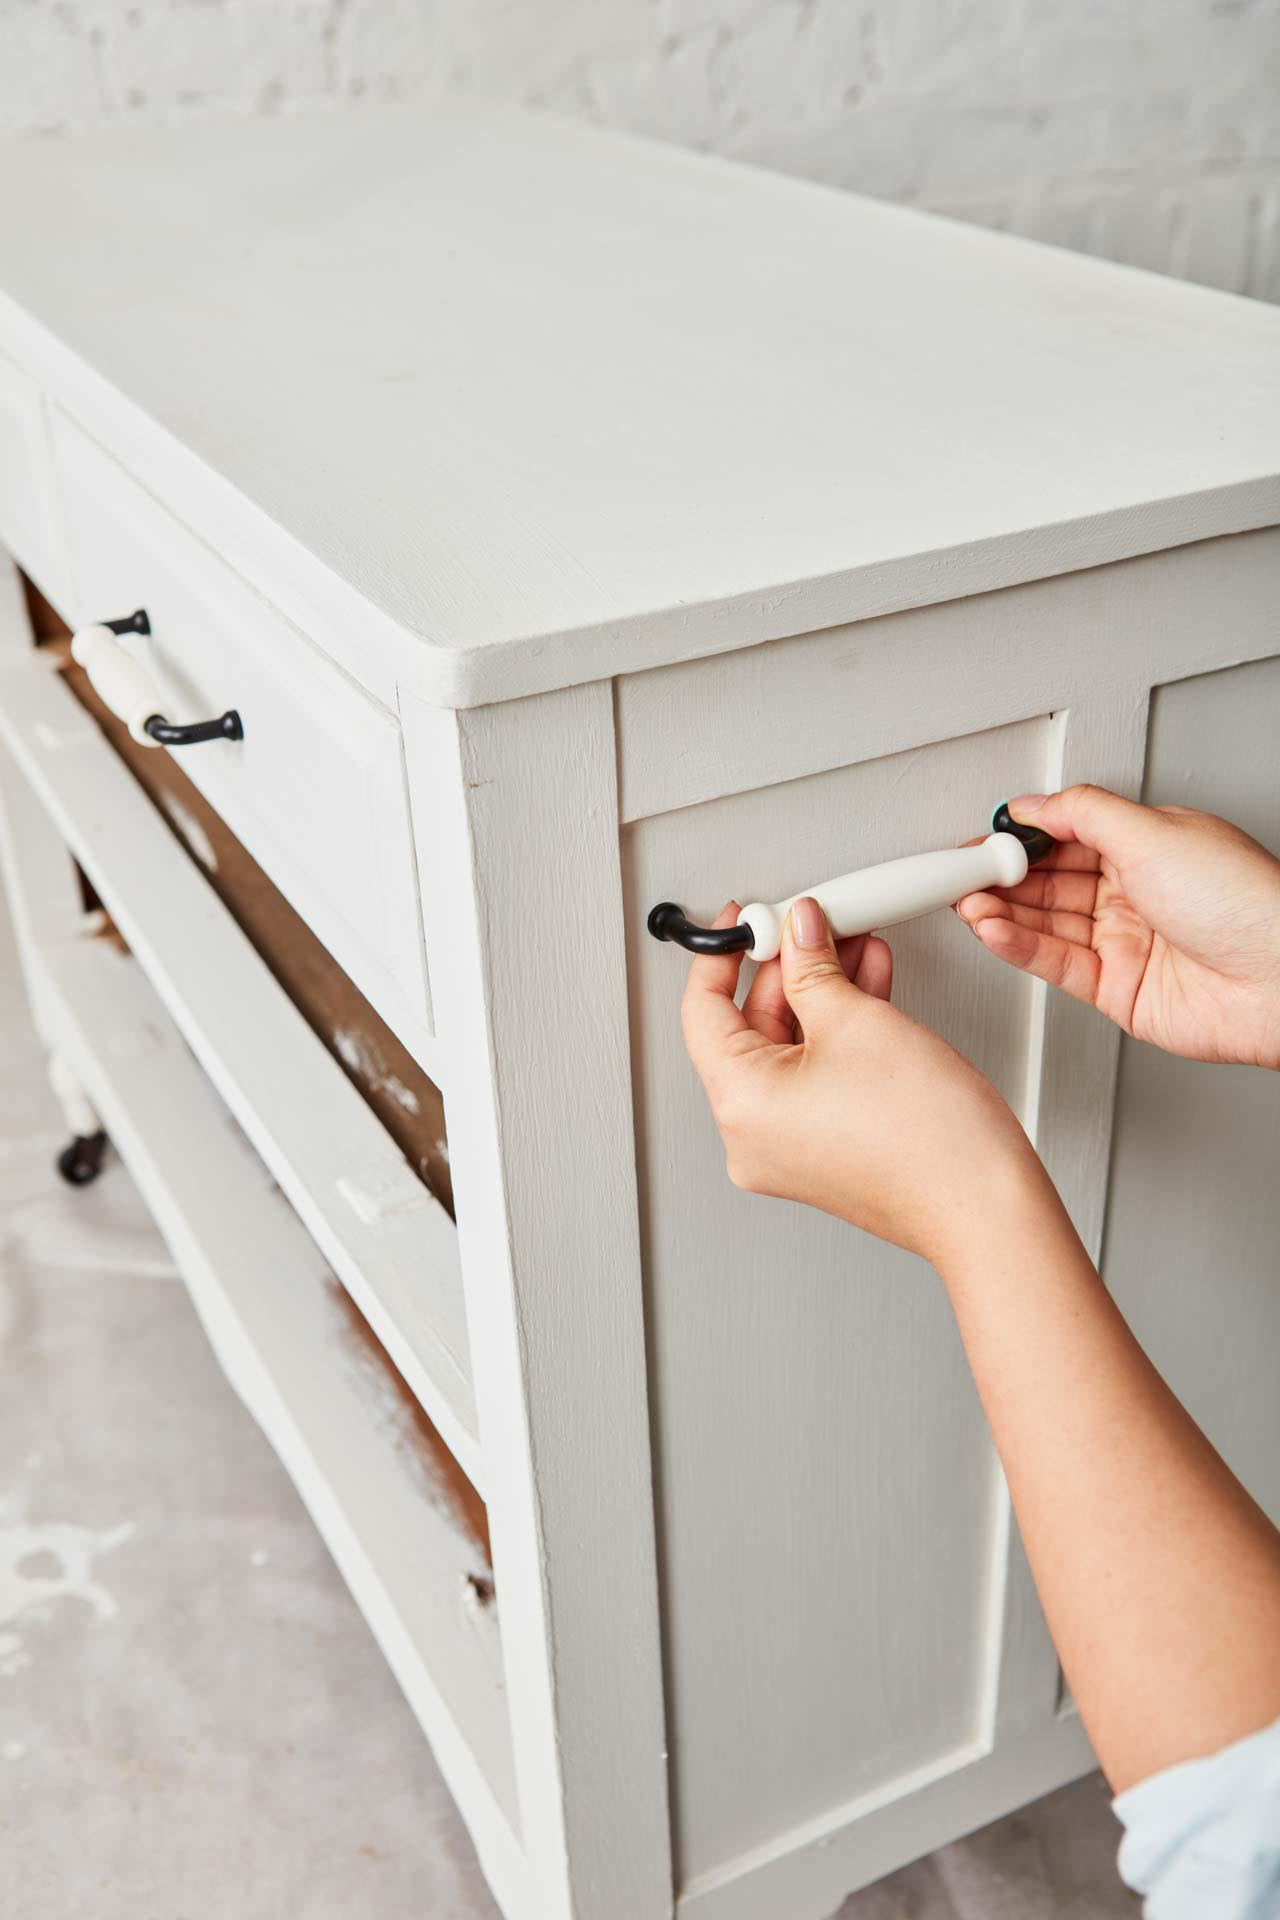
10. Liquid glue the shelf and top to attach them to the new kitchen island.
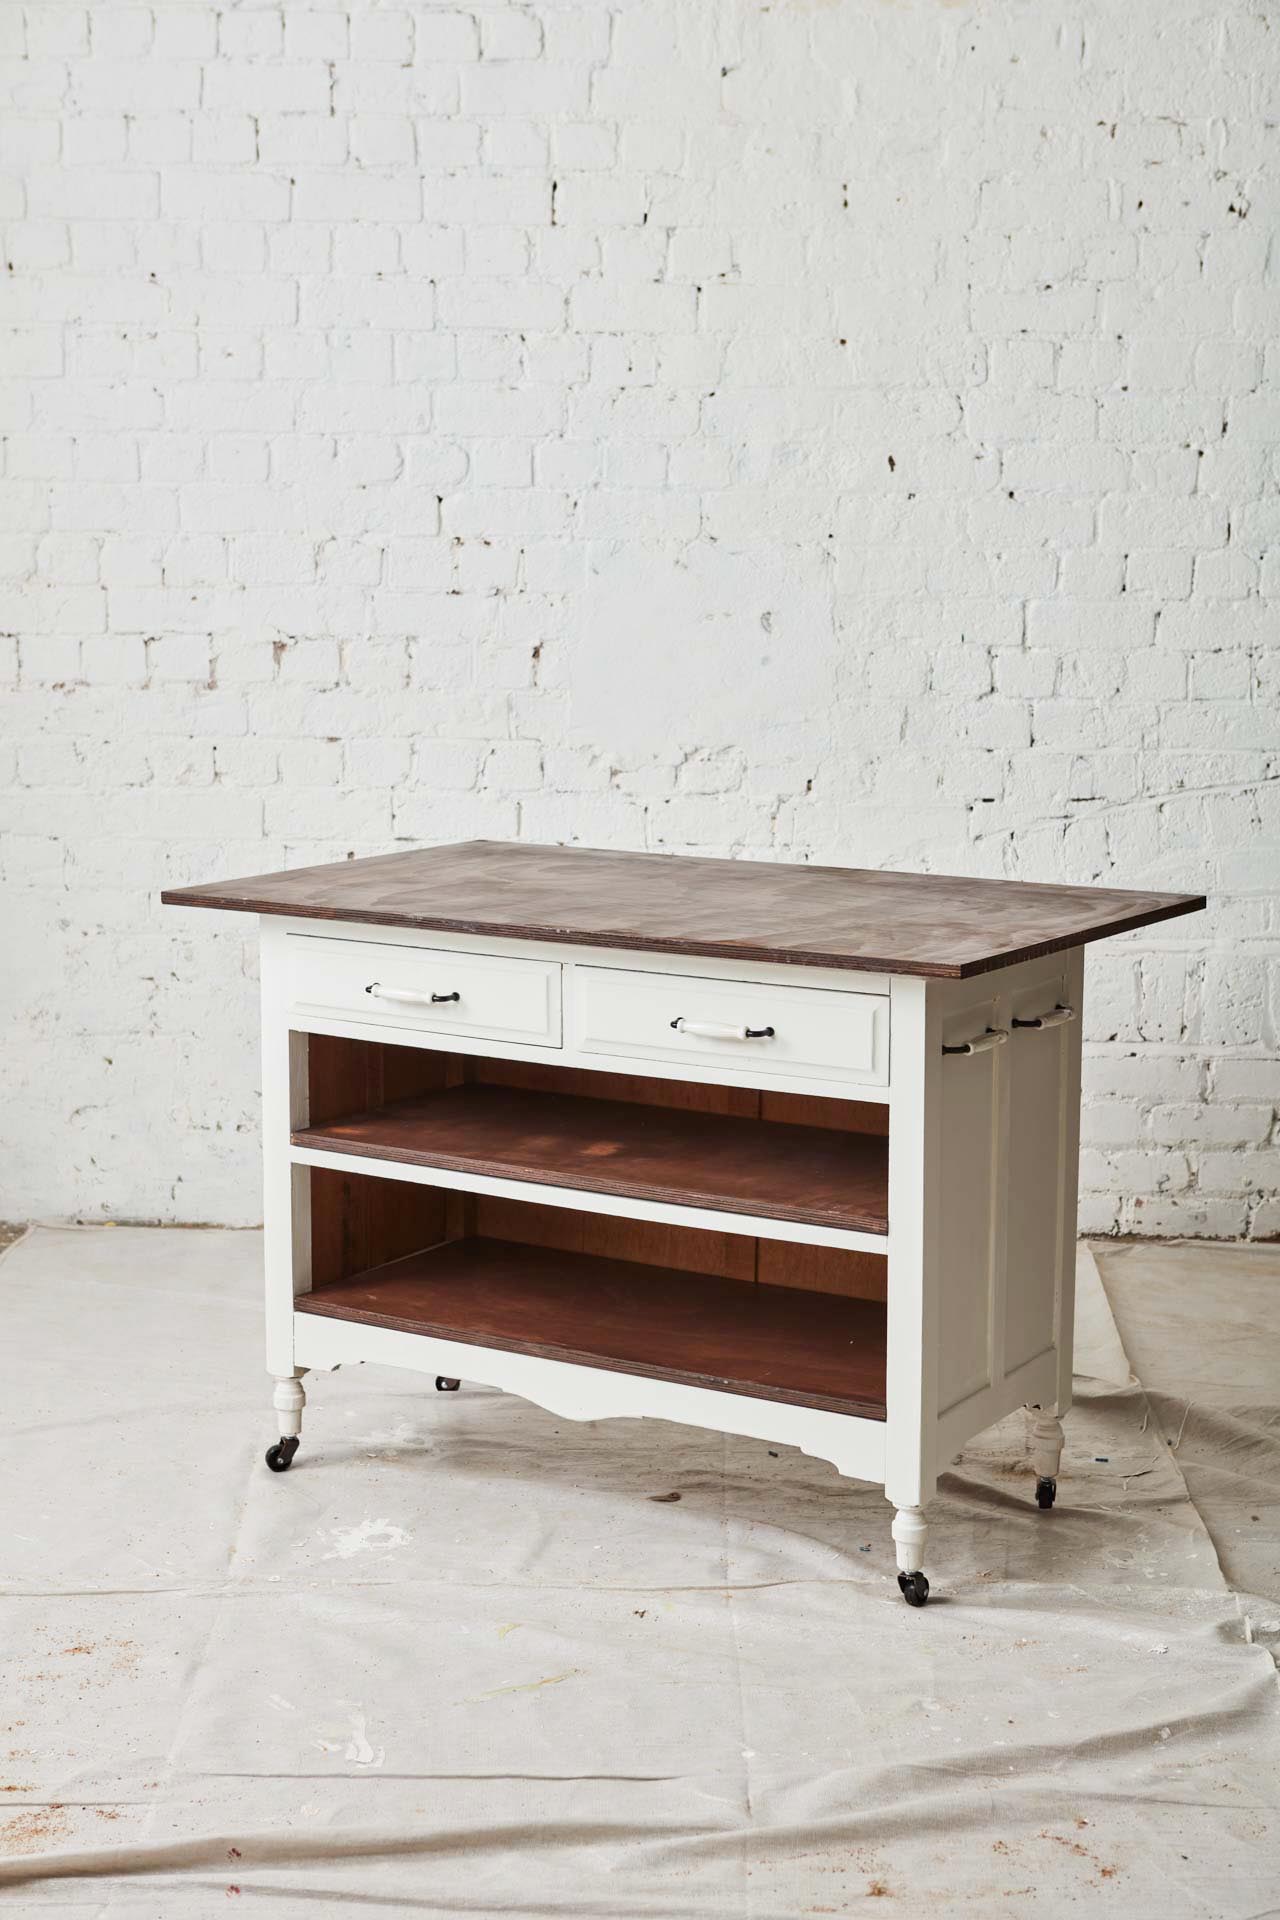
Enjoy your new kitchen island!
For more project ideas and inspiration visit your Resene ColorShop.
IMAGES: MICHAEL MOORE
This article is sponsored by Resene.