Hilton Carter shows how to elevate indoor plants to new heights with a nifty DIY holder with its own tray.
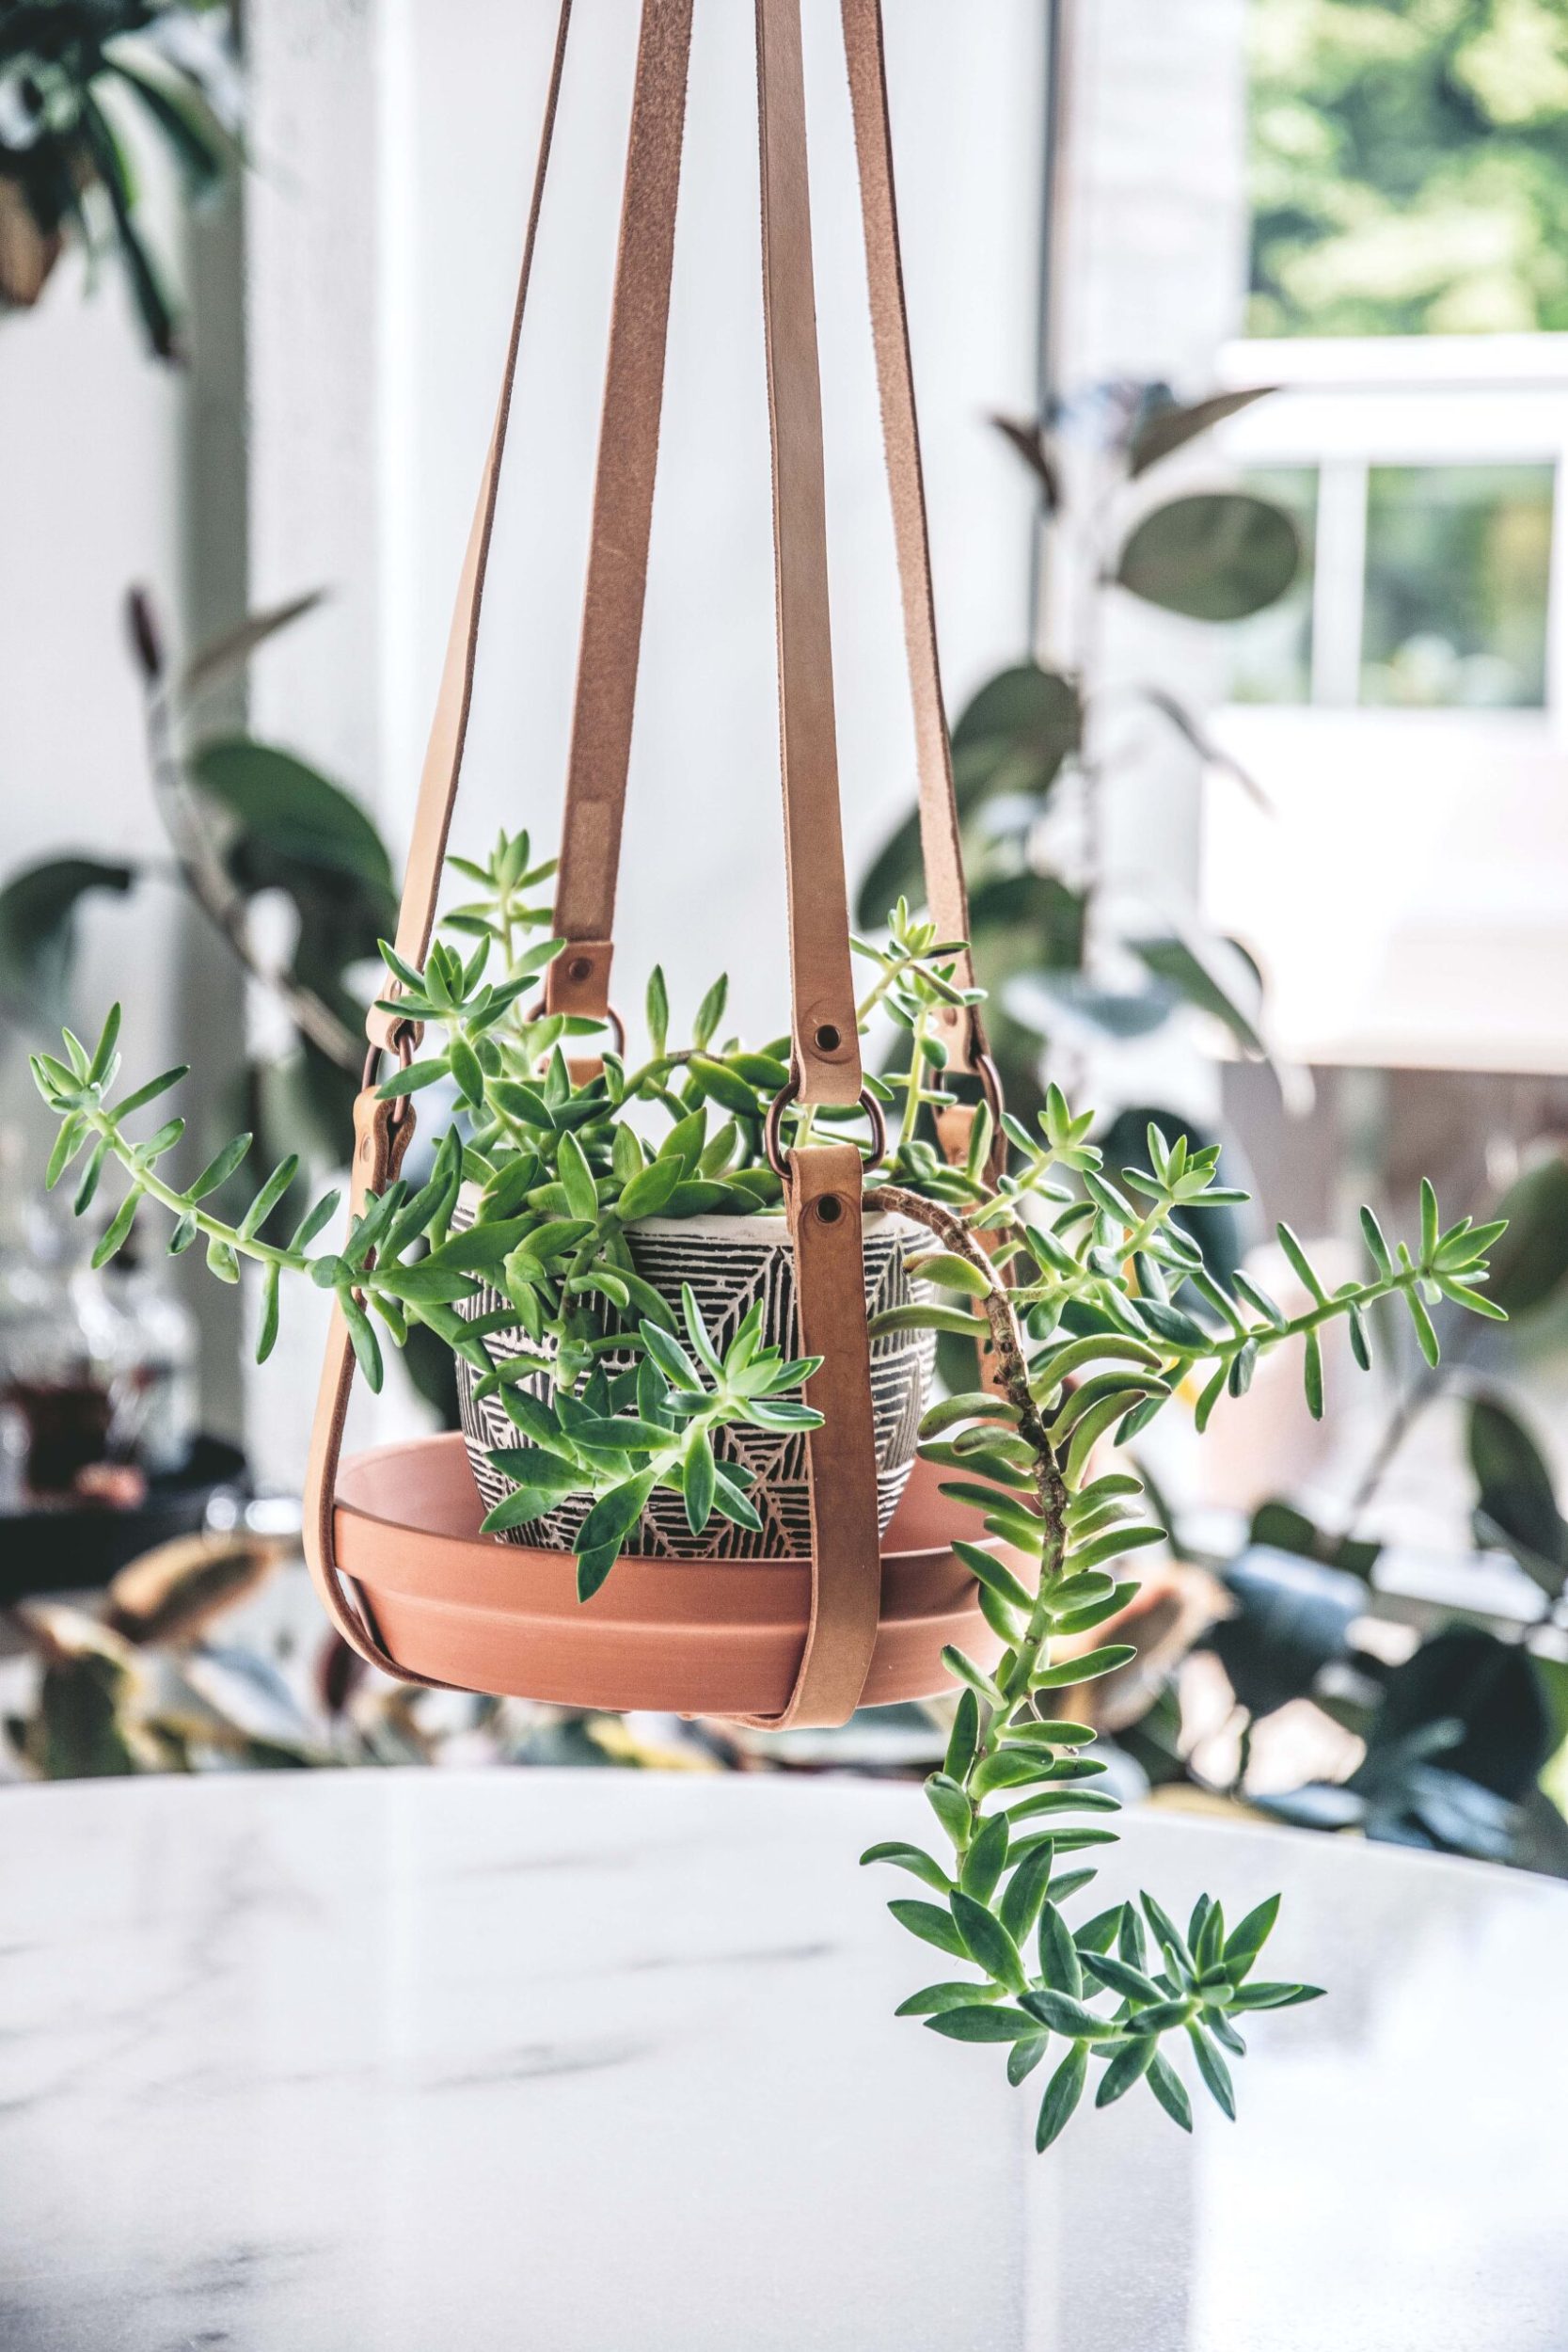
When speaking about plant styling, I frequently talk of creating levels in a space, using greenery to enhance the effect. Having plants above, at and below eye level is reminiscent of what you would encounter in nature, so creating these levels in your home is the most seamless way to blur that line between indoor and outdoor.
In the case of having plants above eye level, the easiest way to achieve this is with hanging planters. Hanging plants throughout a home can make rooms feel more lush and move one’s eyes around the room to fully take in the environment. For the viewer it’s a joy, but for those caring for these hanging plants it can become a bit of an inconvenience.
This is mainly due to the fact that most hanging planters have drainage holes, so you can’t just water them where they hang. To properly care for them, you have to let them drain out, and without anything to catch that run-off water, you’d get a pool of water building up on your floor below. No one wants that. To do the job properly, you have to get up a ladder to bring the plants down to water them, let them drain in your sink or tub, and then, once dry, return them to their spots.
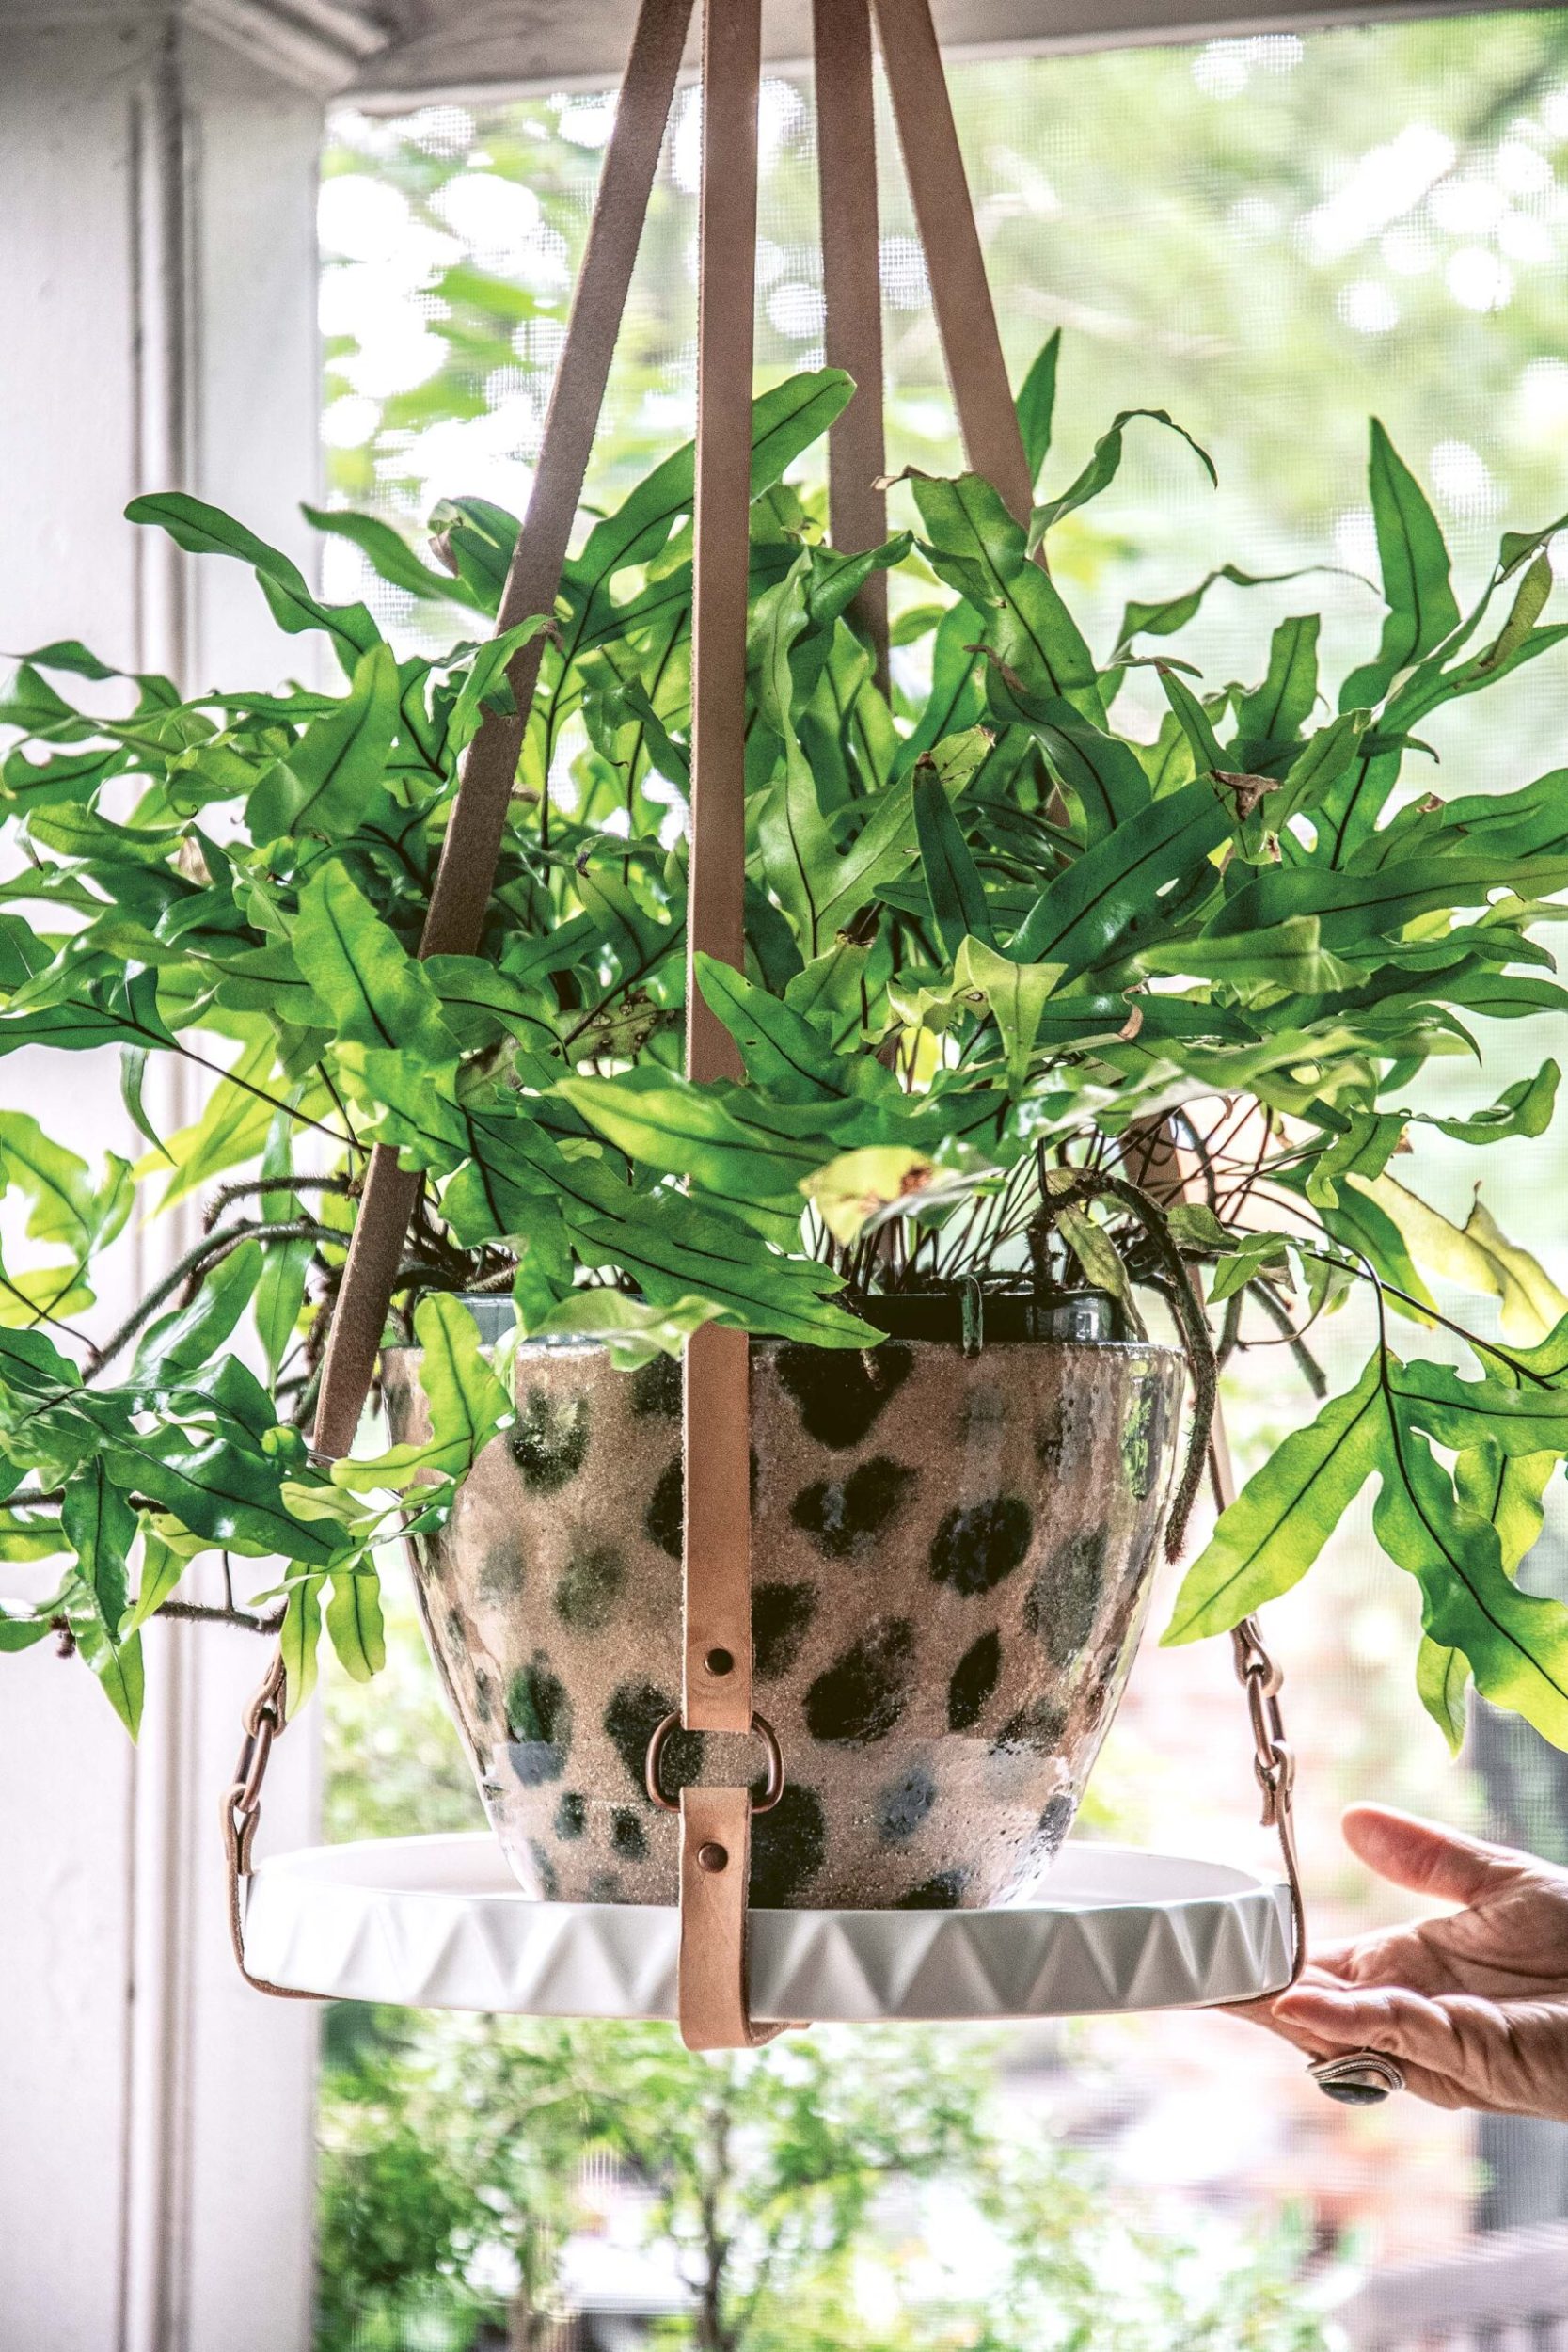
The more hanging plants you have, the more work it takes to water them. On the days that I water my plants, this process is what eats up most of my time. I thought, if only these hanging planters could have a wide base tray under them so that you could just go up a ladder and water your plant where it hangs, allowing for enough run-off water to sit in the tray below the pot but also not taking away from the beauty of the planter and the plant.
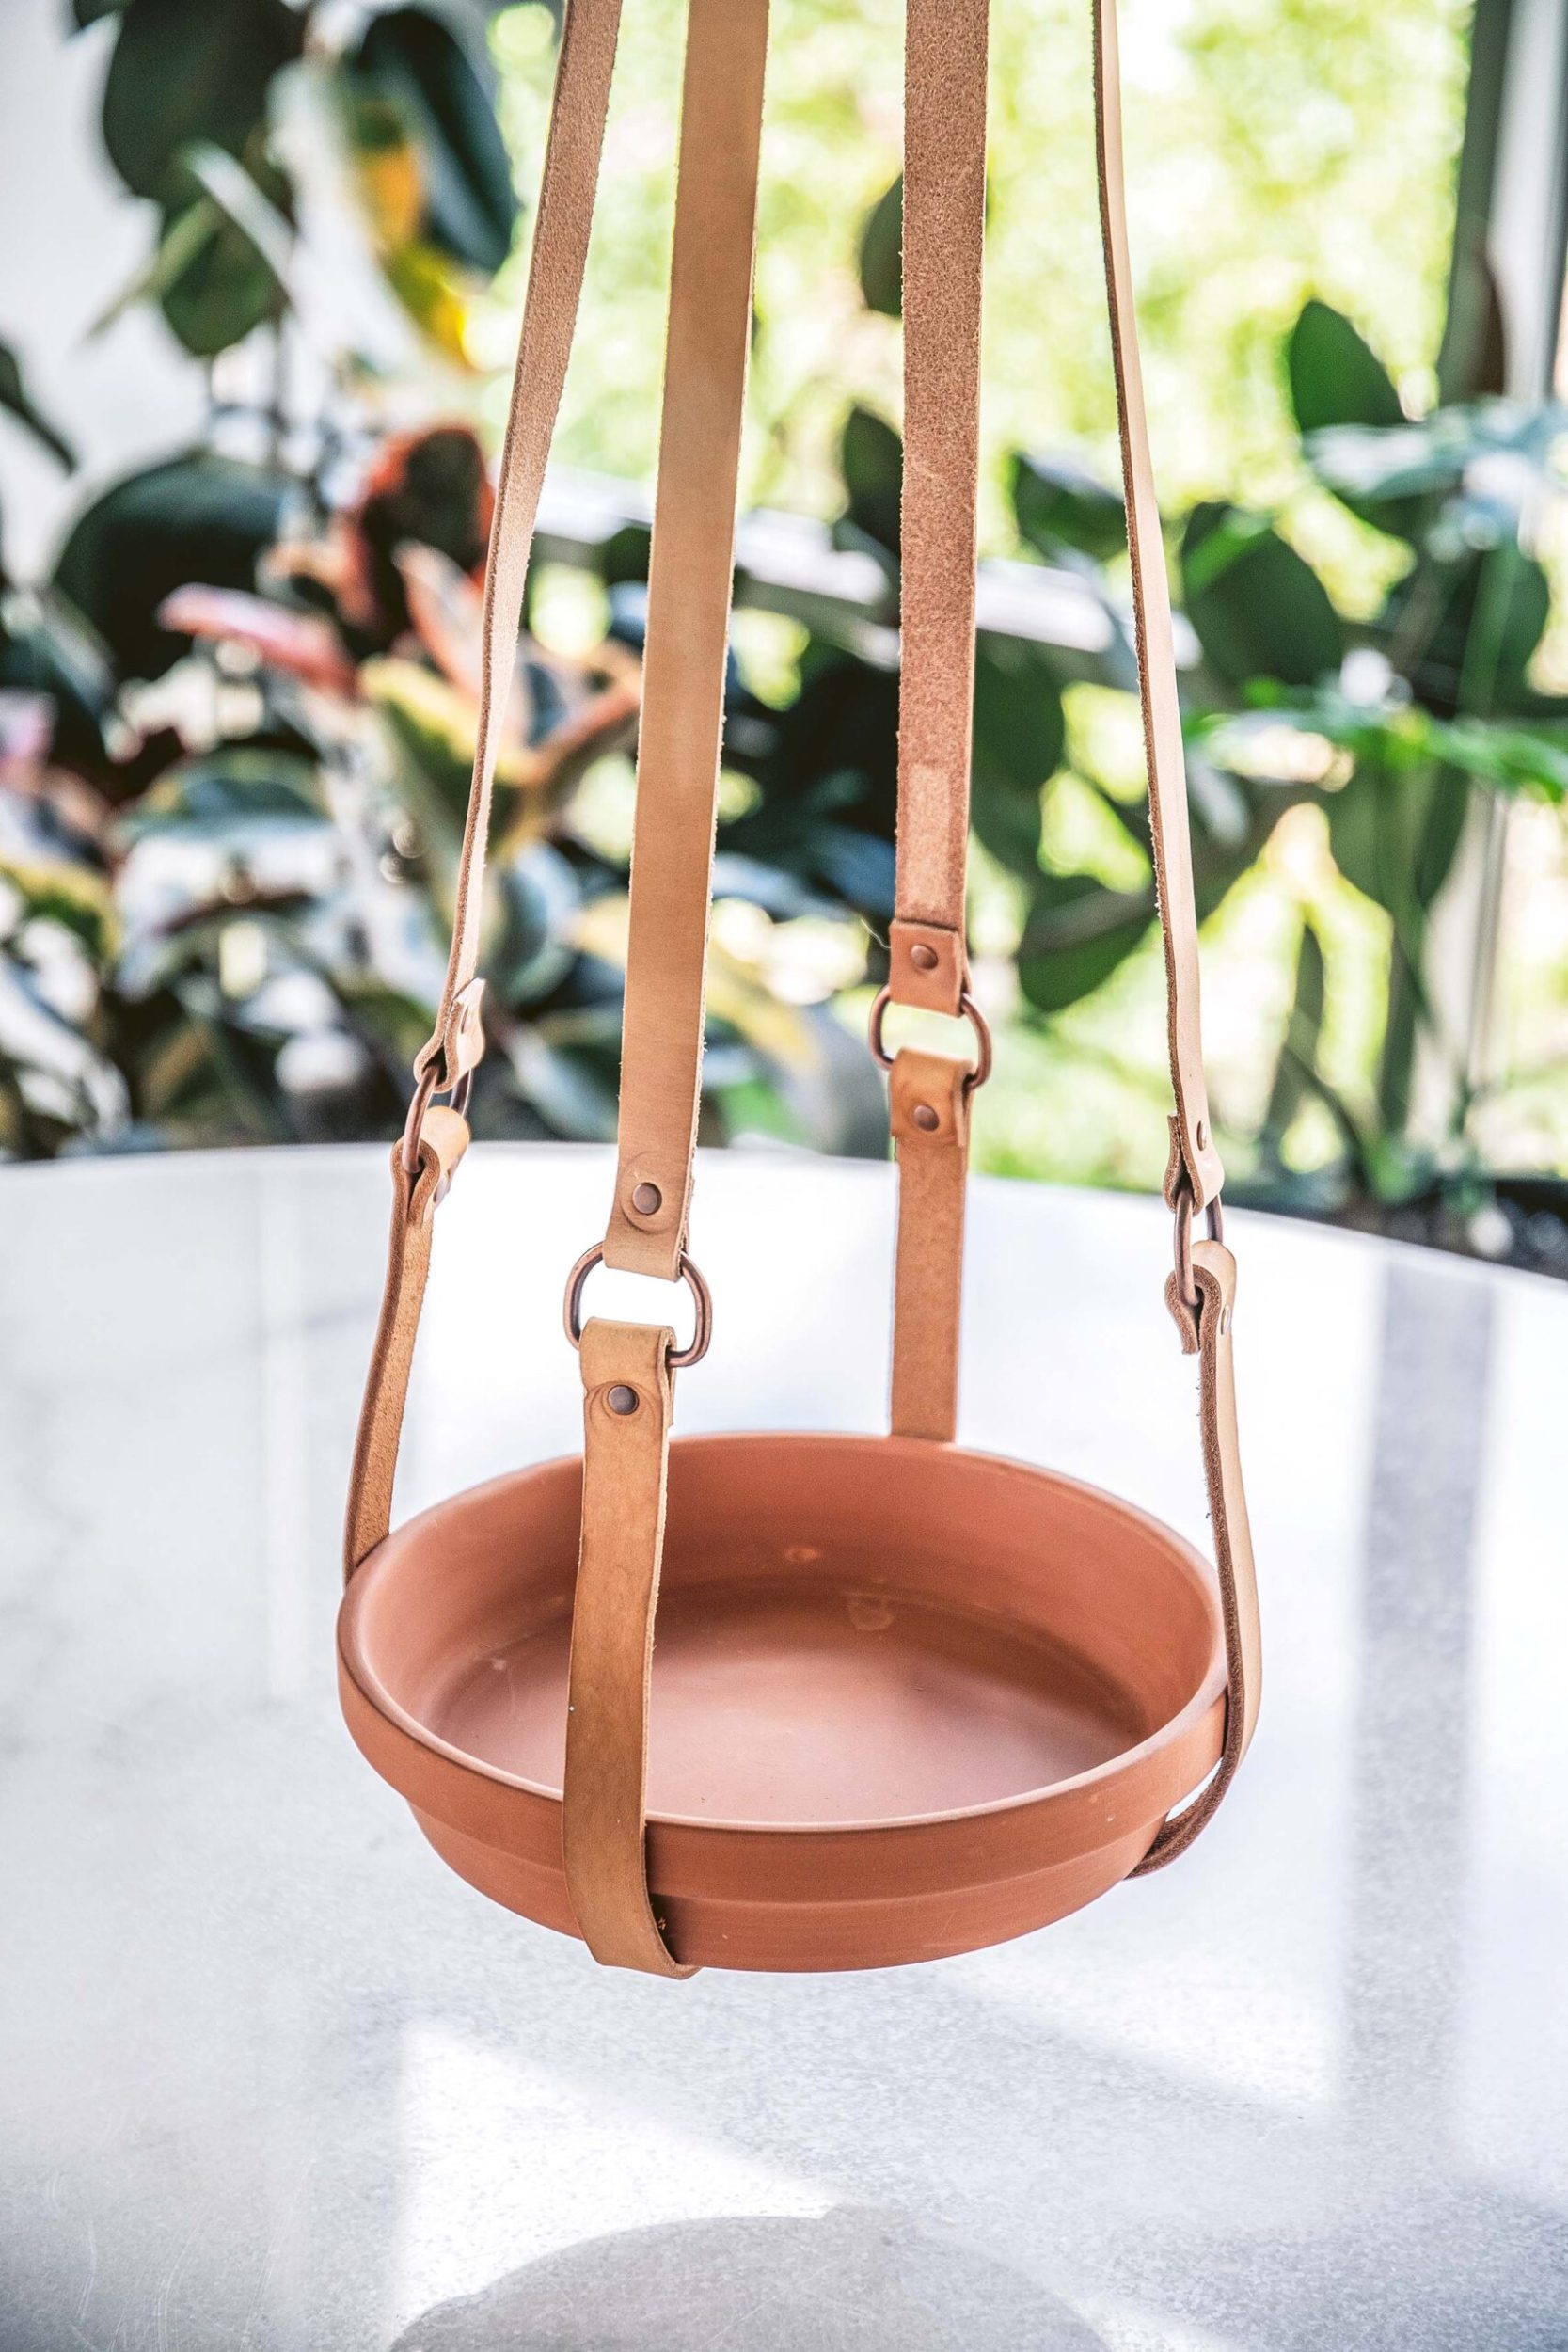
I’ve seen many hanger planters in the past that could hold a base tray under the pot, but they would fully wrap around the pot, tray and plant, not allowing for them to breathe and show off their beauty. I wanted something that propped the plant and planter up high in my home, but still allowed them to show off. What I wanted was basically a hanging plant stand. Something that was functional but stylish.
I sketched out some ideas of how this hanging plant stand could look and sent them to my friend Sara Tomko, who works in leather design, asking if she could help me create something beautiful to display my hanging plants. I made it clear that I wanted to be able to place various-sized base trays inside of it. Sara loved the idea and a few days later she had created the prototype. It turned out so great that I’m sharing it here so you can make one yourself.
Project time
1 hour
Materials
3 leather straps, each 120cm long, 2cm wide and 1.6-2mm thick (you can find leather online or at hobby or craft stores)
2 x O-rings, 38mm
4 x D-rings, 25mm
14 x small double-cap rivets with a cap and post size of 6mm
(Note: If using leather heavier and thicker than 1.6-2mm, size up the rivets to a post size of 8mm or larger, with a post size of 13mm, depending on thickness.)
Tools
Scissors
Tape measure
Ruler
Soft pencil
Hole punch
Rivet setter
Rivet anvil
Hammer Sponge Bowl of water
Cutting board
Note: The measurements and materials listed above are for the example shown in the photos, but this project is very customisable. You can use vegan leathers, upcycle belts, or even dye or paint the leather. Be creative and make it your own.
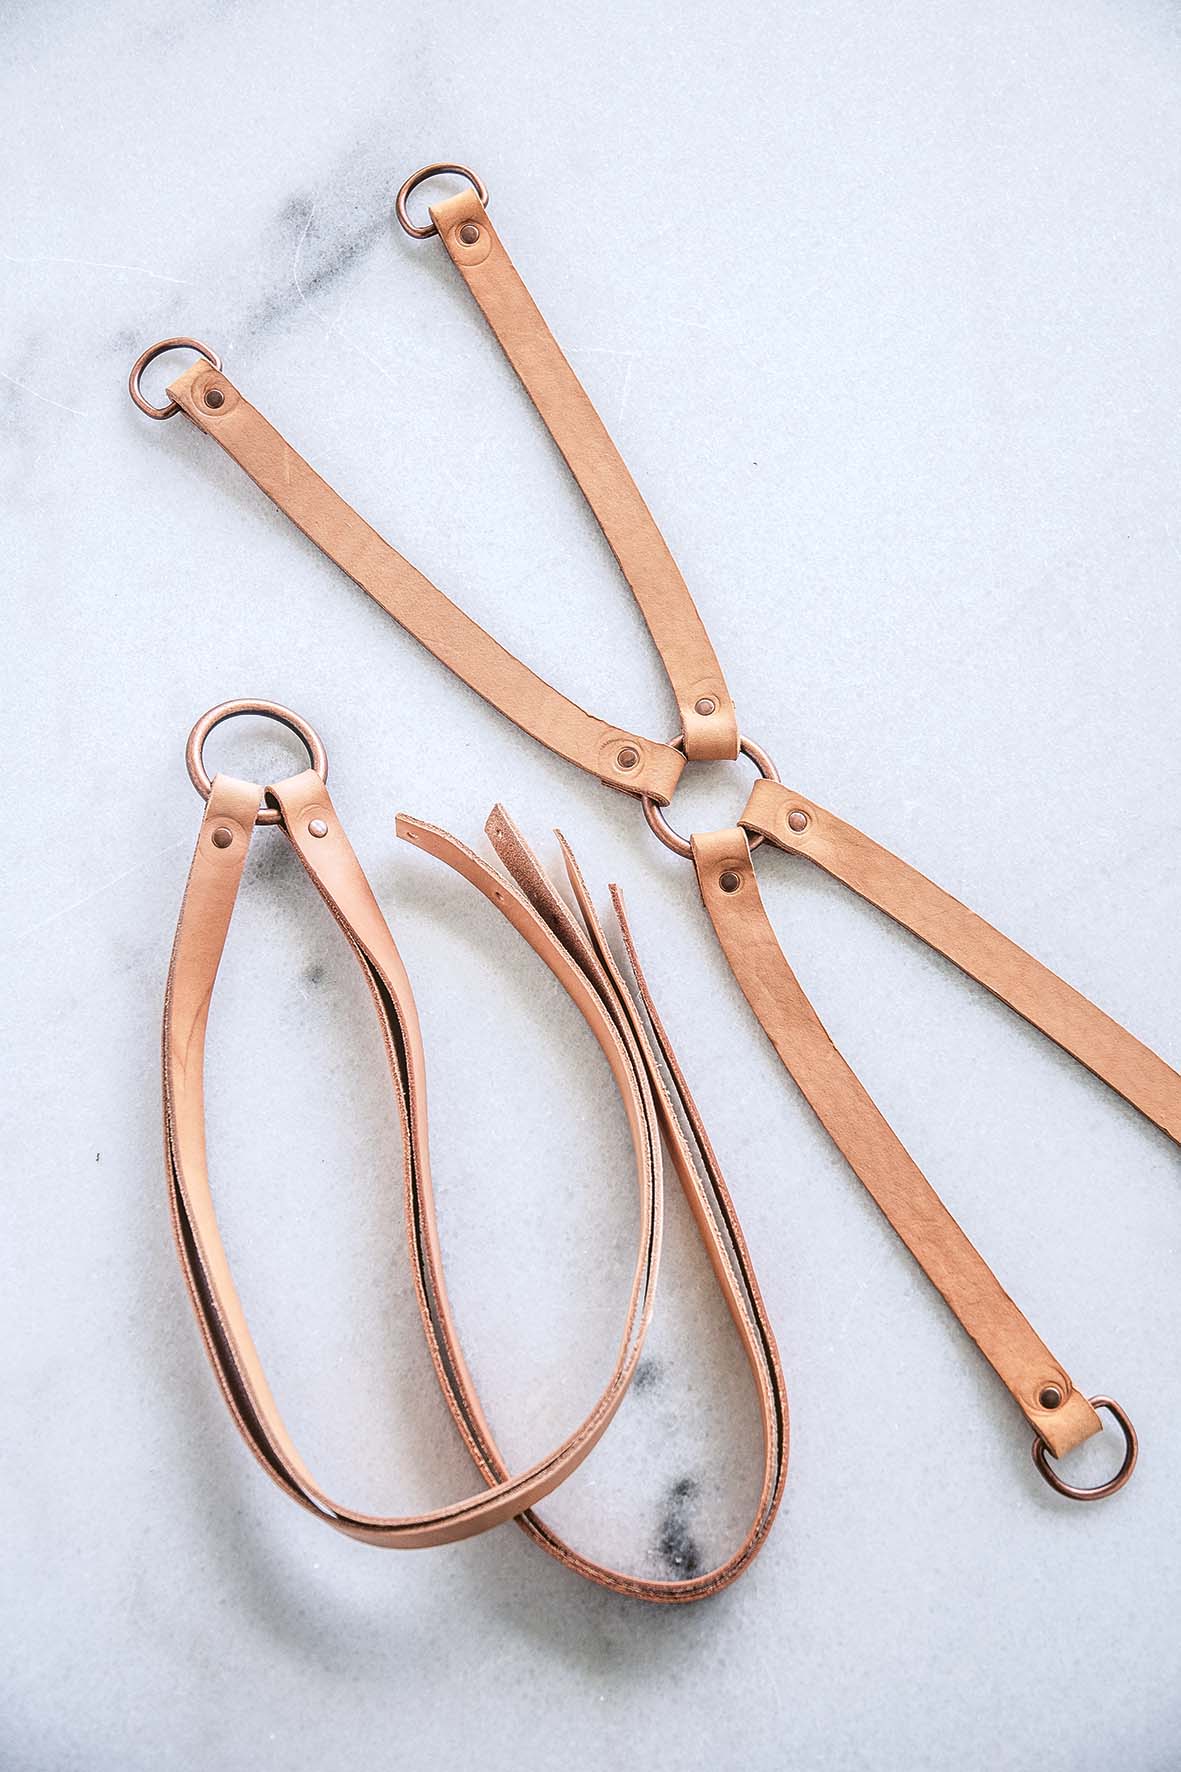
1 Cut one of the 120cm leather straps into four 30cm lengths. These will be the straps that hold the base tray.
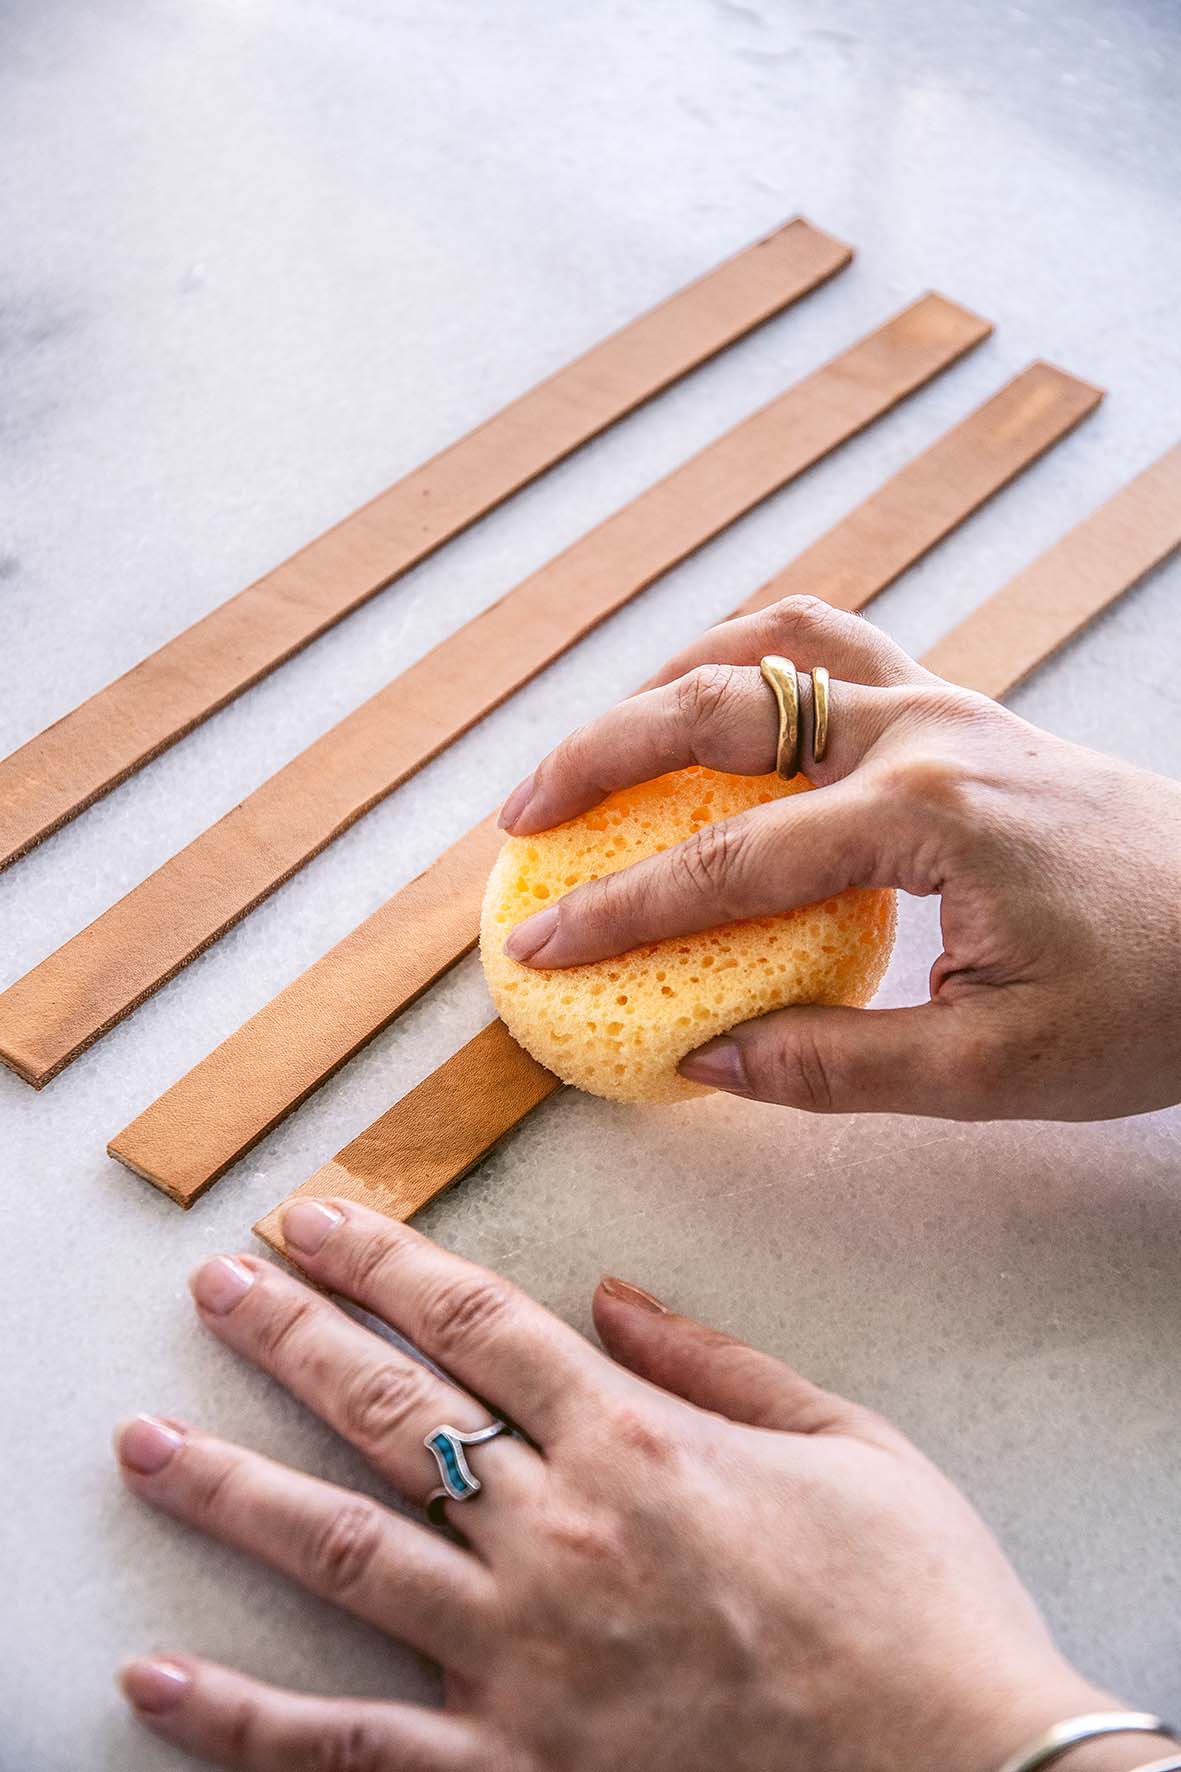
2 With the sponge, soak up some water and wipe down each 30cm strap. Wetting the leather makes it soft and durable. Be sure to wet the entire strap to avoid uneven discolouration. Sponge the leather until it cannot hold any more water. It’s now ready to mark and hole-punch.

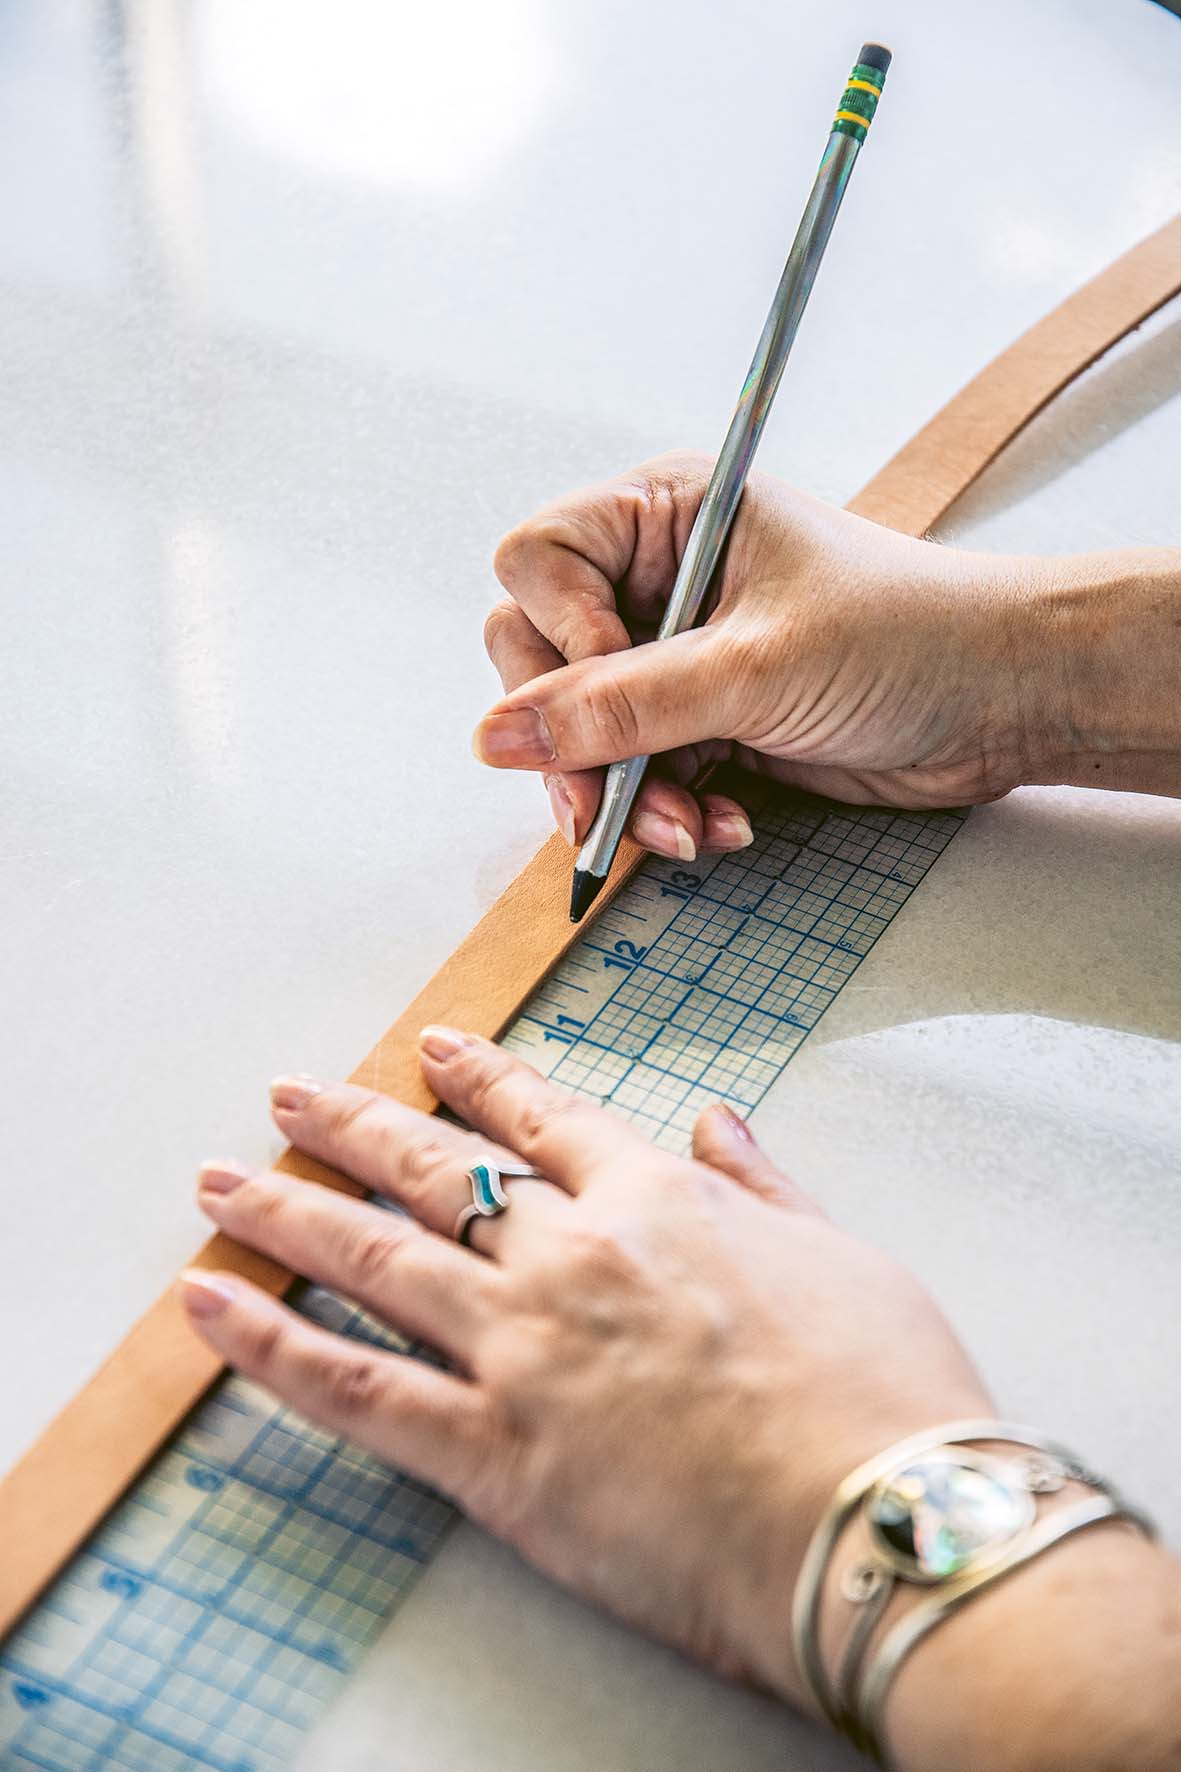
3 With the soft pencil and ruler, mark one end of each 30cm strap with two points, at 5mm and 5cm in, in the centre of the strap. This is the end that will connect to the O-ring at the bottom.
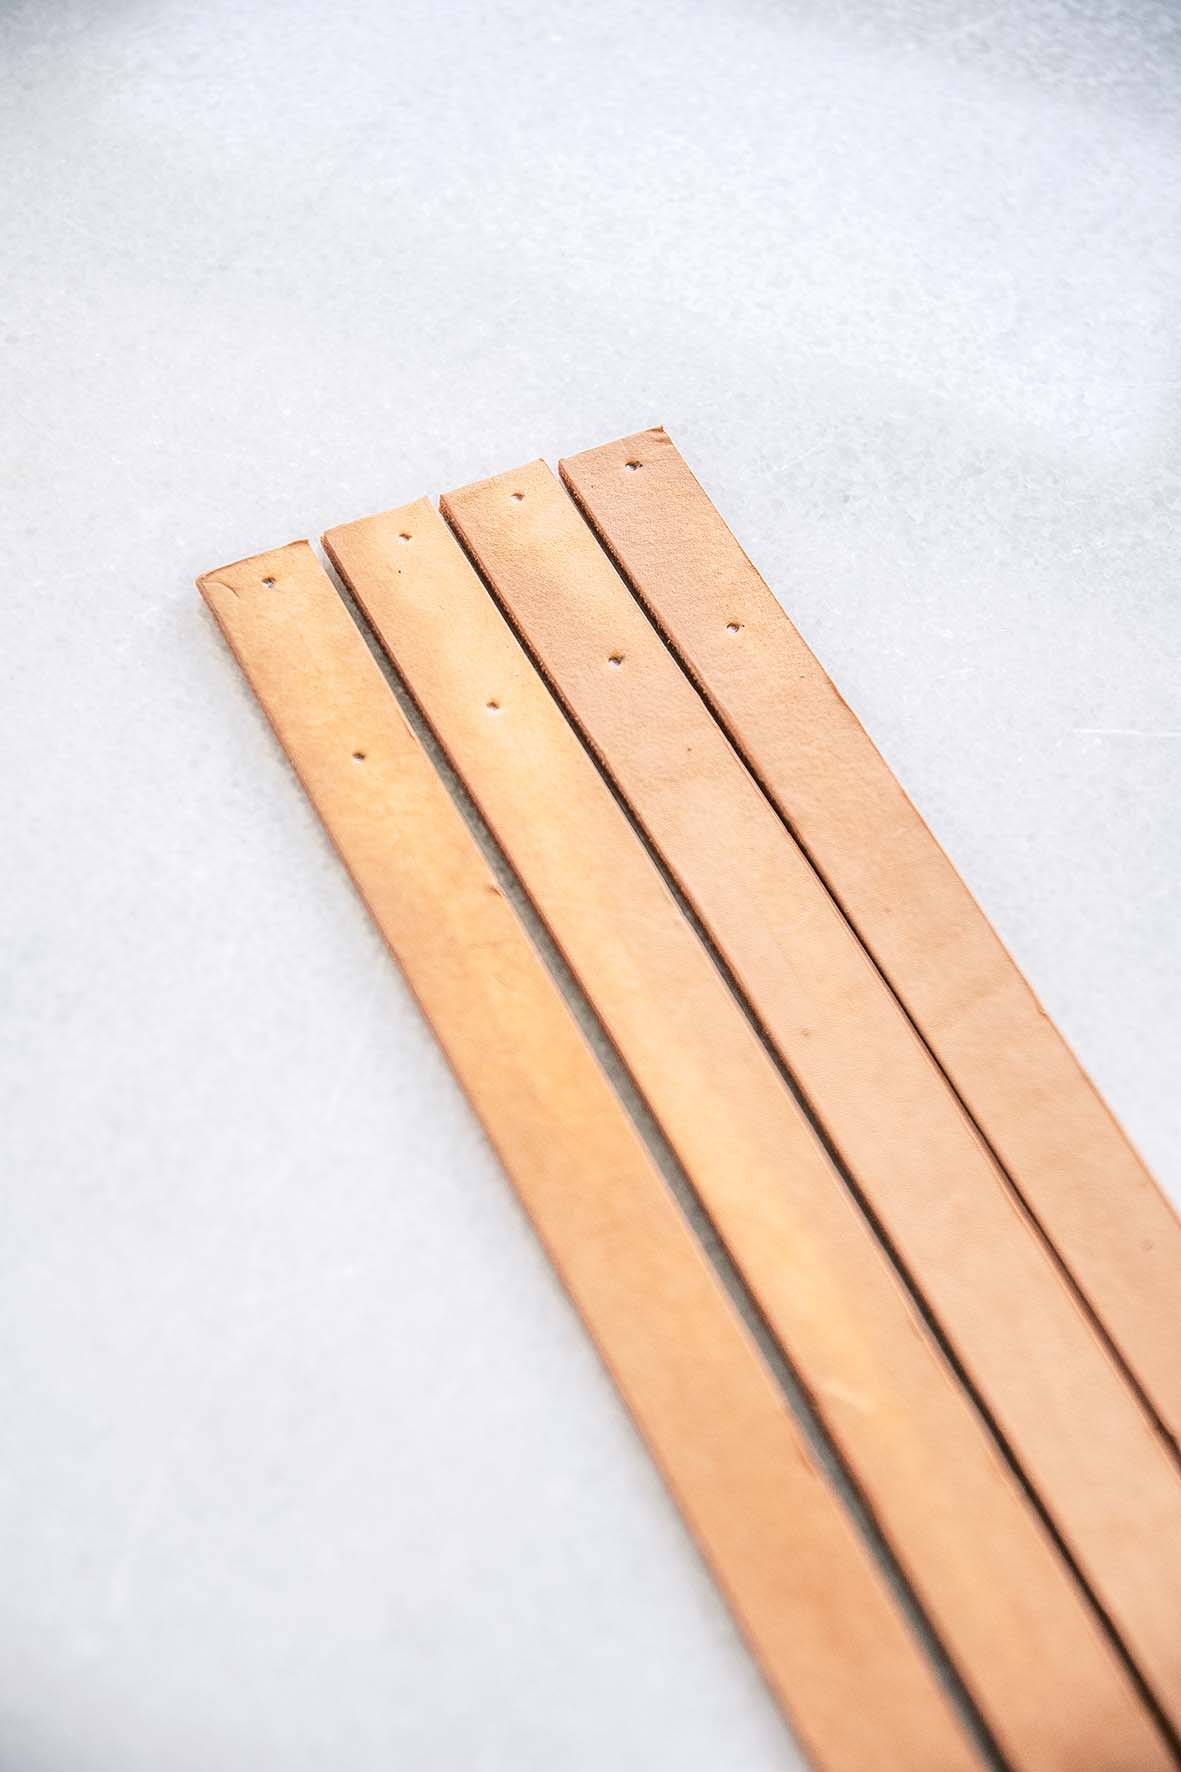
4 At the other end of each of the 30cm straps, mark two points in the centre of the straps, 5mm and 4.5cm from the end. This is the end that will connect to the D-rings. Now sponge down the remaining two 120cm leather straps.
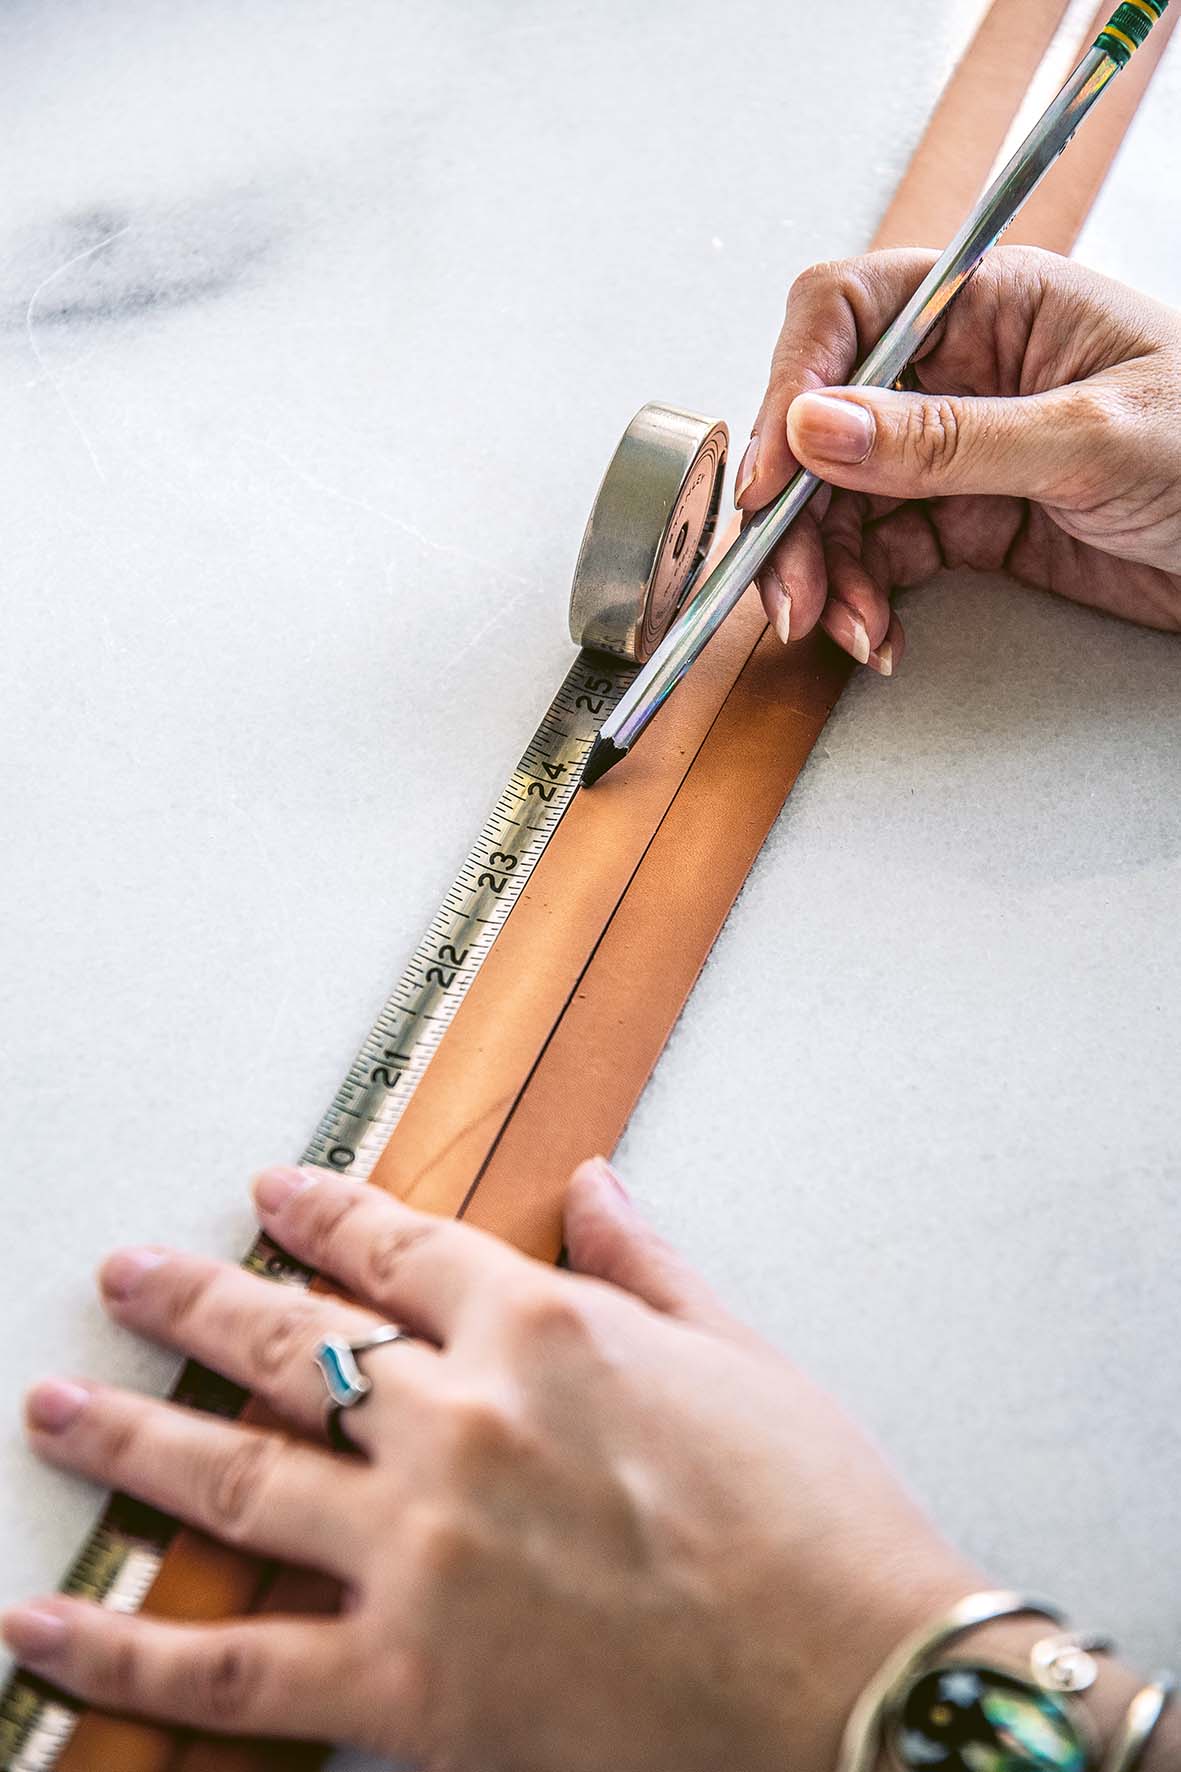
5 With the tape measure, make a mark at the 60cm halfway mark. With your ruler, make a mark 2.5cm from each side of the 60cm halfway mark in the centre of the strap. Now mark the ends of the 120cm straps with two points at 5mm and 4.5cm from the ends, in the centre of the strap. These ends will also connect to the D-rings.
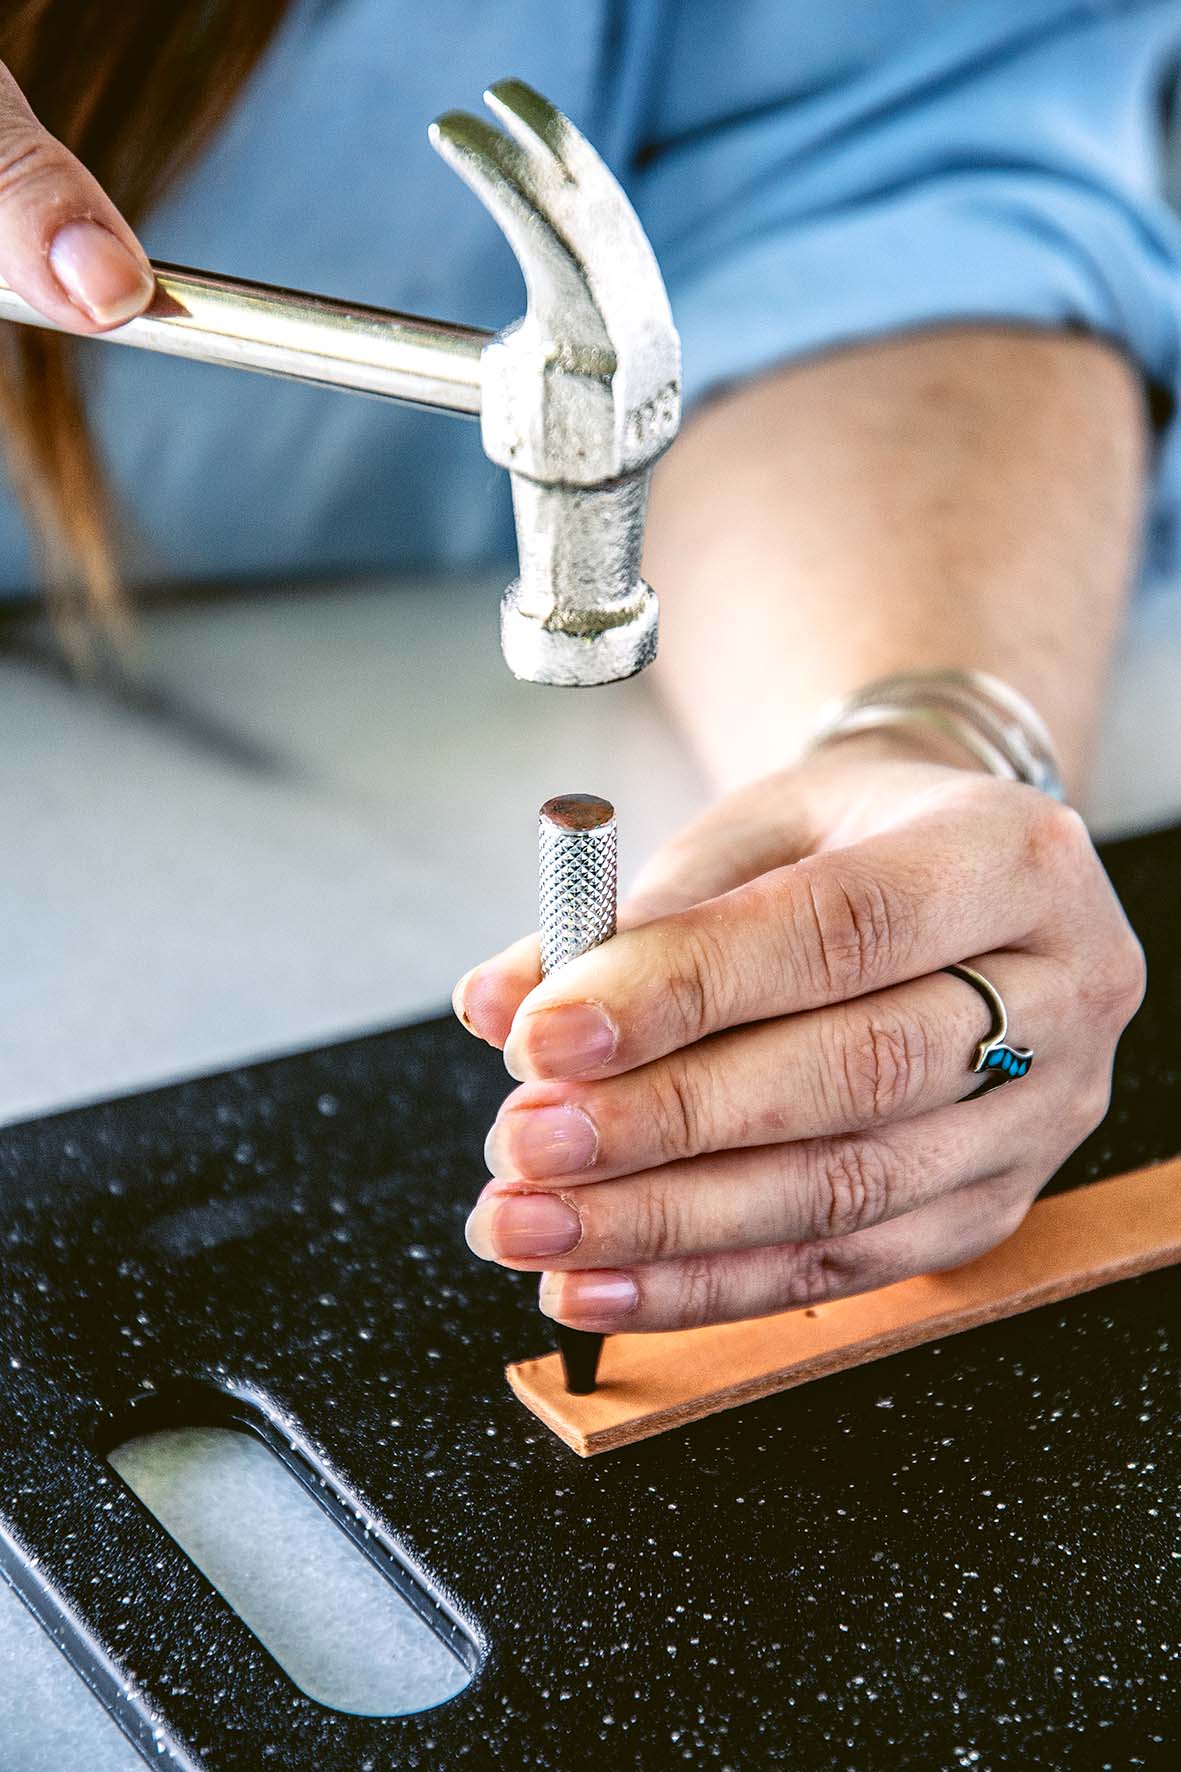
6 Grab the cutting board, hammer and hole punch.
- Place one 30cm leather strap on the cutting board and use the hole punch and hammer to punch all four holes you marked.
- The wet leather will make it much easier to punch the holes. If your leather has dried a little, you can re-wet it with the sponge.
- Repeat this step with the three remaining 30cm straps. Now punch all six marked holes in the two 120cm straps.
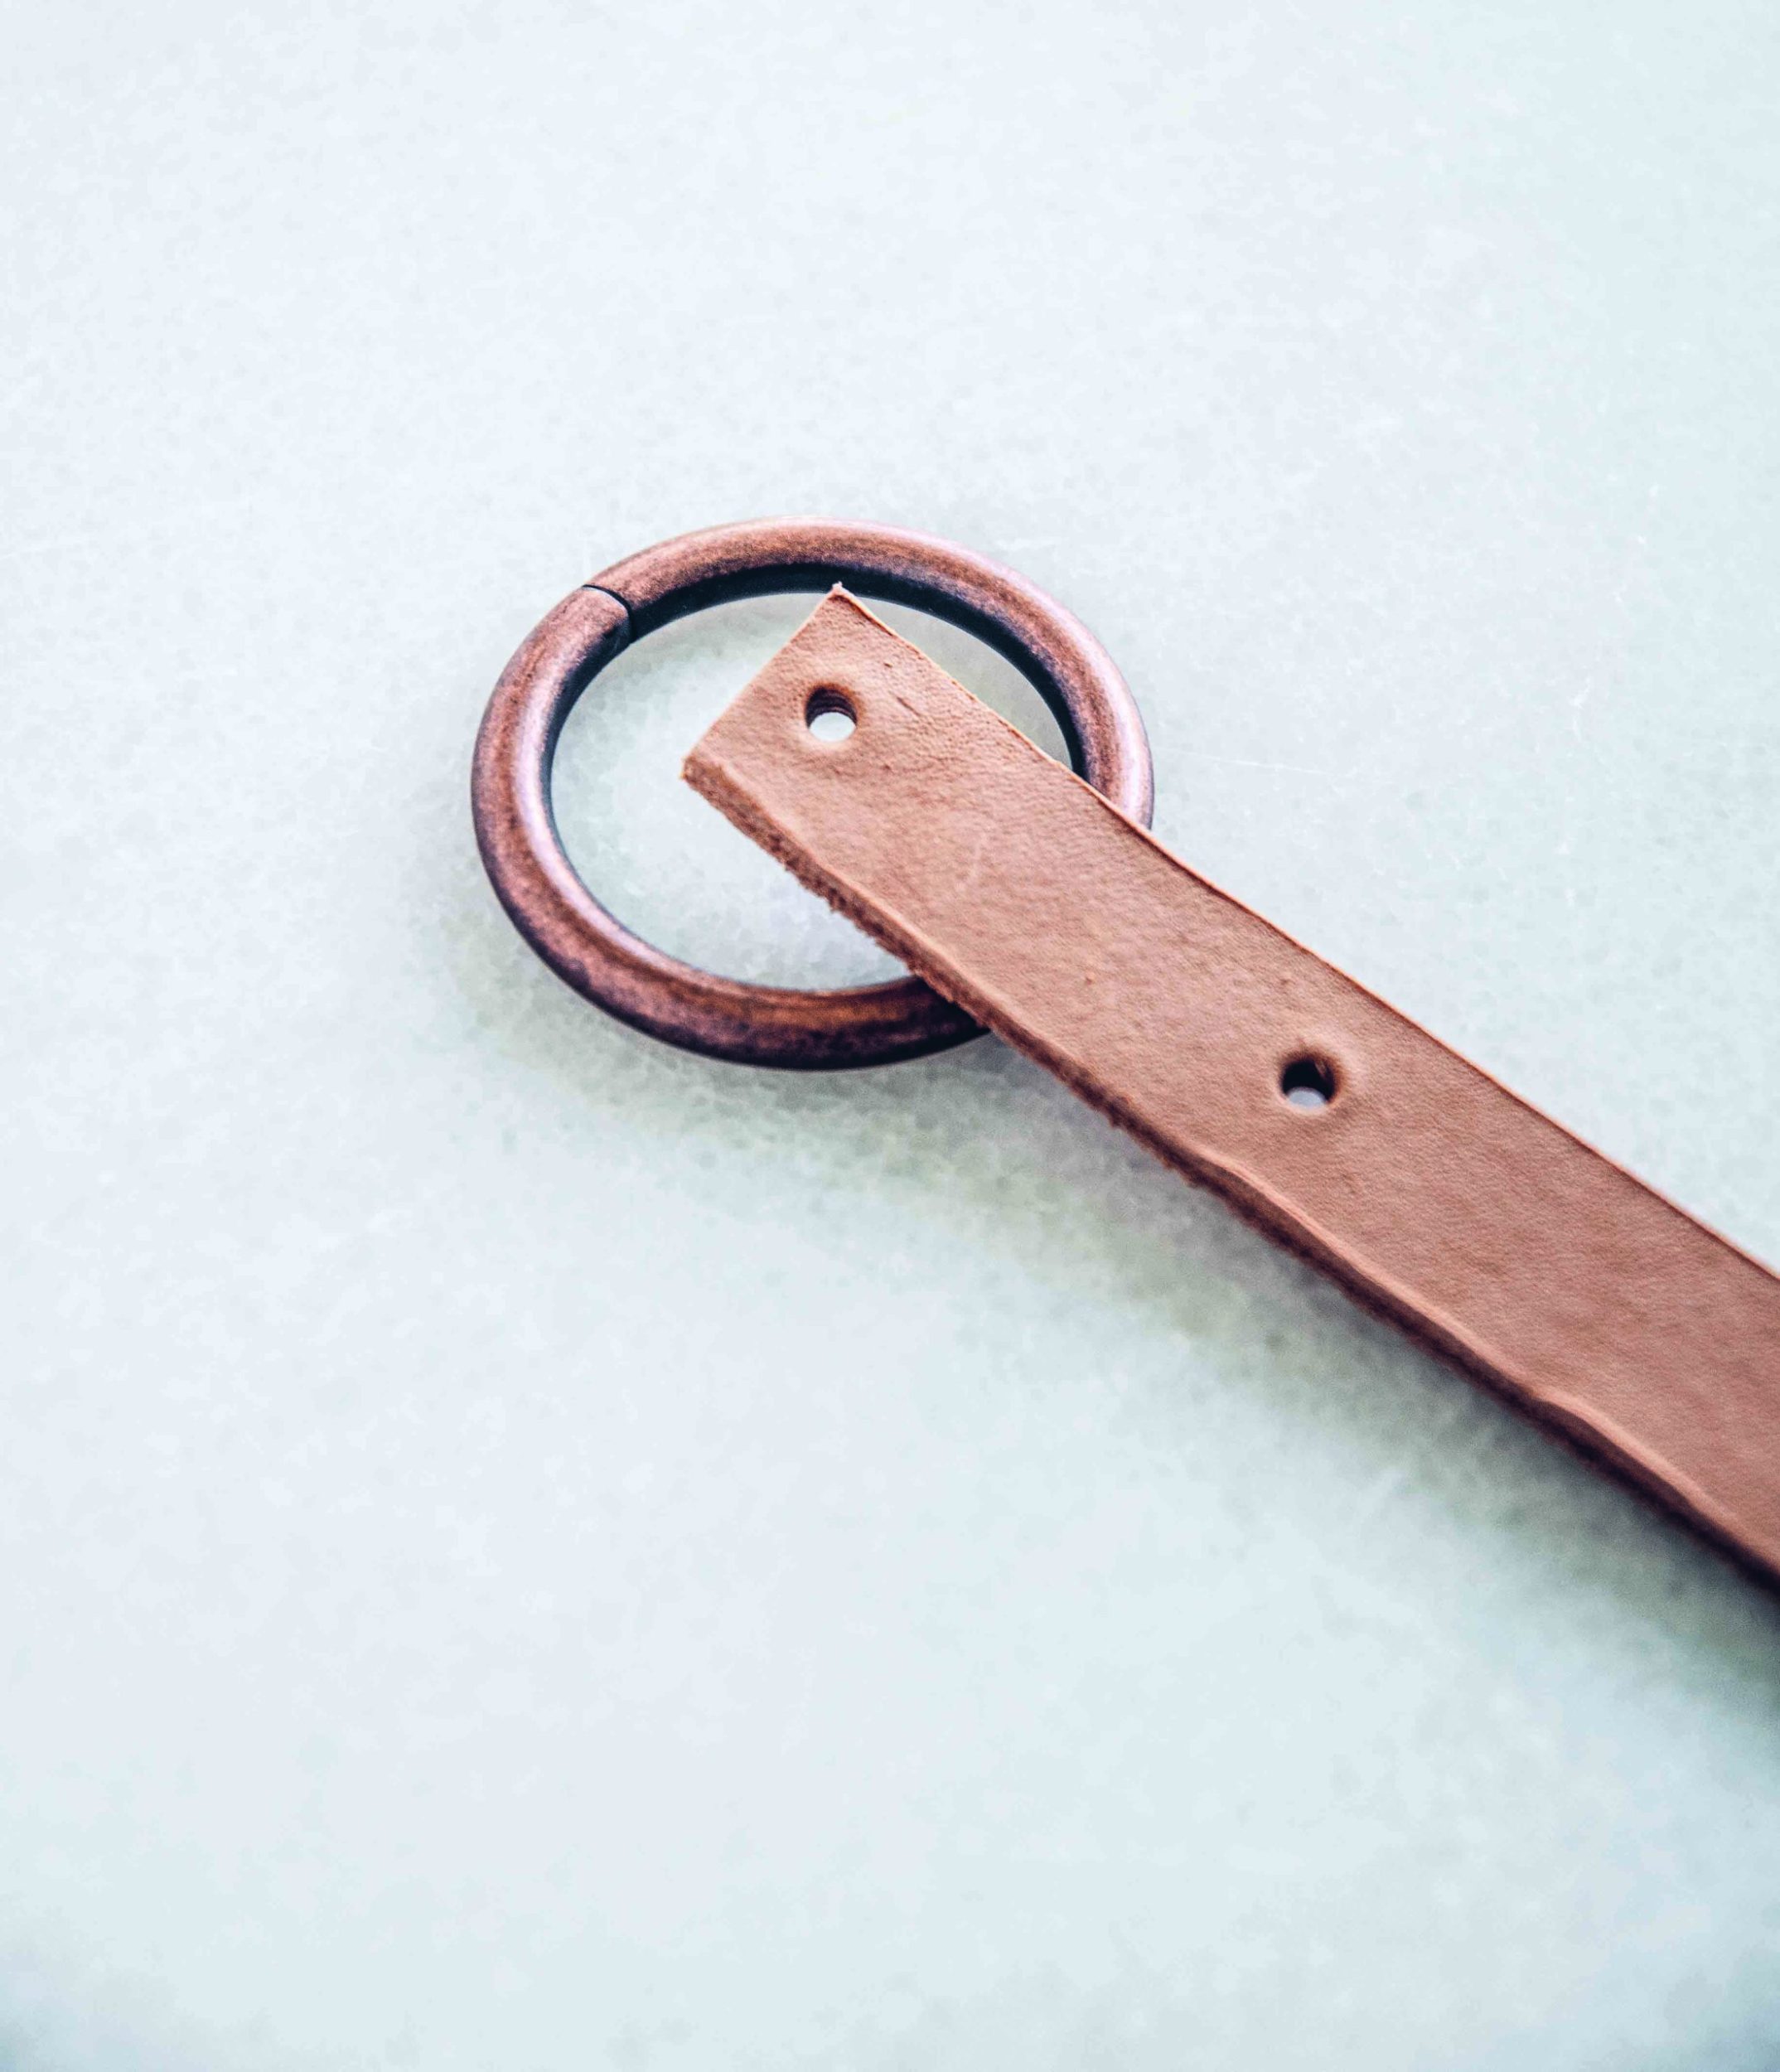
7 Grab the 30cm straps and one O-ring. Line up the straps so the ends marked at 5mm and 5cm from the end are at the bottom. This is the end that will connect to the O-ring.
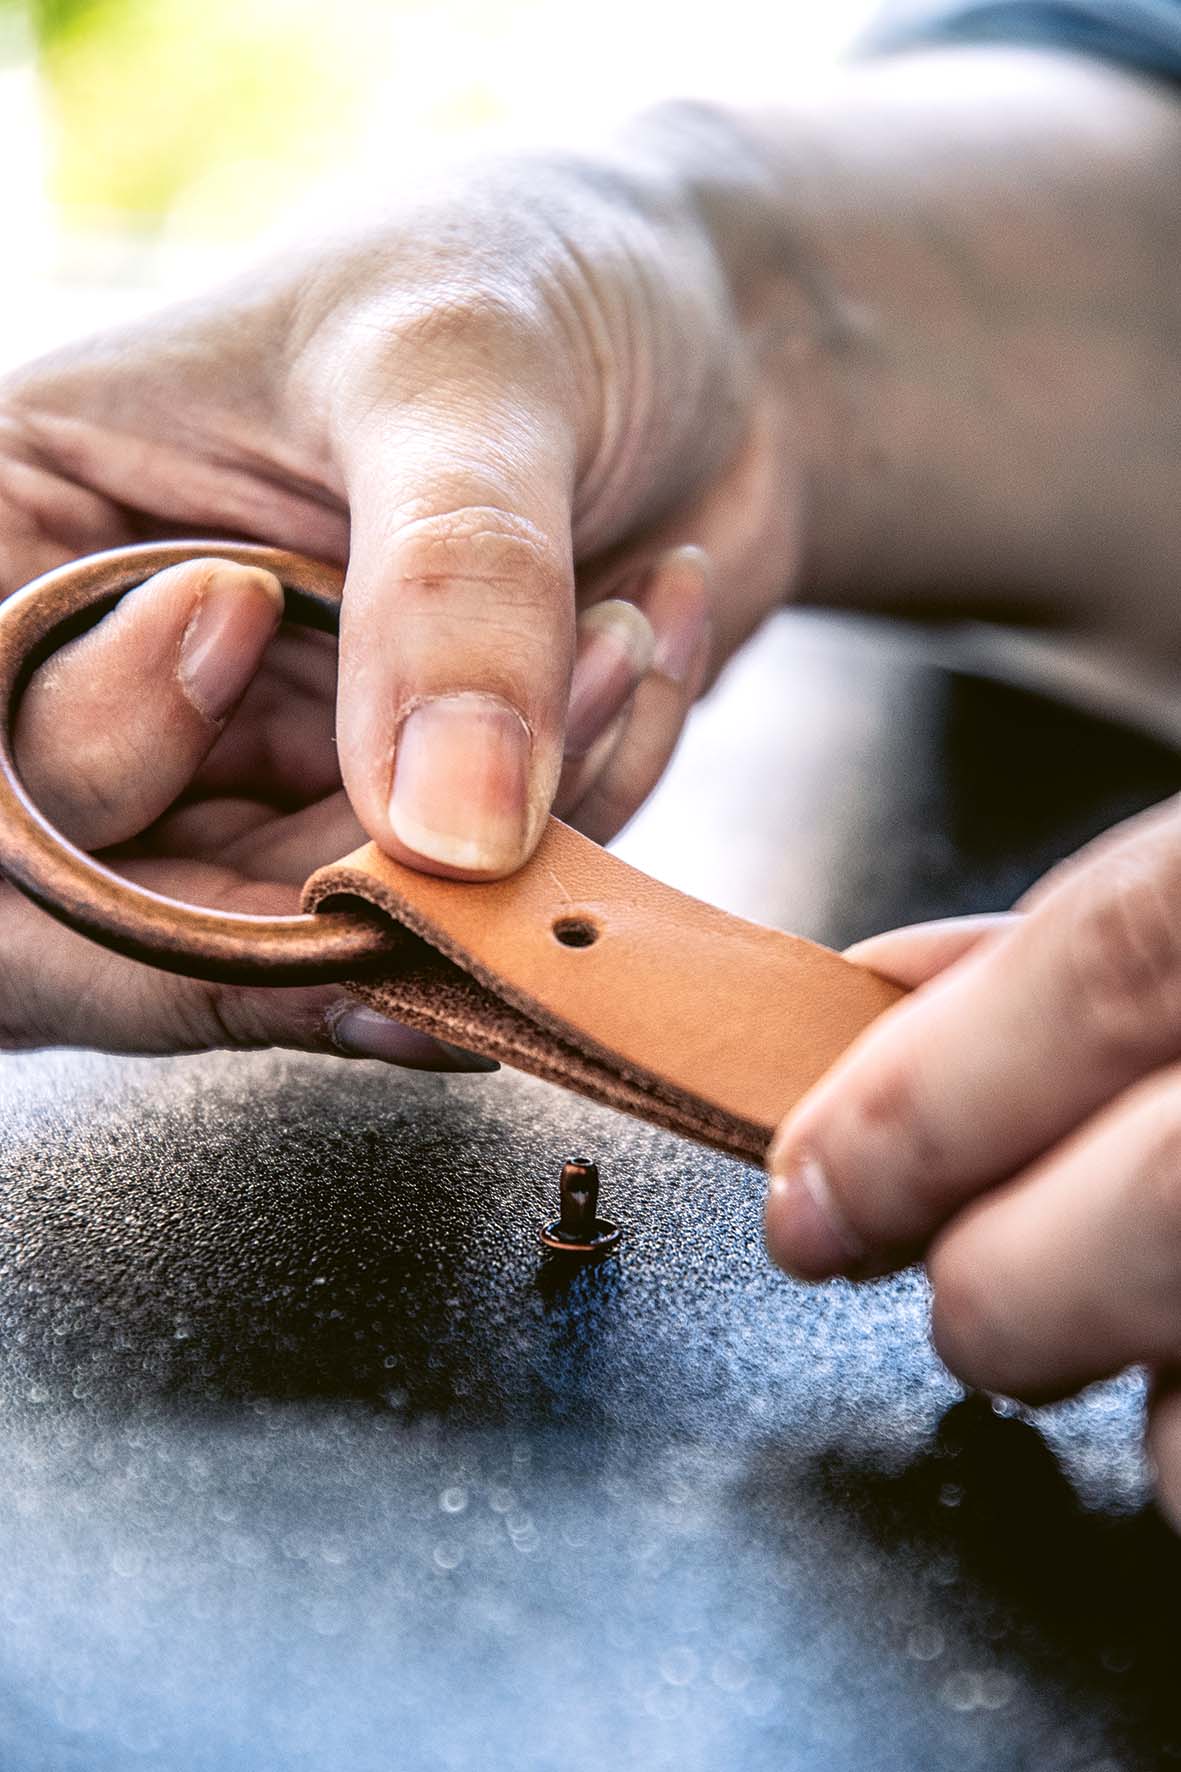
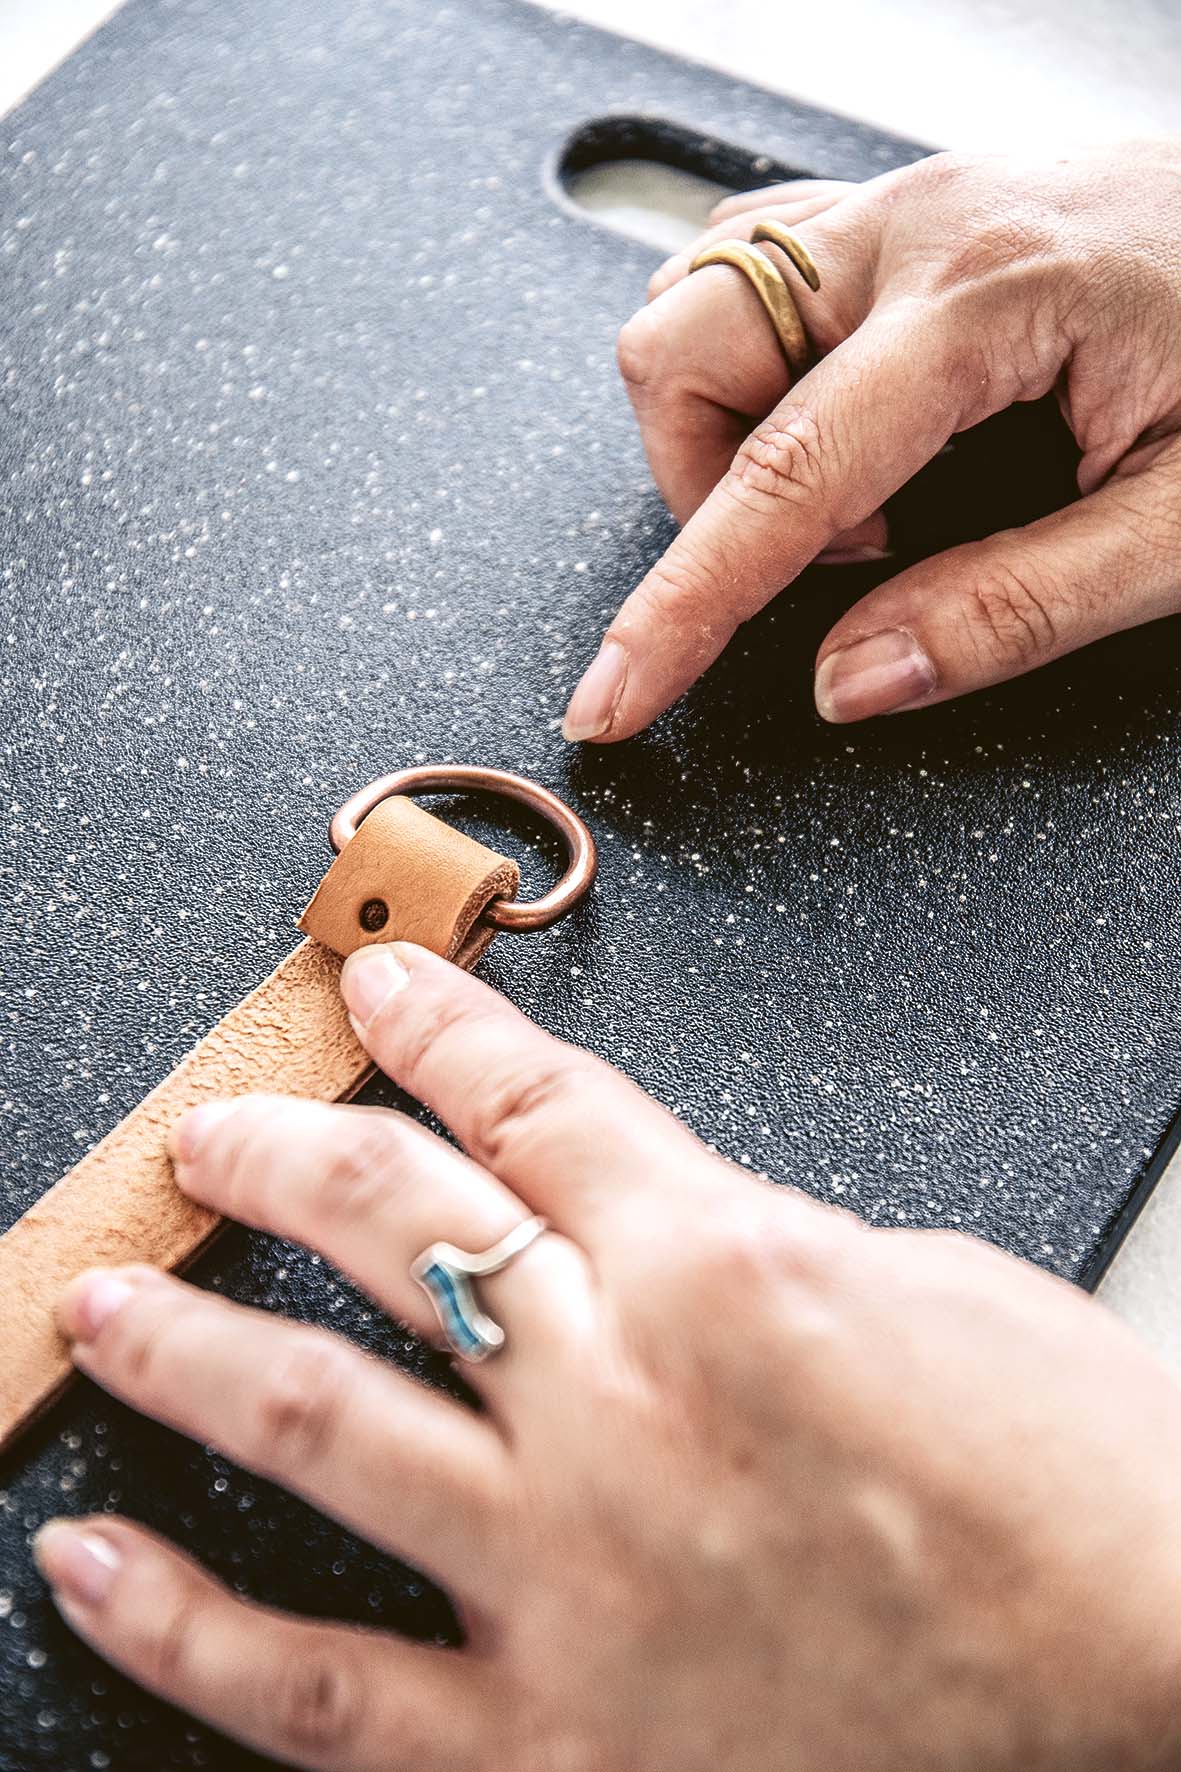
8 Place the O-ring on the cutting board. Take one 30cm leather strap, suede side facing up, and place the O-ring marked end under the O-ring. Wrap the strap around the O-ring so the two newly formed holes meet. The long end of the strap should face away from the O-ring.
9 You will need the rivets, rivet setter and hammer.
- Double-cap rivets have two parts – post side and cap side. Insert the post side from the bottom through the two holes. Place the cap end of the rivet on the other side.
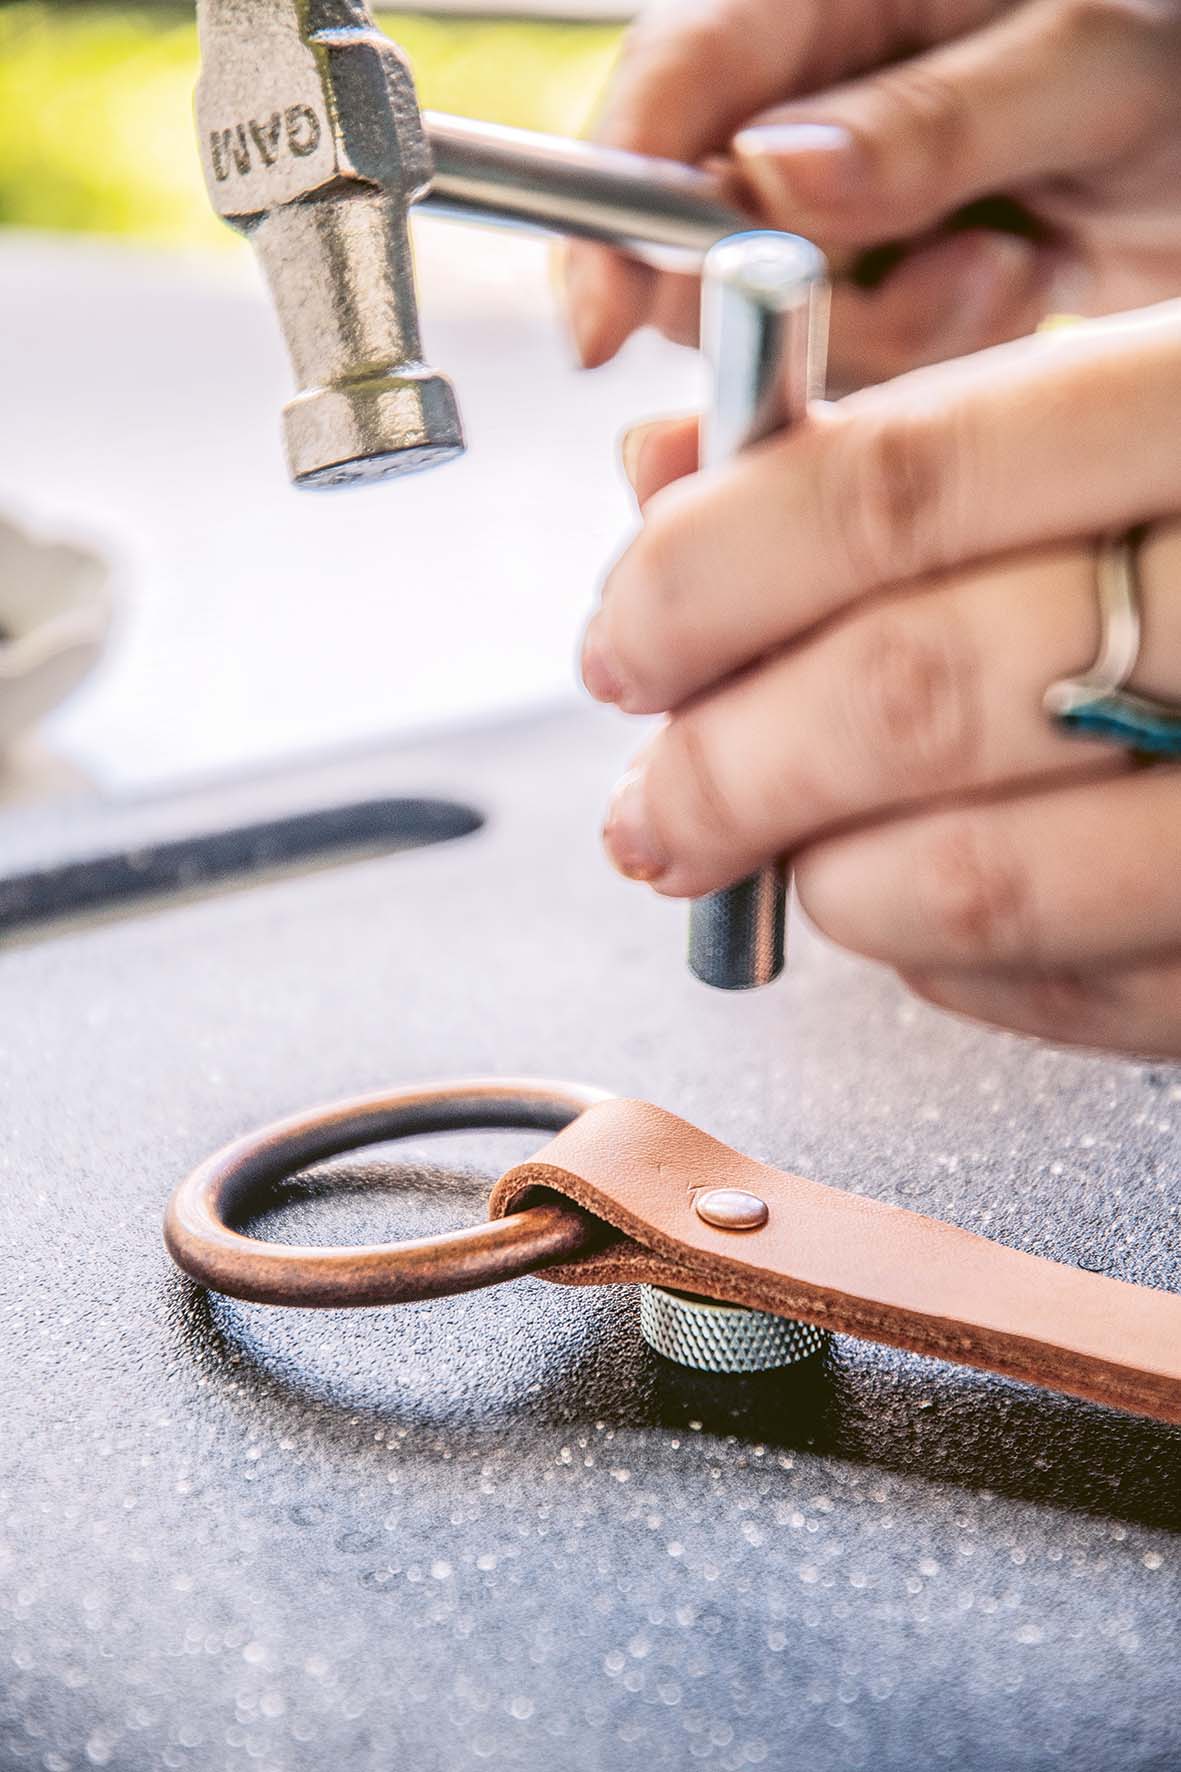
- Squeeze the rivets together to snap them shut. Using the rivet setter, rivet anvil and hammer, position the rivet on the anvil so the bottom cap lays inside the dip on the circular portion of the anvil.
- Place the concave portion of the rivet setter on top and give it a good tap with the hammer. Repeat steps 8 and 9 with the three remaining straps around the O-ring. Check that you are connecting the right end to the O-ring.
10 Using the D-rings, repeat the riveting process for the opposite ends of the straps. Now the straps that will hold your base tray are complete.
11 Feed one 120cm strap through the remaining O-ring. Rivet the two holes you made at the halfway point to secure the straps to the O-ring. Repeat this step with the other 120cm strap.
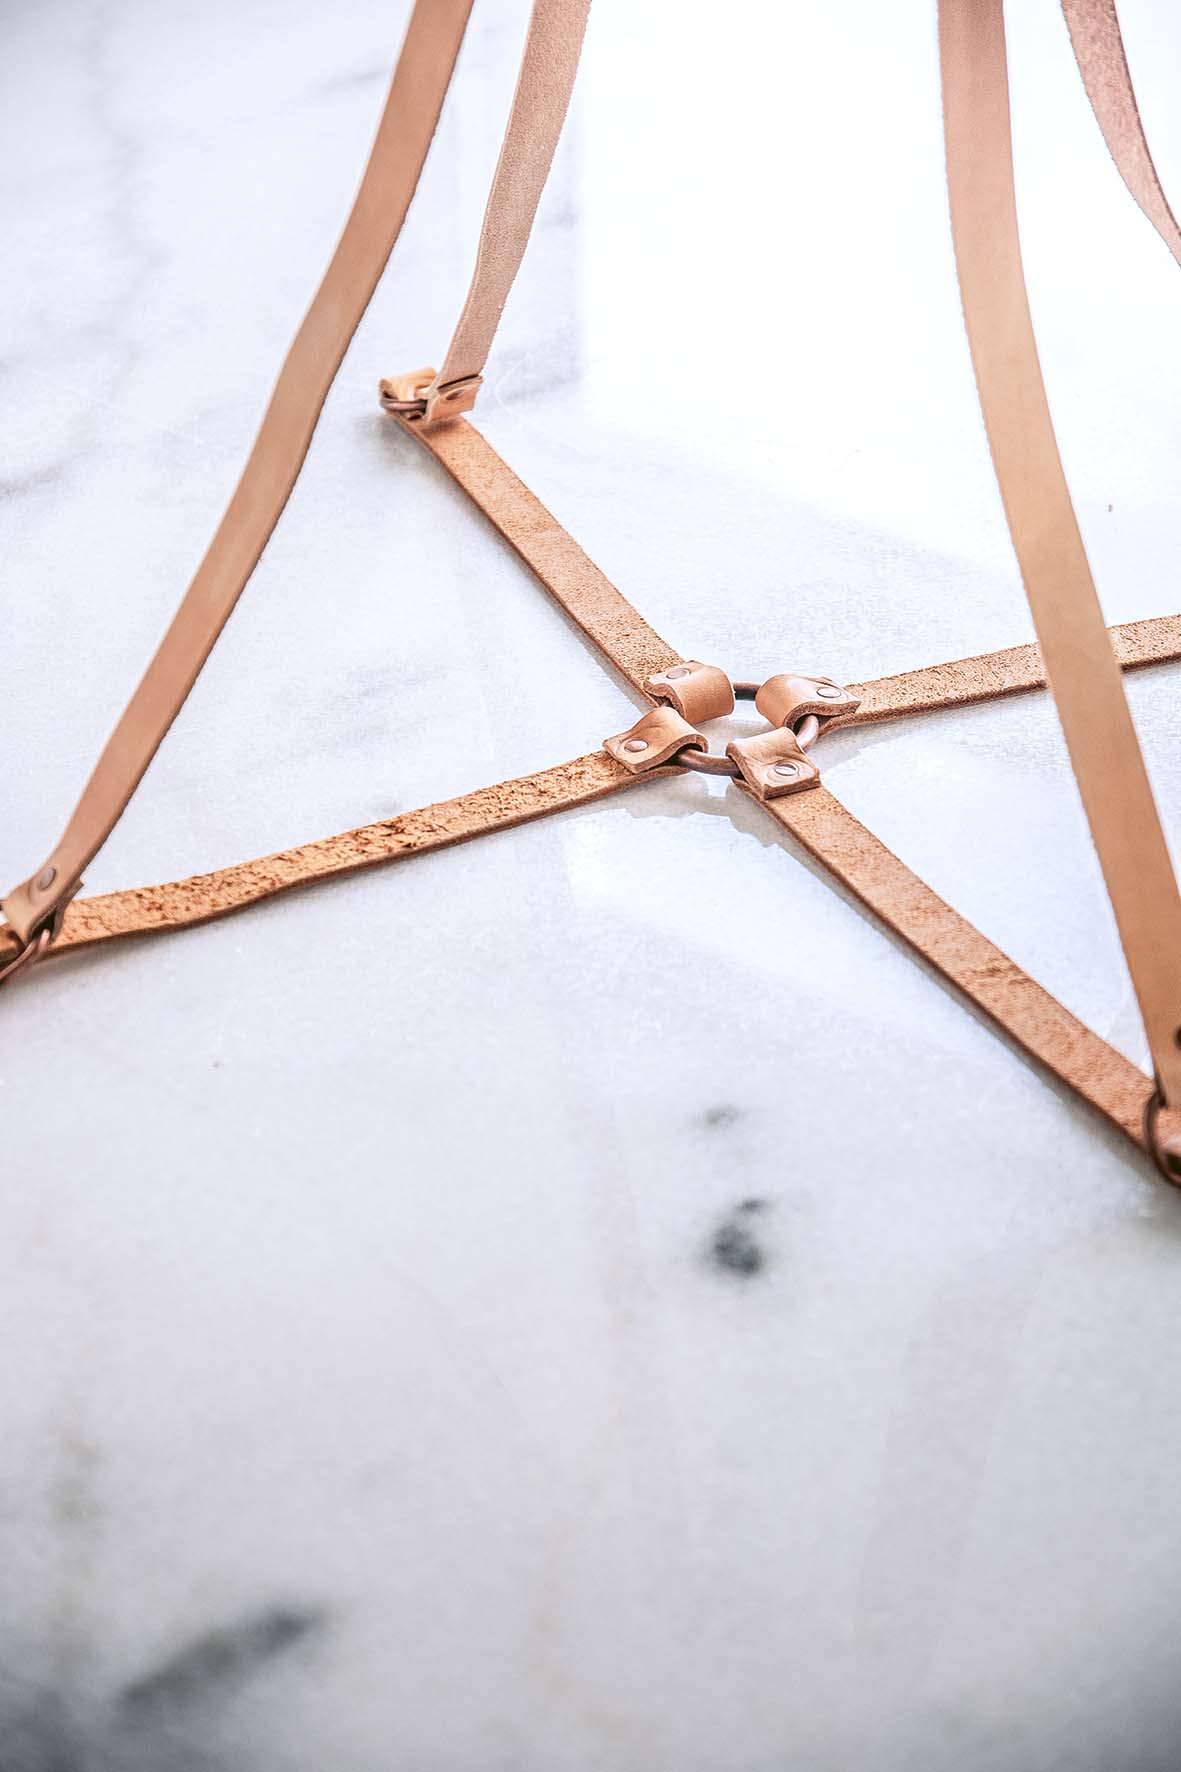
12 Now connect the long straps to the short straps. Rivet the ends of the 120cm straps to the D-rings of the 30cm straps. Make sure to match the leather grains as you attach, as it can be easy to attach them backward – you want the suede side facing inward. The straps should connect at the four points in a circular fashion so a base tray will sit inside and be supported. Avoid crisscrossing the long straps to the short straps while attaching. And you’ve done it! You now have your own plant hanger to display your beautiful plants and also your beautiful planters!