Magnetic frames make it easy to change what’s on display – whether it’s wallpaper or works of art.
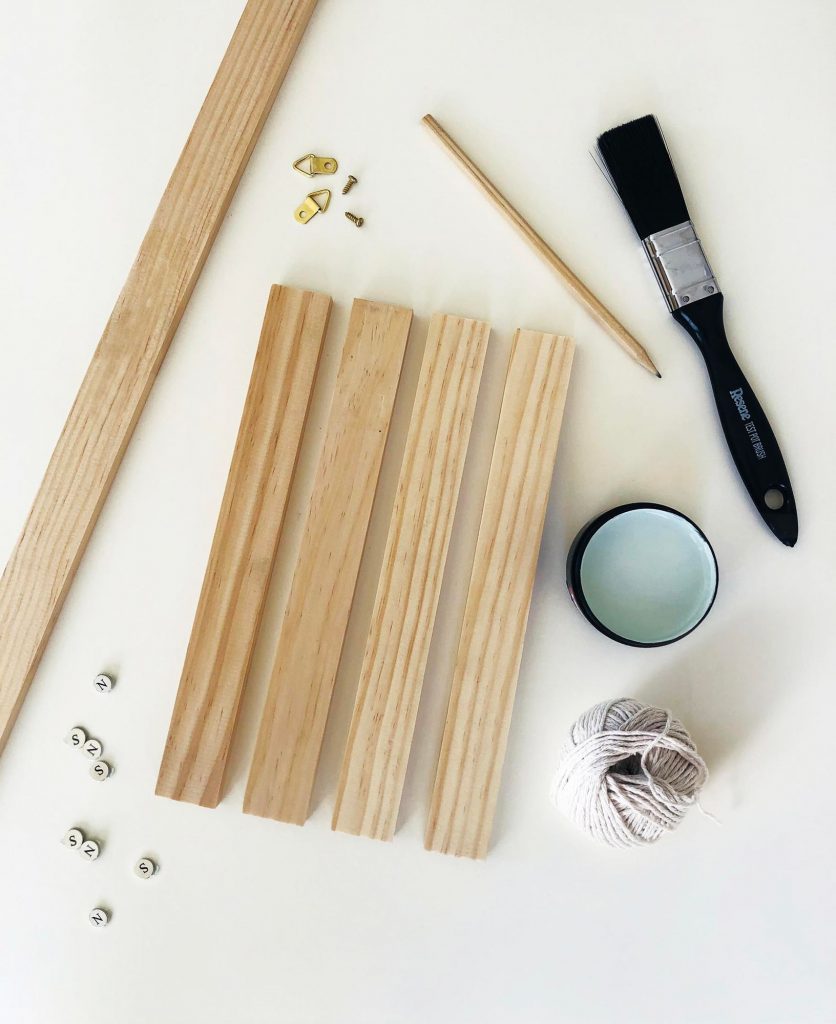
You will need
30x10mm pine lengths
Pencil
Ruler
Drill and 9.5mm drill bit Sandpaper
Resene testpots (see colours listed)
Resene testpot brush
Super glue
Extra-strong neodymium 9.5mm magnets
Screwdriver
Small triangle picture hangers
Twine to hang
Art paper
Removable masking tape
Resene art brushes
Craft glue
Resene wallpaper
Steps
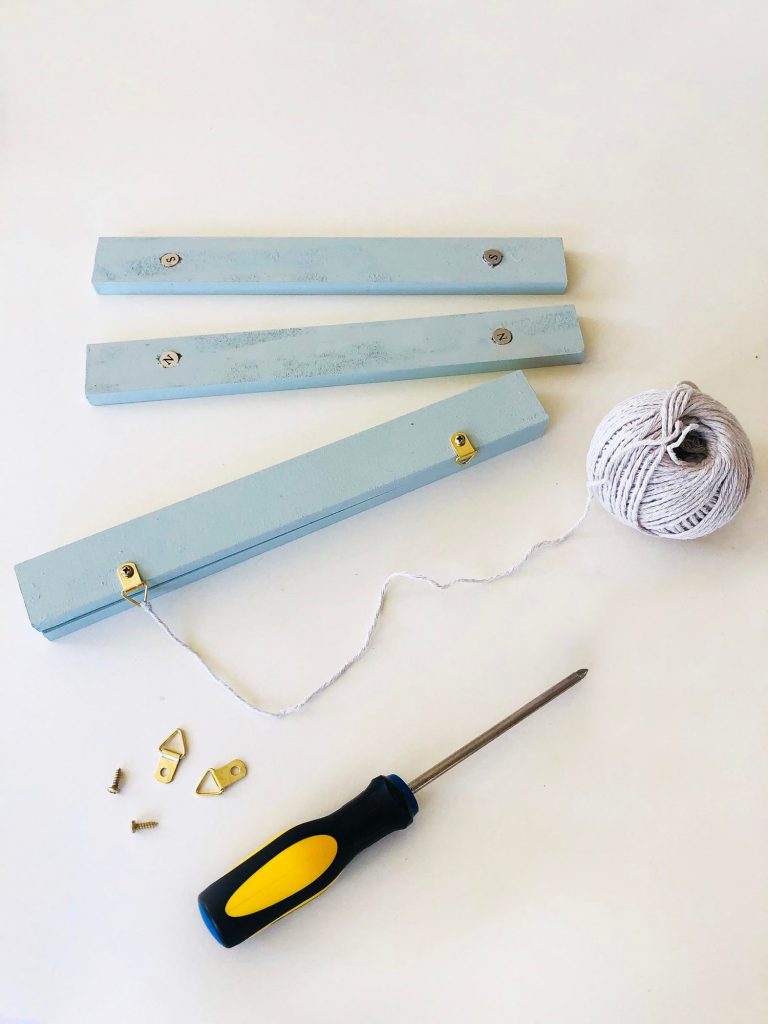
1. For each magnetic frame, you will need four pieces of pine cut to the same lengths, eg. 30cm (A). We made a variety of different sized frames for added interest on our feature wall.
2. Mark a cross 4cm in from each end (B) and drill a hole 9.5mm in diameter, the same size as our magnets.
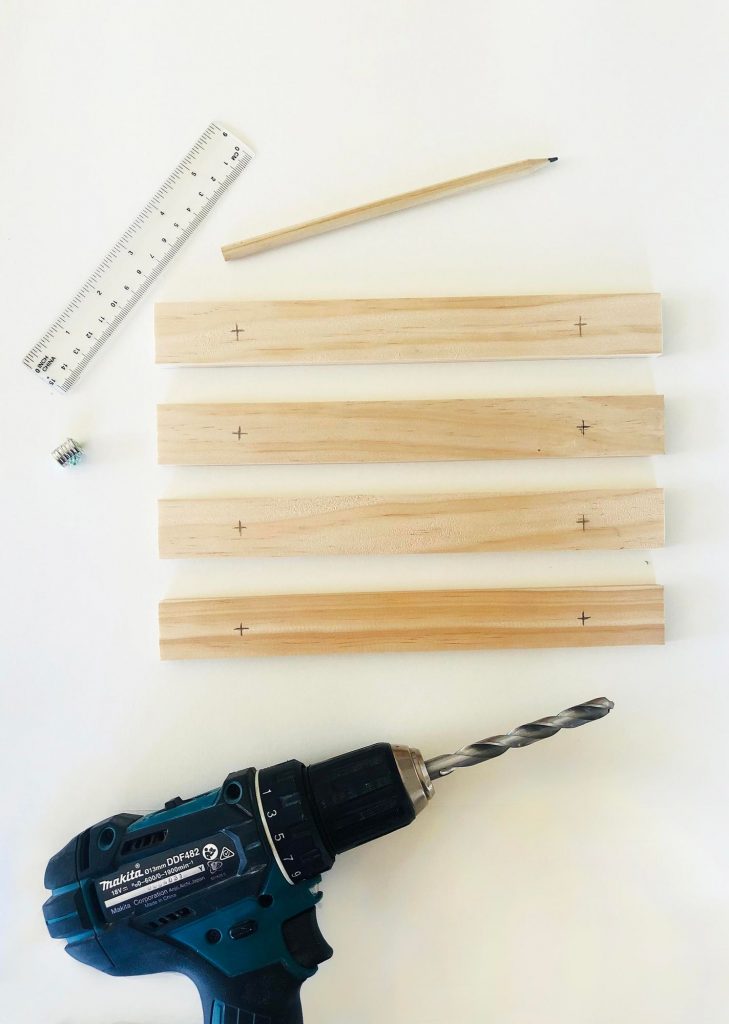
Drill only a few millimetres deep (C) – just enough to counter-sink the magnets so they sit nice and flush.
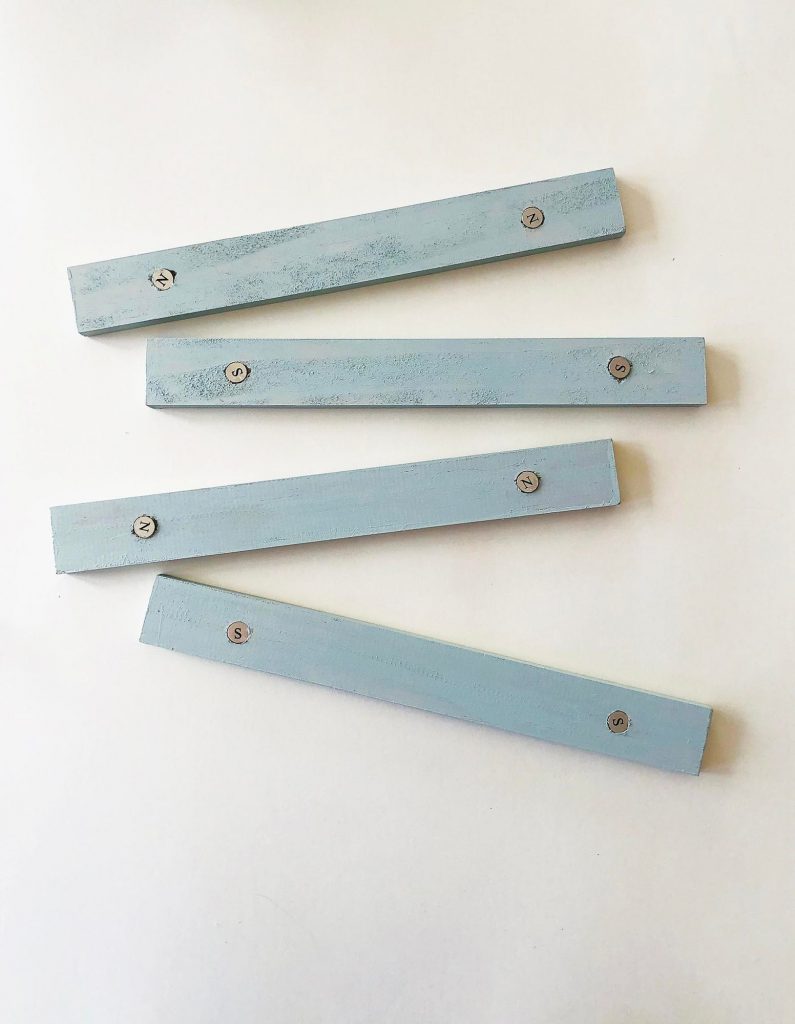
3. Lightly sand wood before painting, then paint two coats of Resene Rainee (D).
Cover all sides and leave to dry between coats.
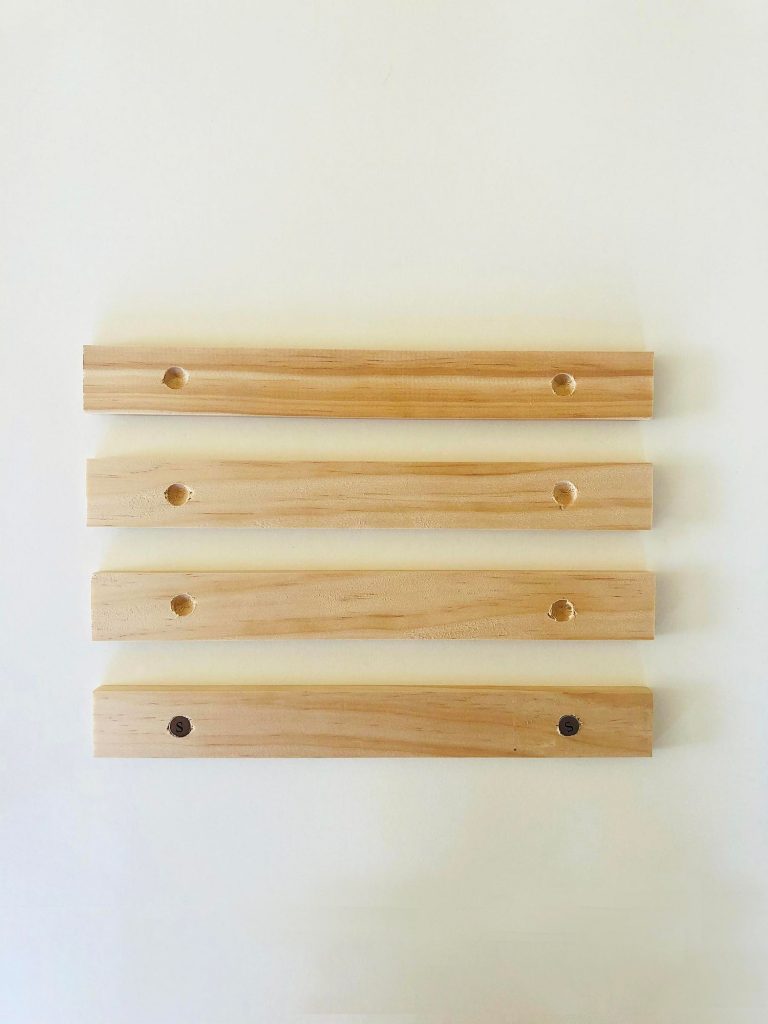
4. Once completely dry, use super glue to hold the magnets in place (E).
Make sure your magnets are compatible: positive and negative sides should be facing each other. The aim is to have a pair of pine pieces that snap evenly together at the top and bottom of your art work.
5. Screw into place two triangular picture hangers on the top back piece of painted pine. Attach a piece of twine to hang (F).
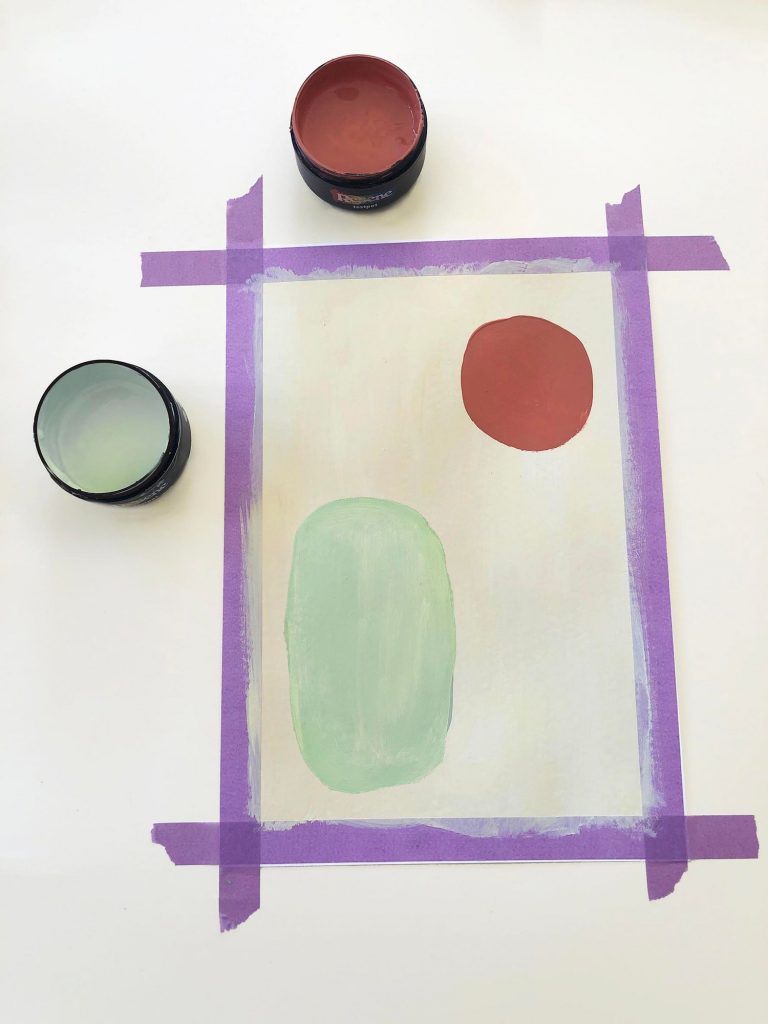
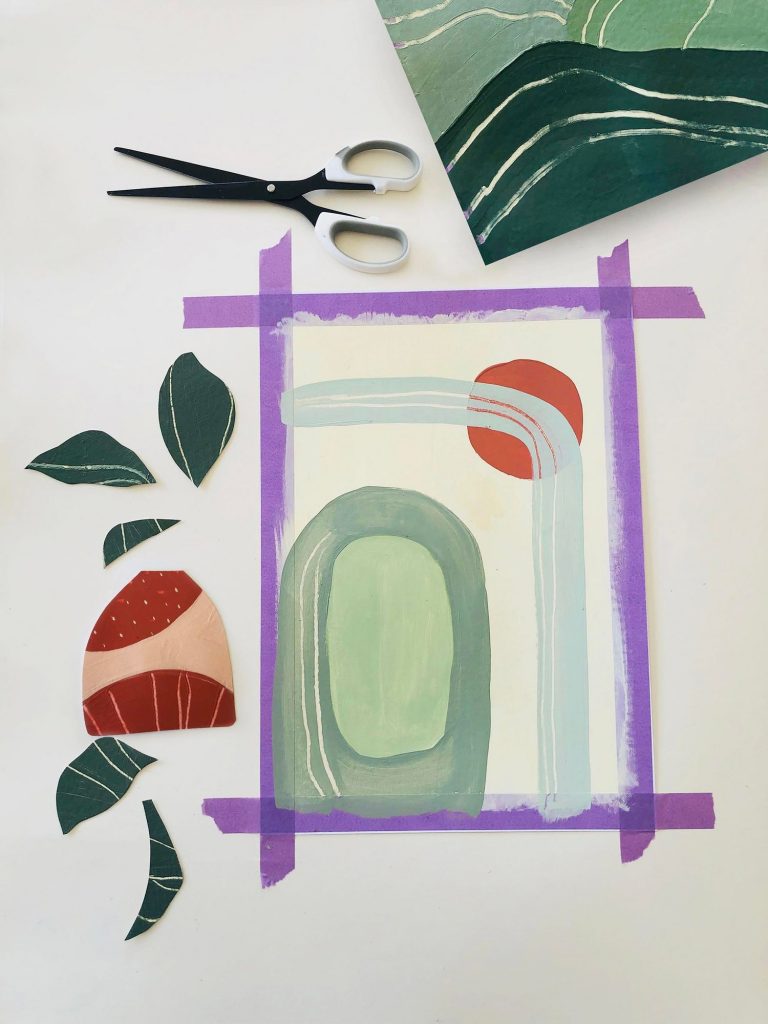
6. To make your artwork, take a piece of art paper and frame it with removable tape, for nice clean edges.
7. Paint the background in Resene Moonlight and let dry before painting a circle in Resene Apple Blossom and an oval in Resene Highland (G).
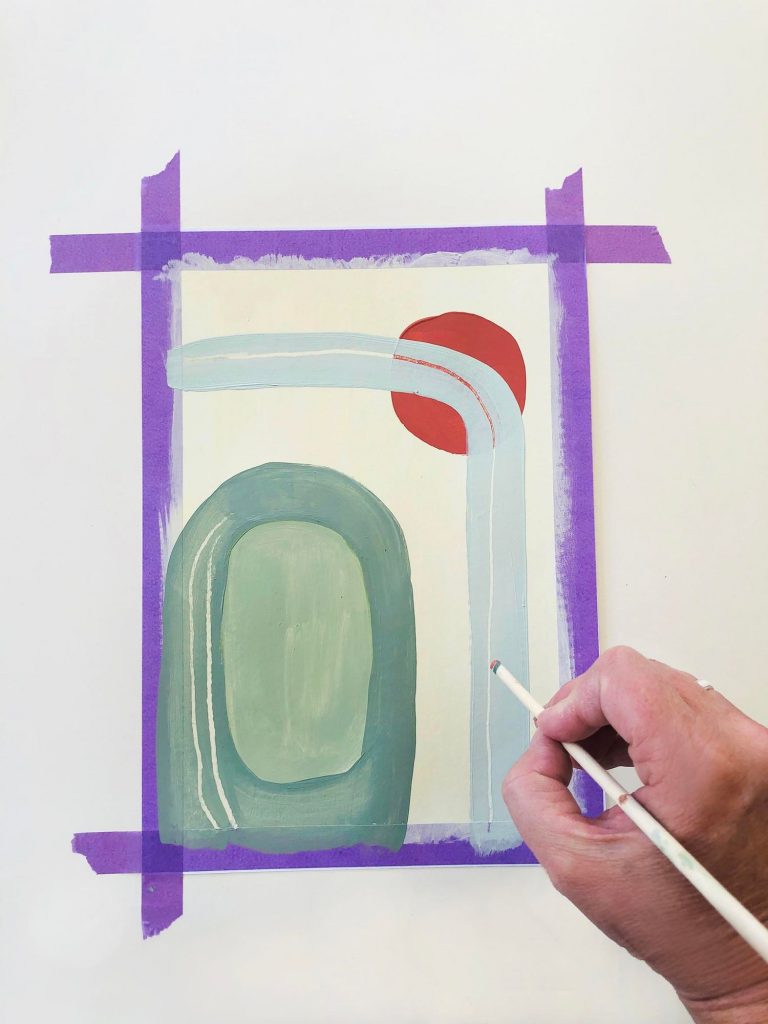
8. Paint the surrounds of the oval in Resene Xanadu and scrape back some lines with the end of your brush (H).
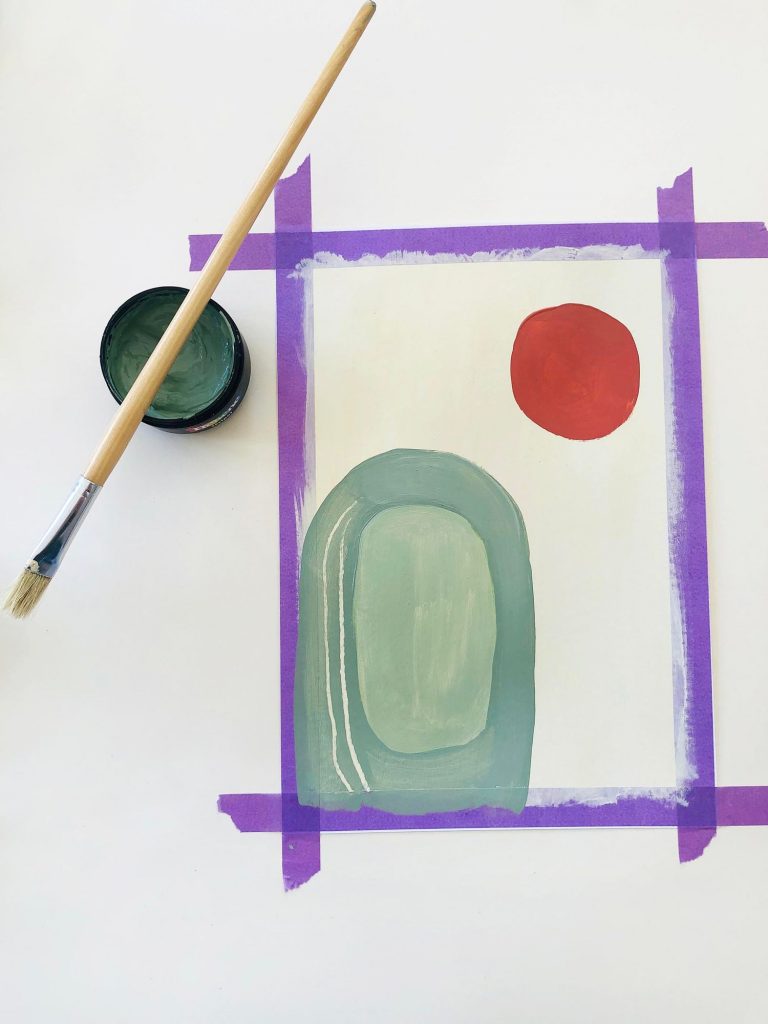
Paint an arc in Resene Rainee overlapping the circle, and scrape back some more lines (I).
9. On another sheet of art paper, experiment with your Resene colours to paint shapes and make markings. Once dry, we cut out some shapes to use as leaves and a vase (J).
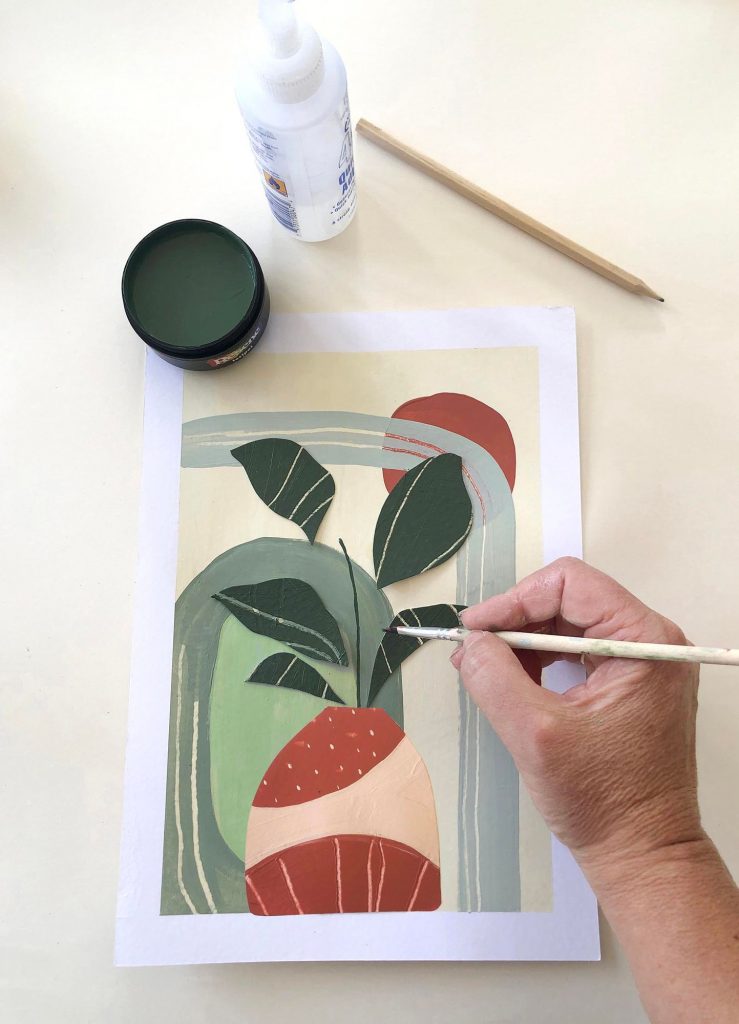
10. Remove the masking tape and glue the shapes in place, painting a stalk for the leaves in Resene Half Forest Green (K).
11. To use the frame, simply snap your chosen art or wallpaper between the bars (M). Make sure the piece with the twine is at the top.
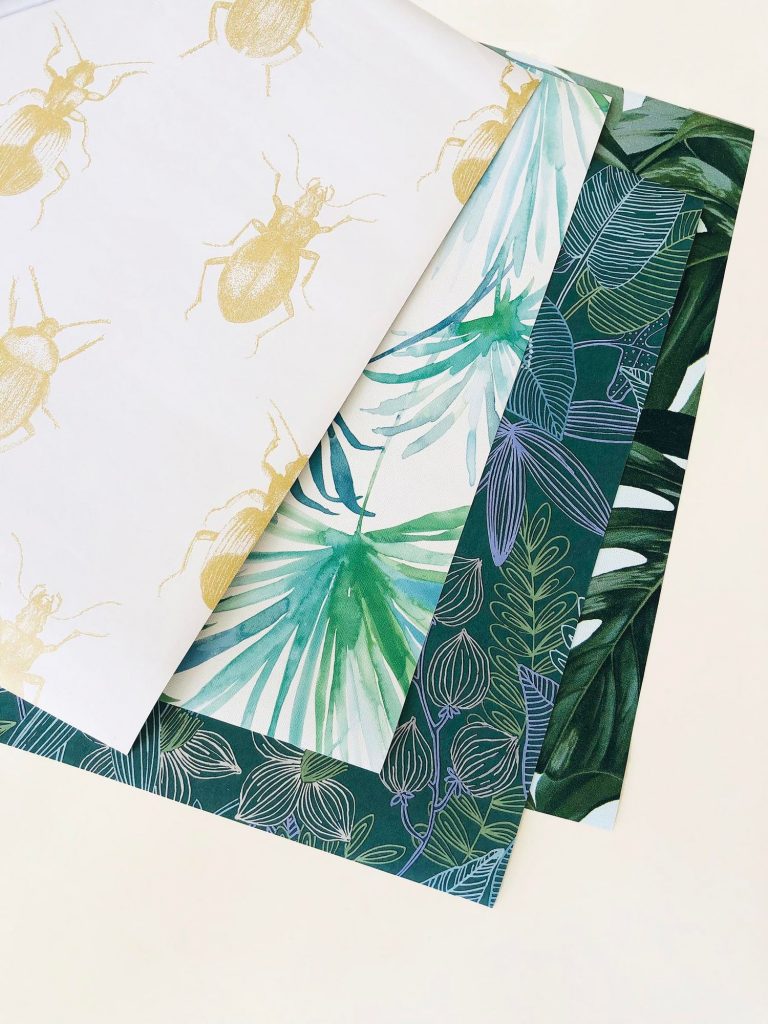
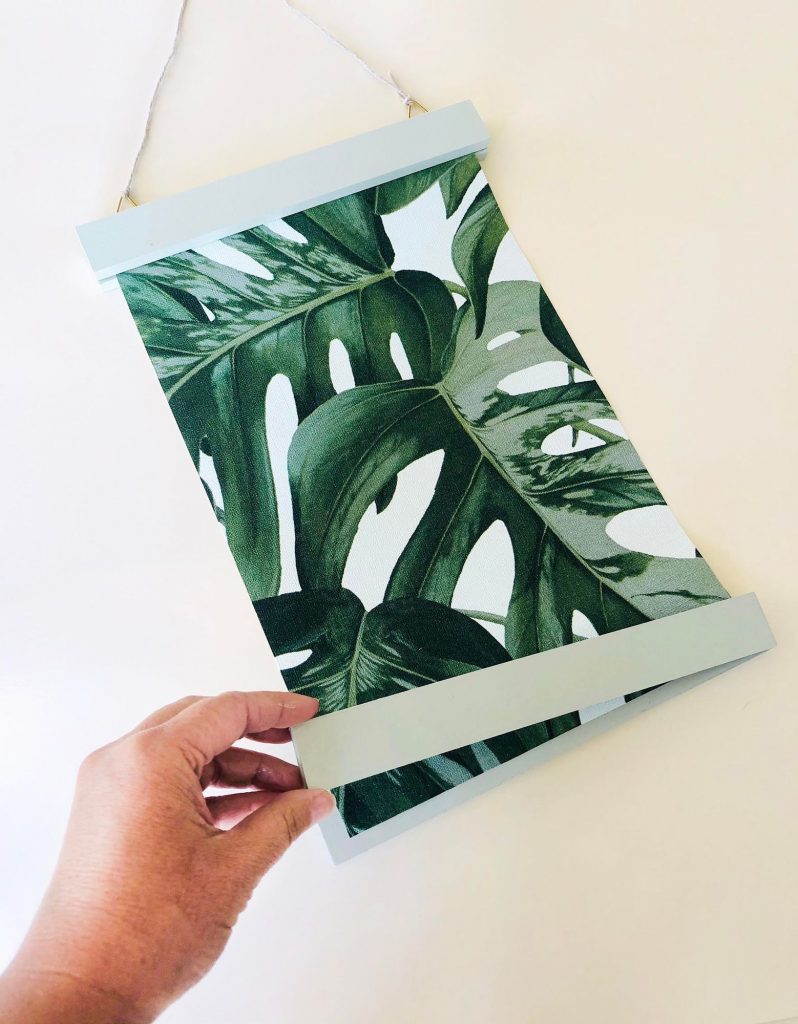
NOTE: You can also hang pieces of wallpaper for quick and easy wall art (L). We’ve used Resene Tropic Exotic Wallpaper Collection 36624-2 and 36519-3, and Resene Portobello Wallpaper Collection 289502 .
This article is sponsored by Resene