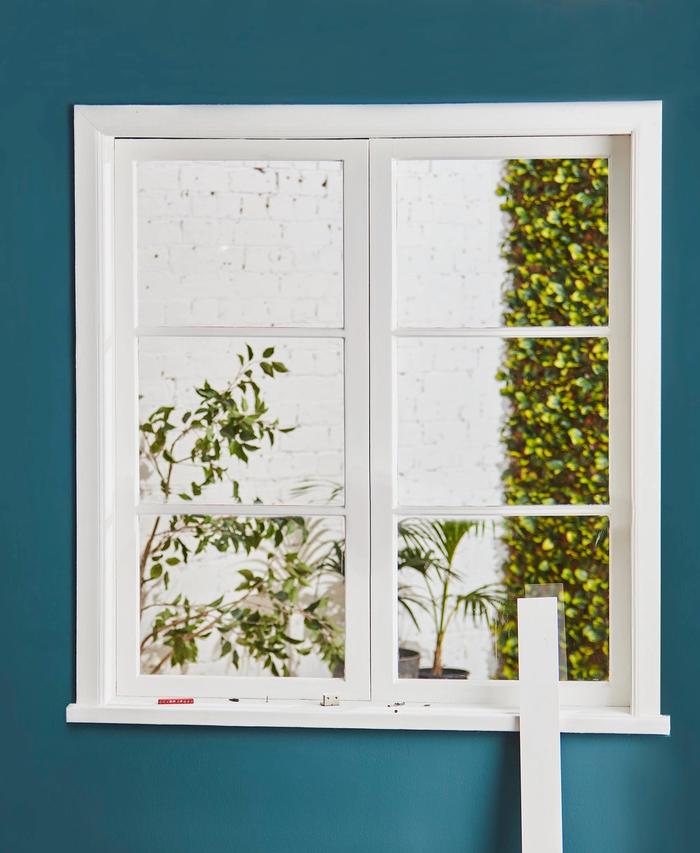
Transform regular casement windows into elegant grid-style options that double as pretty shelving – perfect for those small, sun-loving plants.
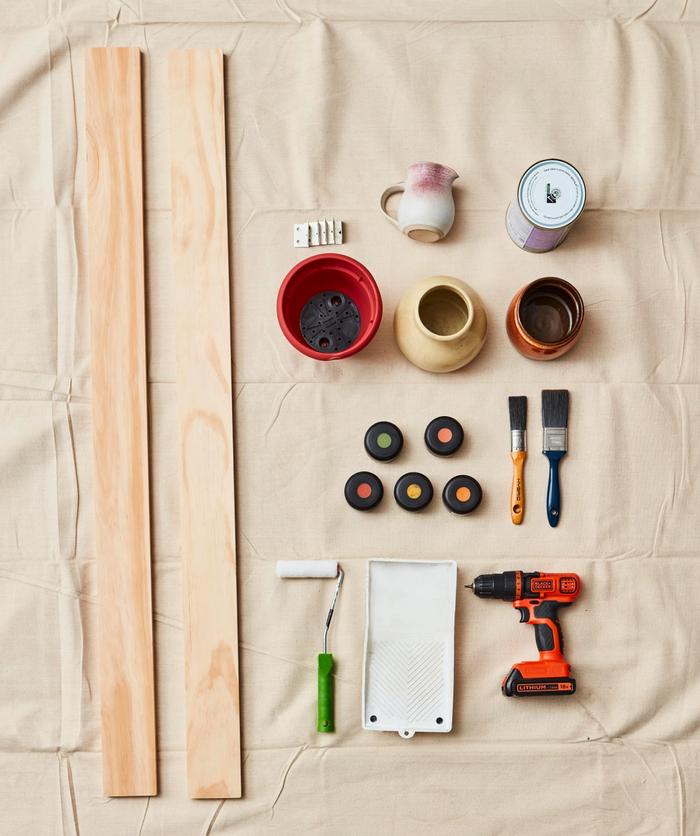
You will need
Measuring tape
2 lengths of unsealed pine timber cut to fit your window frame (in our case, 1225mm long x 90mm wide x 20mm deep)
Resene Quick Dry undercoat
Resene Lustacryl, tinted in a Resene shade that matches the existing paint colour of your frame (we used Resene Alabaster)
Mini roller
Paint tray
Pots and vases in a range of shapes and styles to suit your shelf (we used old storage containers and vases)
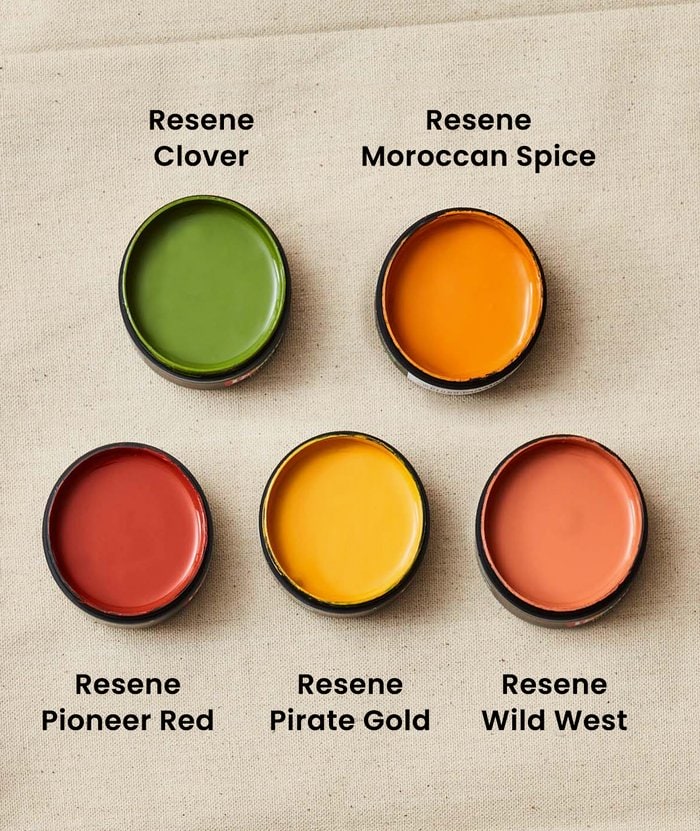
Resene testpots in your chosen shades (we used Resene Clover, Resene Moroccan Spice, Resene Pioneer Red, Resene Pirate Gold and Resene Wild West)
Resene Aquapel & Terracotta Sealer Paintbrushes
Pencil
Drill
4 x brackets (choose ones that come with screws)
Instructions
1 Measure the width and depth of your window frame. Choose a thickness for the shelves that suits your window. Cut your timber to these dimensions.
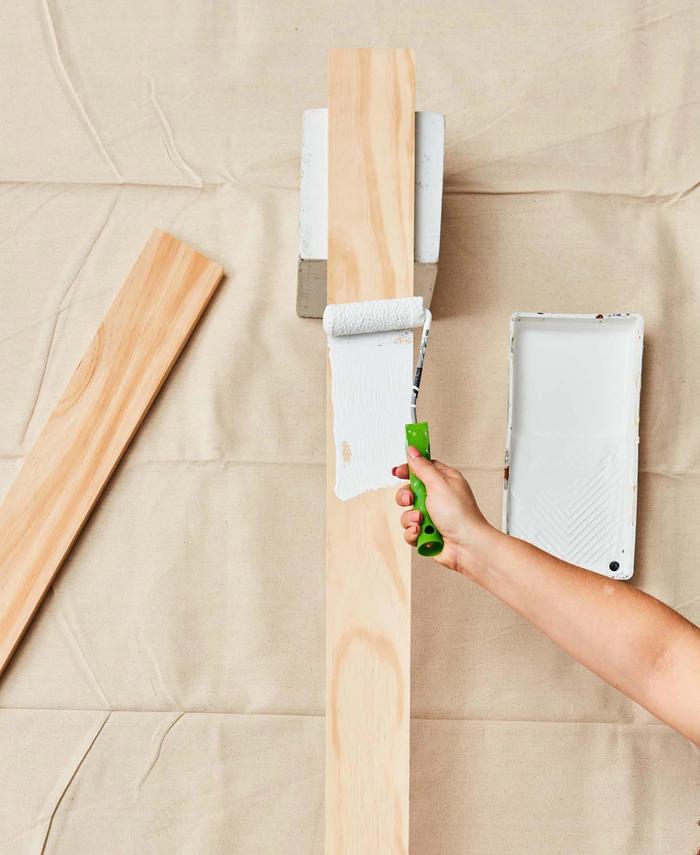
2 Paint your shelf timber with a layer of Resene Quick Dry undercoat. Once dry, paint the shelf in Resene Lustacryl in your chosen Resene colour, using a mini roller. Tip: Find some blocks to raise your timber so you can paint each surface easily.
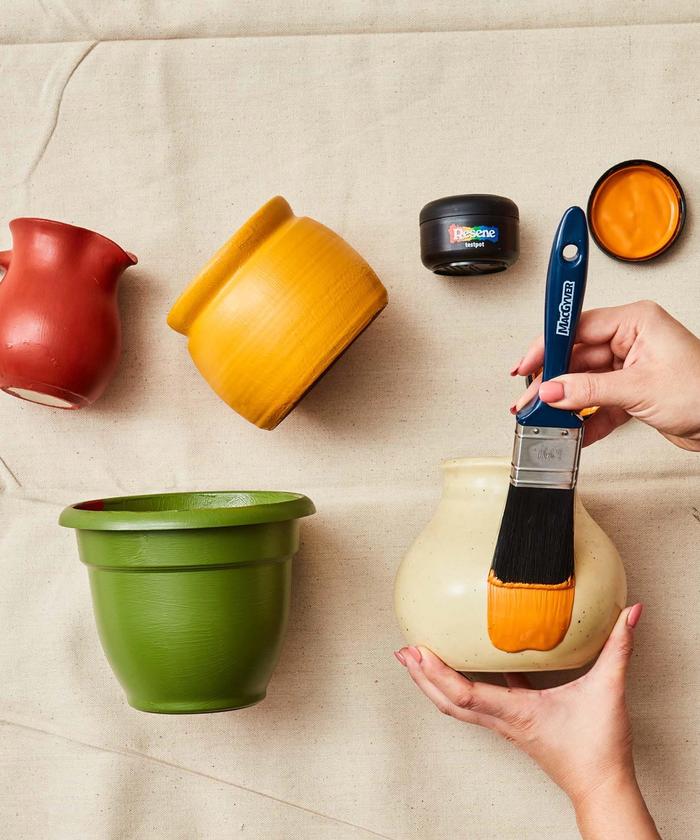
3 Seal your pots inside and out with Resene Aquapel & Terracotta Sealer. Once dry, topcoat using Resene testpots in your chosen Resene shades.
4 Place the first painted length of timber inside your window frame. Ask someone to hold it while you use a pencil to mark where the brackets connect with the window frame.
5 To attach the shelves, drill the screws into the window frame and timber through the holes in the brackets. Repeat this process with your second length of timber.

6 Fill your colourful pots with plants and have fun styling the finished shelves.