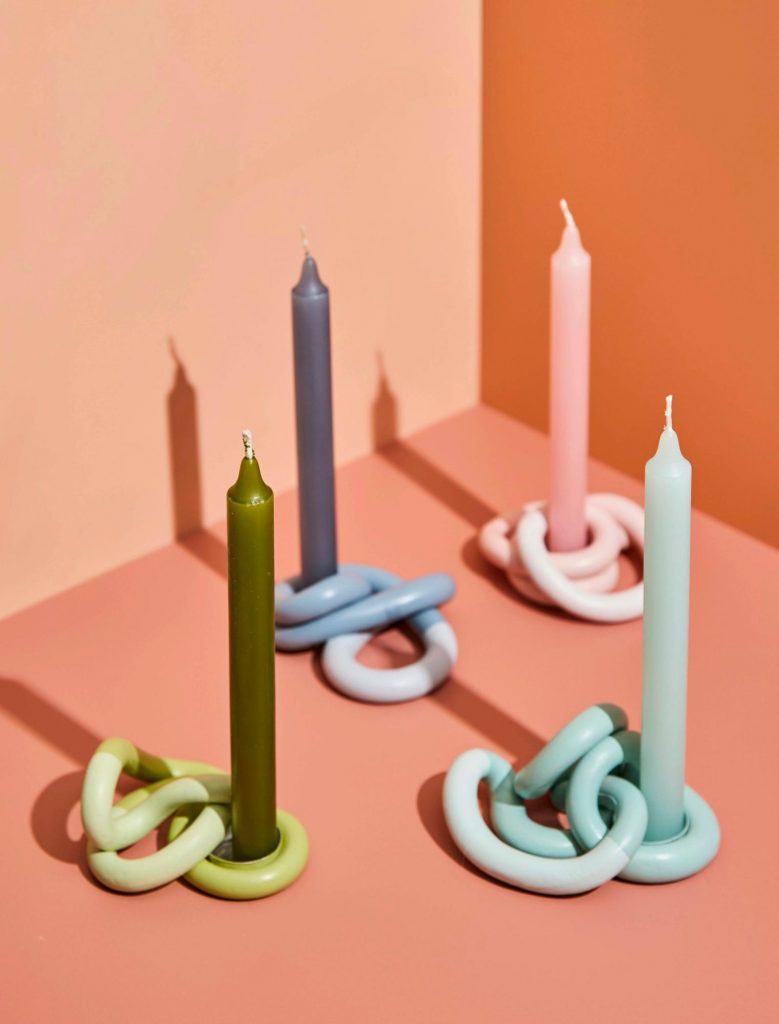
Looking for a fun weekend DIY project? Give your decor a twist with these two-toned clay candle holders.
You will need
- Oven-bake modelling clay (1 x 450g pack will make two candle holders)
- Knife Ruler Tea lights with a metal casing
- Coloured candles
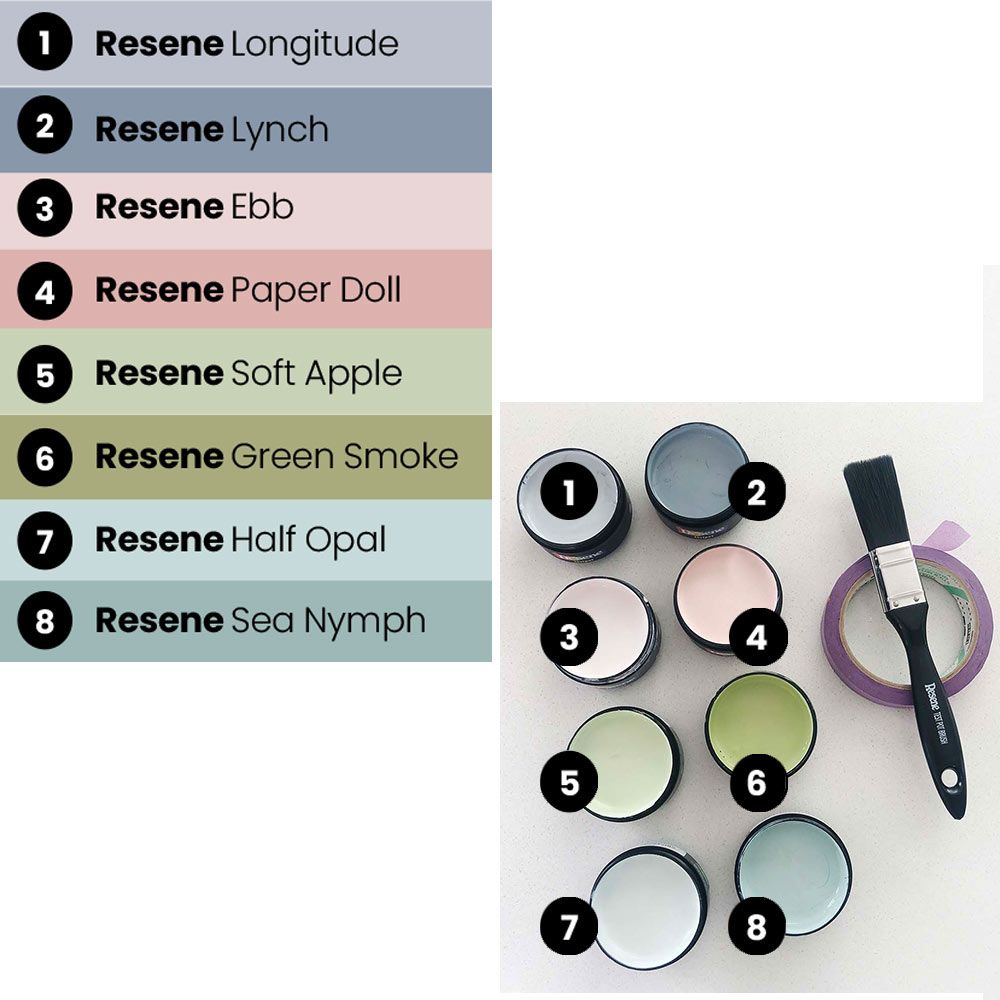
- Sandpaper Resene testpots (see colours listed below)
- Resene testpot brush and art brushes
- Removable masking tape
RESENE COLOUR TIP
Use the Resene colour palettes at your Resene ColorShop to find light and dark shades that work together. Your Resene colour expert will also help guide you
Method
Step 1
Cut your pack of clay in half, so you have approximately 225g of baking clay. Roll out the clay into a long cylindrical shape – the easiest way to do this is by using even pressure with the palms of your hands.
Slowly keep rolling, working your way along until you have an even, snake-like length approximately 70cm long and 18mm thick.
Step 2
Take a tea light and remove the candle from the metal casing. This will be the base for your coloured candle.
Step 3
Wrap one end of your length of clay around the tea light base (B), then start to twist and turn the length of clay to create an interesting shape (C-D). Go over and under, and even through loops – there’s no right or wrong here, it’s all about experimenting with shape and form until you create something you like.
Try and finish your shape so the end of the clay is hidden and meets the starting point (as above). Another important thing to remember is to create a space where your coloured candle can sit securely in the holder.
Before finishing your shape, put the candle in the space that it will sit to check if it fits and doesn’t rock around.
Step 4
Once you have made your pieces, carefully place on a baking tray with grease proof paper and bake at 130 °C for 15 minutes, or according to the packet instructions. Set aside to cool, then sand any unwanted bumps.
Step 5
Paint each holder using two Resene colours – one dark and one light. Paint the entire shape first in your darkest colour using a Resene testpot brush, then get into all corners and folds with a Resene art brush. Repeat with a second coat once dry.
Step 6
Tape a section of your candle holder to paint with your lighter Resene colour (as below). Give this section two coats and let dry before removing the tape.
IMPORTANT NOTE:
Adhere your candle to the tea-light holder by heating the bottom of the candle and melting the wax a little so it sticks firmly to the tea light base.
NEVER LEAVE A FLAME UNATTENDED
To discover more fun colour palettes visit Resene.co.nz
THIS ARTICLE IS SPONSORED BY RESENE