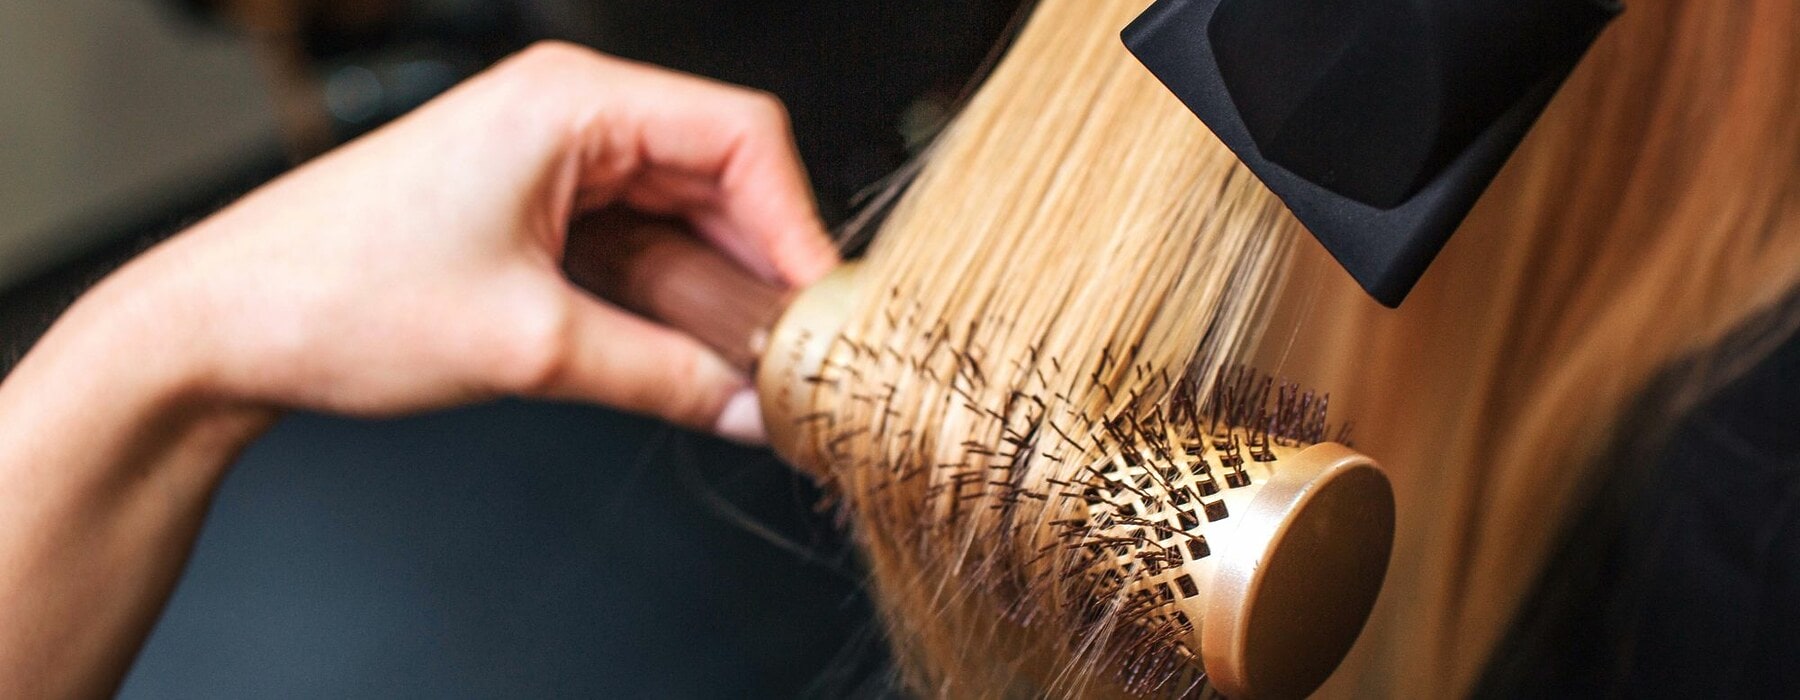
Get a salon finish by using the right tools when blow drying – and don’t forget the heat protectant!
One of the best parts about going to the salon is the beautiful blow dry afterwards. There’s just something about that bounce, shine and body the stylists create – which can be extremely difficult to recreate at home. However, with the right tips, tools and products, you can do it yourself and make it last up to five days! Follow along and get your best DIY blow dry ever.
Step 1
Make sure your hair has air-dried slightly, as soaking wet hair will take too long and expose your hair to more heat than is necessary. When towel drying, don’t rub your hair as this can damage the cuticle and cause frizz. Squeeze excess moisture out gently and try a microfibre towel, which decreases friction and makes for a smoother result.
Step 2
Use a special detangling brush or wide-toothed comb to remove any knots – using a traditional brush can cause hair to snap and break. Start from the ends and work your way up.
Step 3
Preparation and protection is key. The right products will ensure your style looks it best and lasts, as well as minimising heat damage. Most hairdressers’ primary tip will be to use heat protectant, so always apply it before blow drying. They come in sprays, creams and lotions and there’s one to suit all budgets. If it’s volume you’re after, apply a mousse or thickening spray right at the roots, making sure it’s distributed thoroughly.
Step 4
Section your hair from the bottom up, clipping away the part you aren’t drying. This means you’ll get every section perfectly dried and ensures a more uniform look. Choose the right brush for your hair type – a paddle brush is a great starting point to get the hair dry, then a round bristle brush is used to smooth and style.
Step 5
Start drying and be sure to use the nozzle attachment – the one that looks like a flat duck’s bill – as this gives a professional-looking finish. Point the nozzle downwards to make sure hair is smooth and work your way around from front to back.
Step 6
To finish, rub a smoothing serum or oil well into your palms and run through the mid-lengths and ends. Rubbing it in your hands first means you won’t get blobs of product through your hair and it gets distributes evenly.


