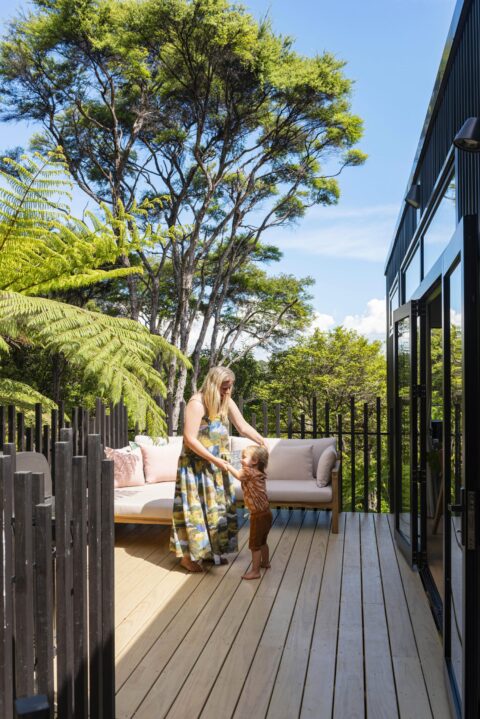
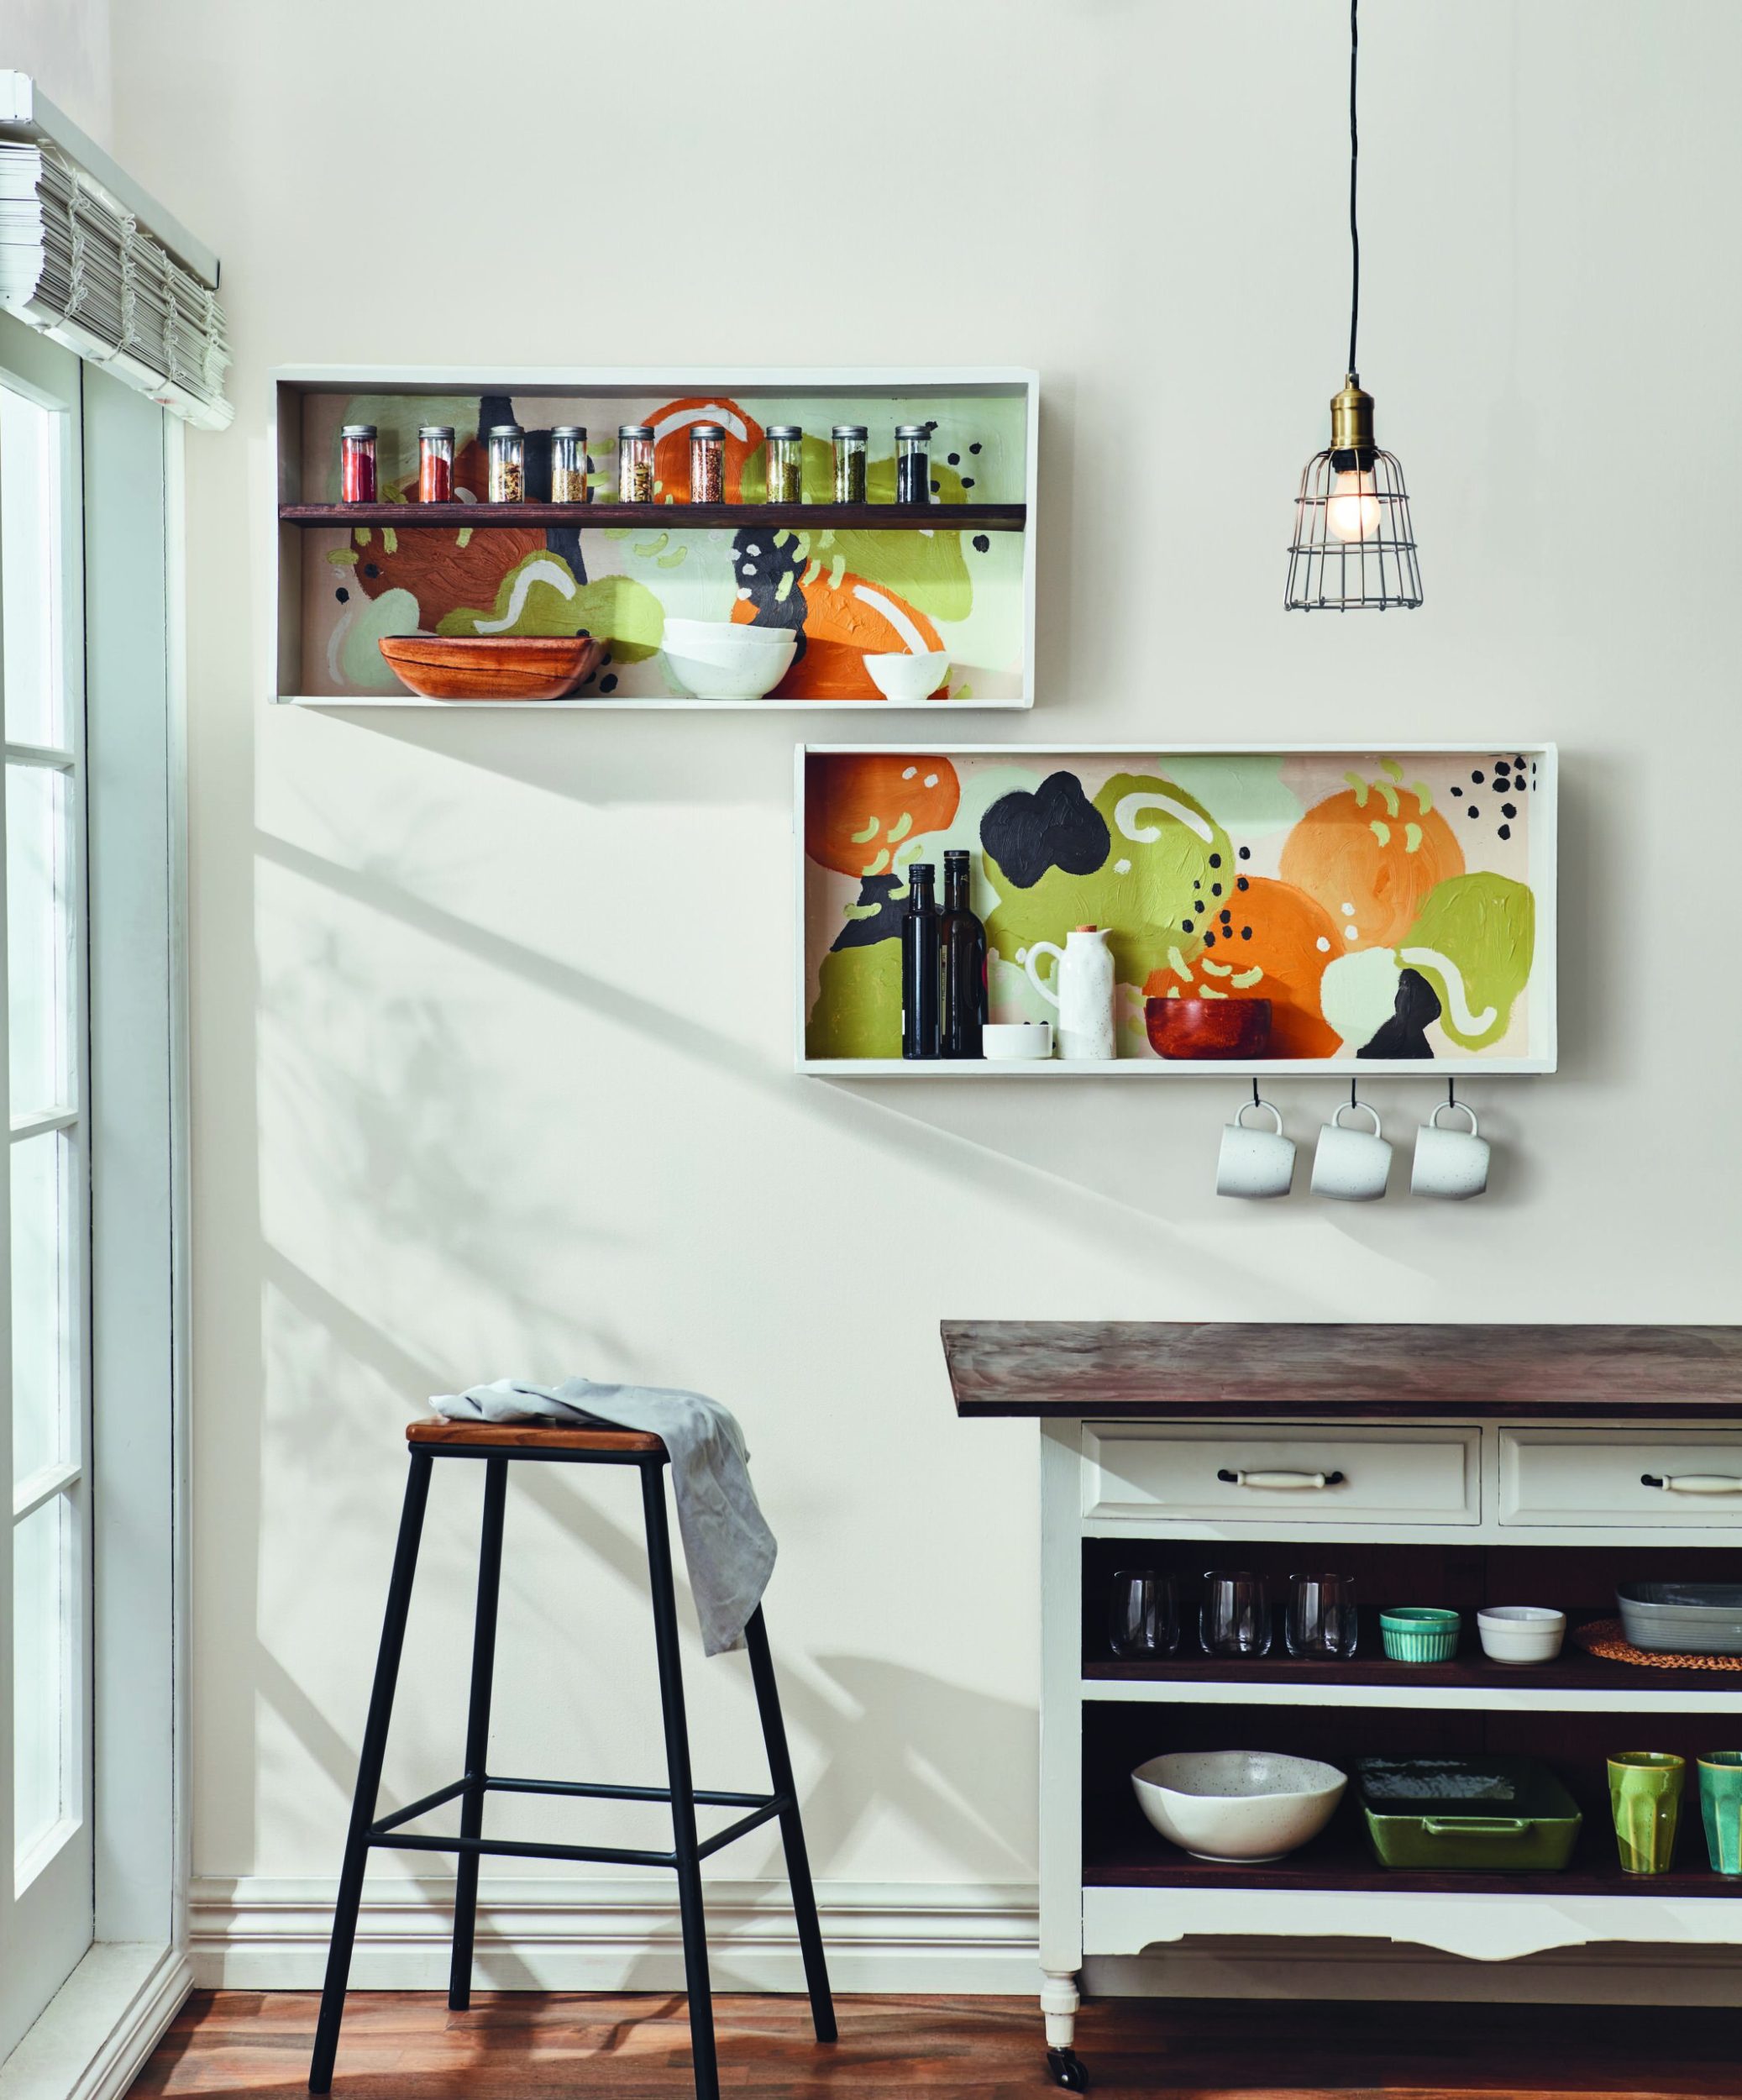
Create stylish shelving on a shoestring budget with the help of our clever upcycling guide. We’ll show you how to turn some old drawers into floating shelves.
Adding extra storage to your kitchen doesn’t need to be an expensive exercise. This clever DIY upcycling hack will add storage and style to your kitchen in no time. All you need is an old chest of drawers and this handy DIY guide and you’re good to go.
Find out how to turn an old chest of drawers into chic kitchen island here. Then use the drawers to create useful display shelving that doubles as a work of art.
Follow our step by step below and share your project with us on social!
What you need
- Drawers from a vintage chest
- Plywood for shelf (we recommend at least 18mm thick)
- Screwdriver and/or spanner
- Measuring tape, saw and drill
- Resene EzyFill Quick Sander and sandpaper
- Paintbrushes in various sizes
- Resene Quick Dry waterborne primer undercoat
- Resene SpaceCote Low Sheen waterborne enamel in Resene Milk White from the Karen Walker Paints collection
- Resene Colorwood wood stain in Resene Deep Oak
- Resene Aquaclear waterborne urethane varnish
- Resene testpots in chosen colours, see below
- Small screws for shelf and liquid glue suitable for timber
- l Hooks for cups, and brackets to secure to the wall
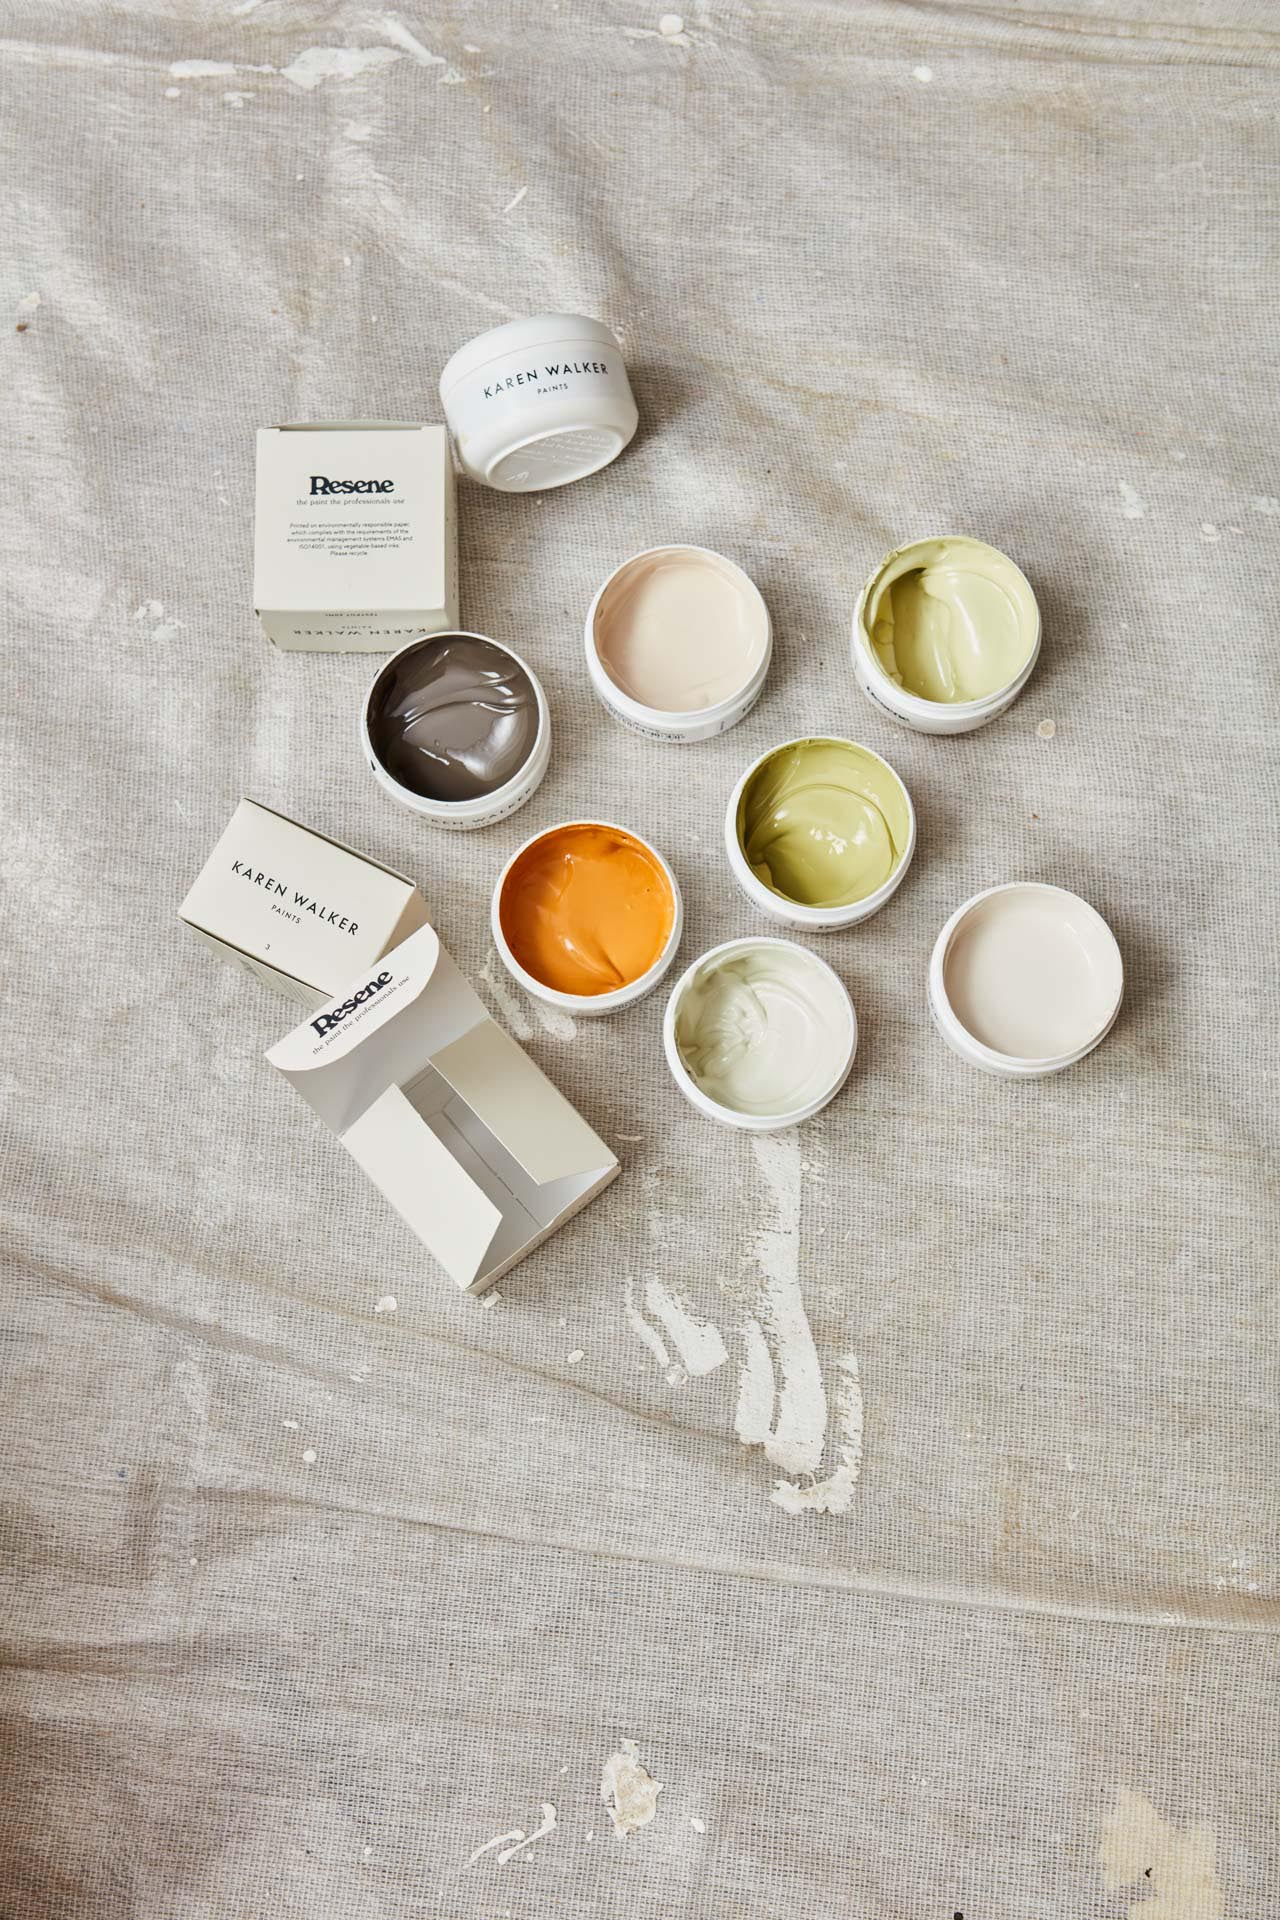
Resene test pot colours
- Resene Clementine Orange
- Resene Weathered Yellow
- Resene Crisp Green
- Resene Beryl Green
- Resene Grain Brown
- Resene Kina Brown
- Resene Sandspit Brown
Method
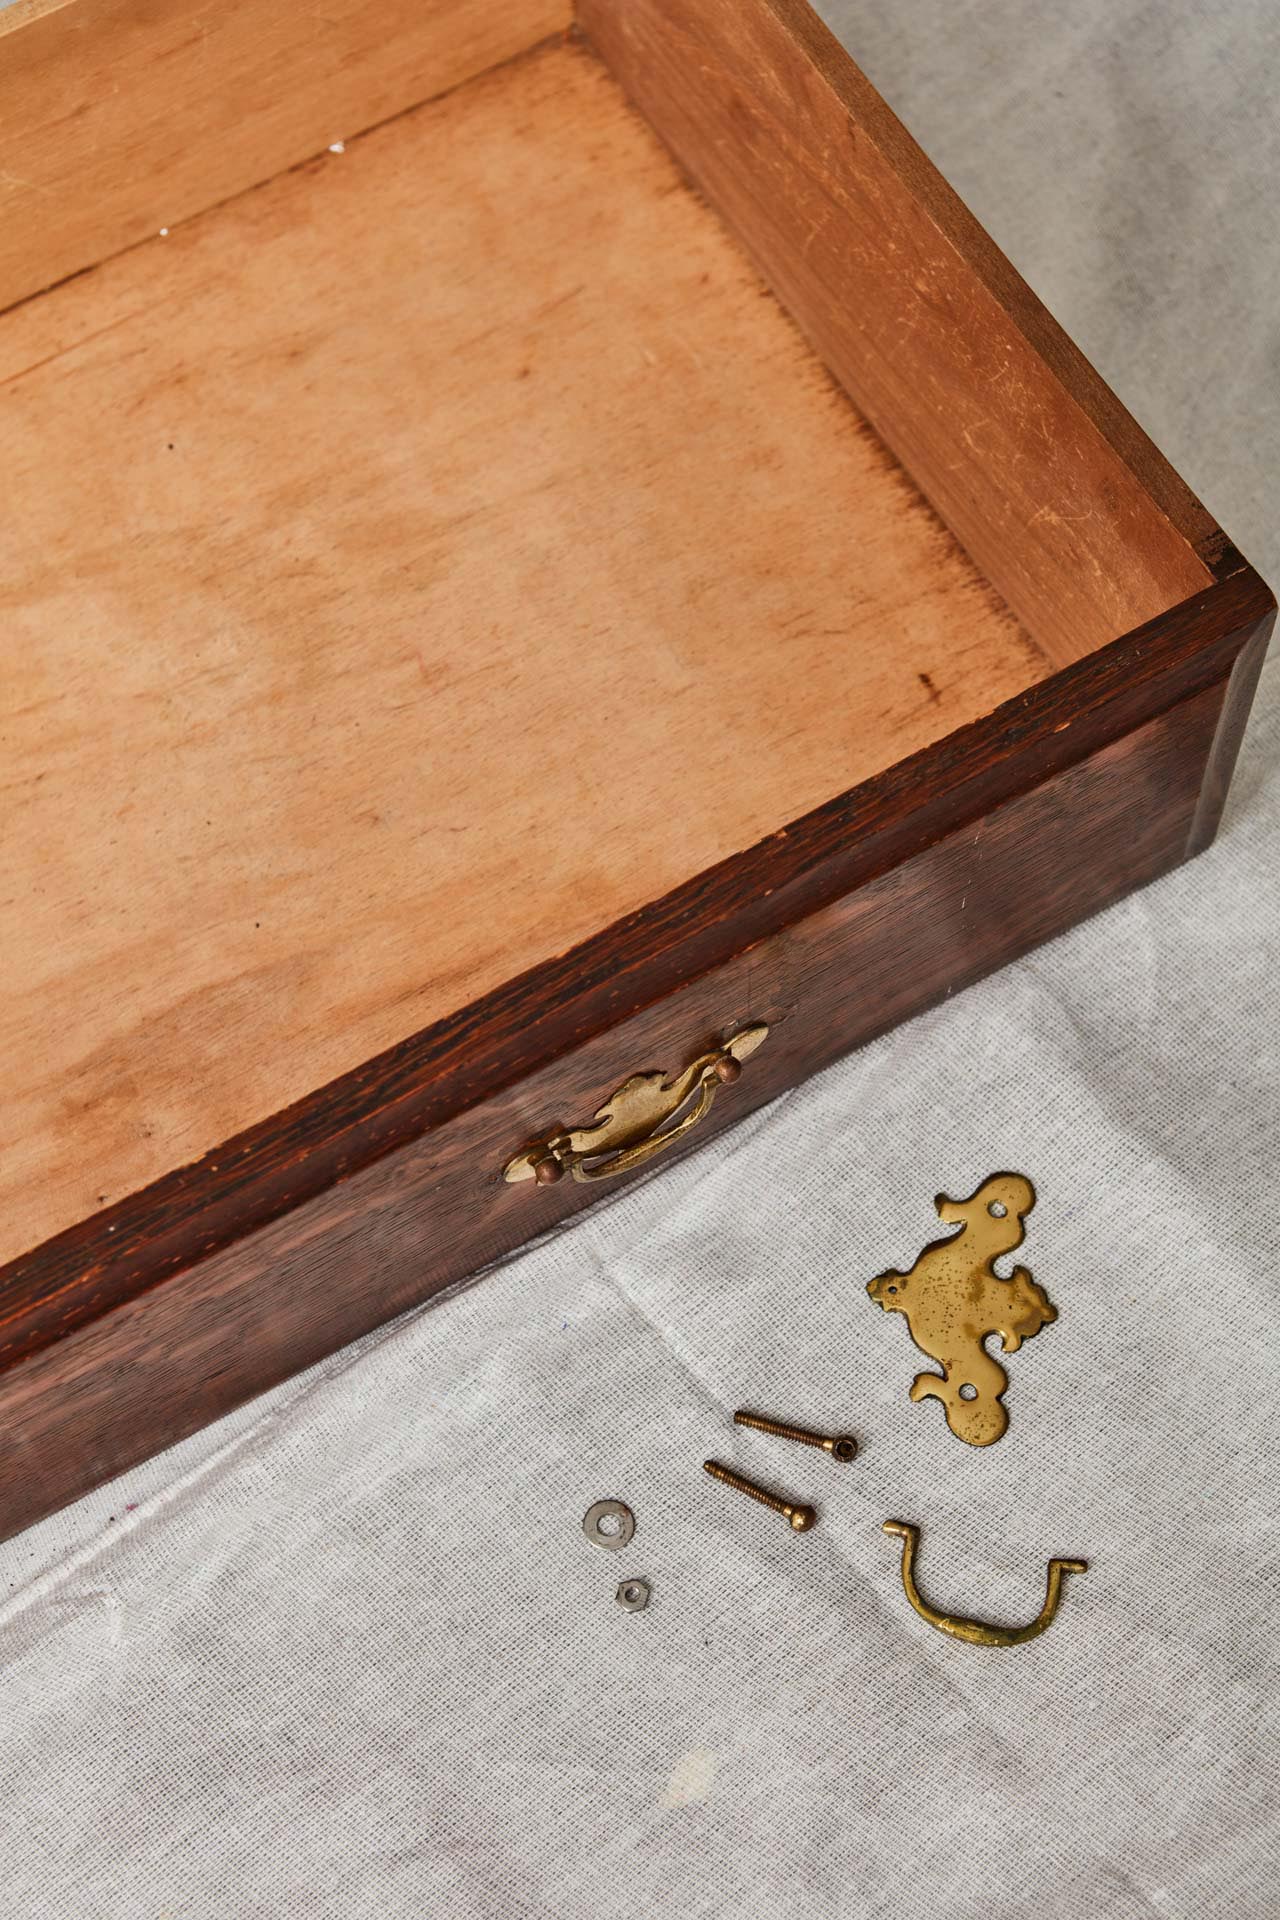
Step 1
Start by carefully removing all handles from the drawers.
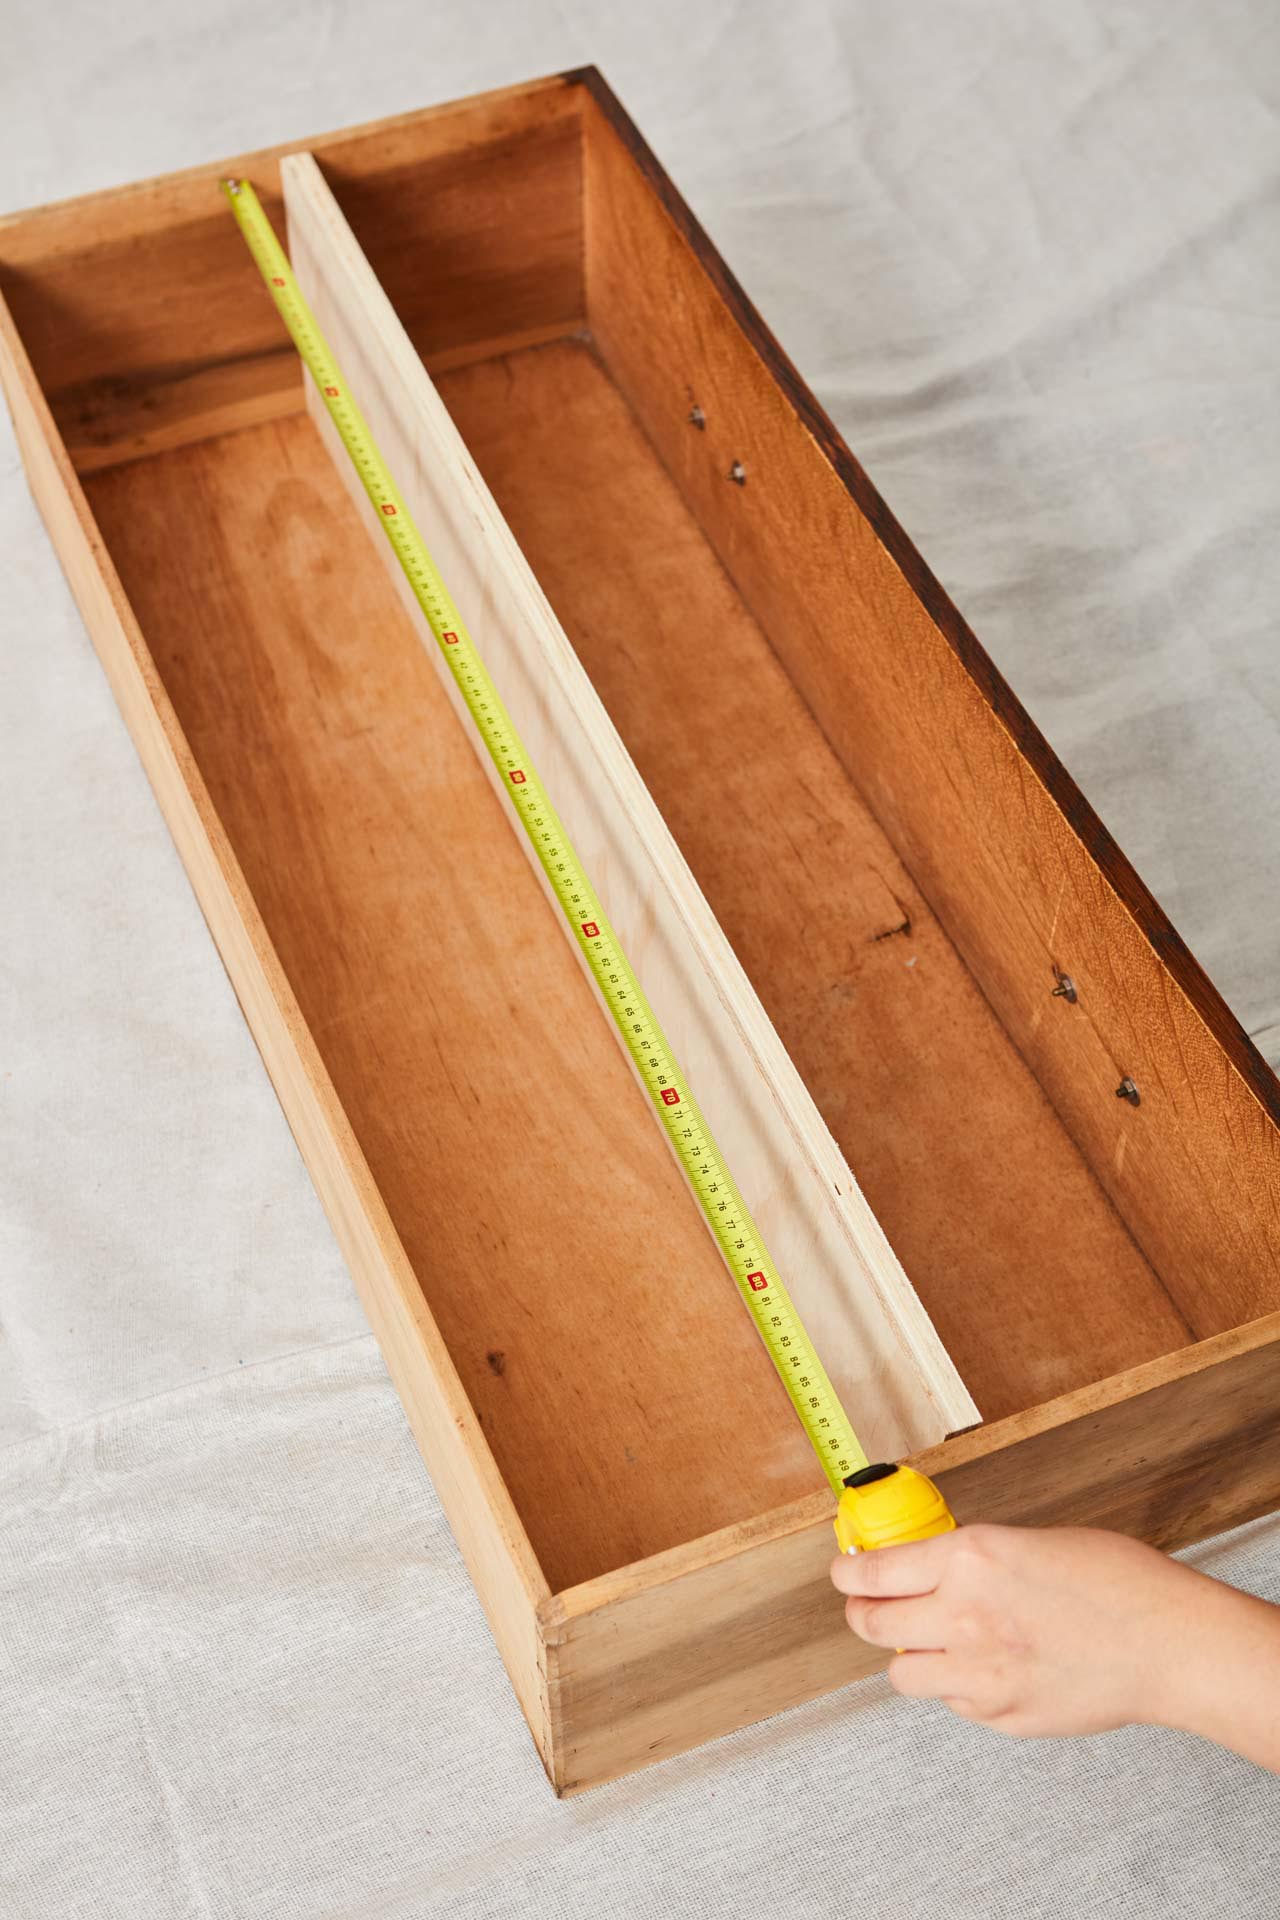
Step 2
Measure the depth and width of the drawers and cut the plywood for the shelf so that it is a snug fit.
Step 3
Fill any gaps or holes in the drawers with Resene EzyFill Quick, then let it dry completely. Sand to expose the natural wood underneath the old paint, so that you have a smooth surface for your basecoat.
Step 4
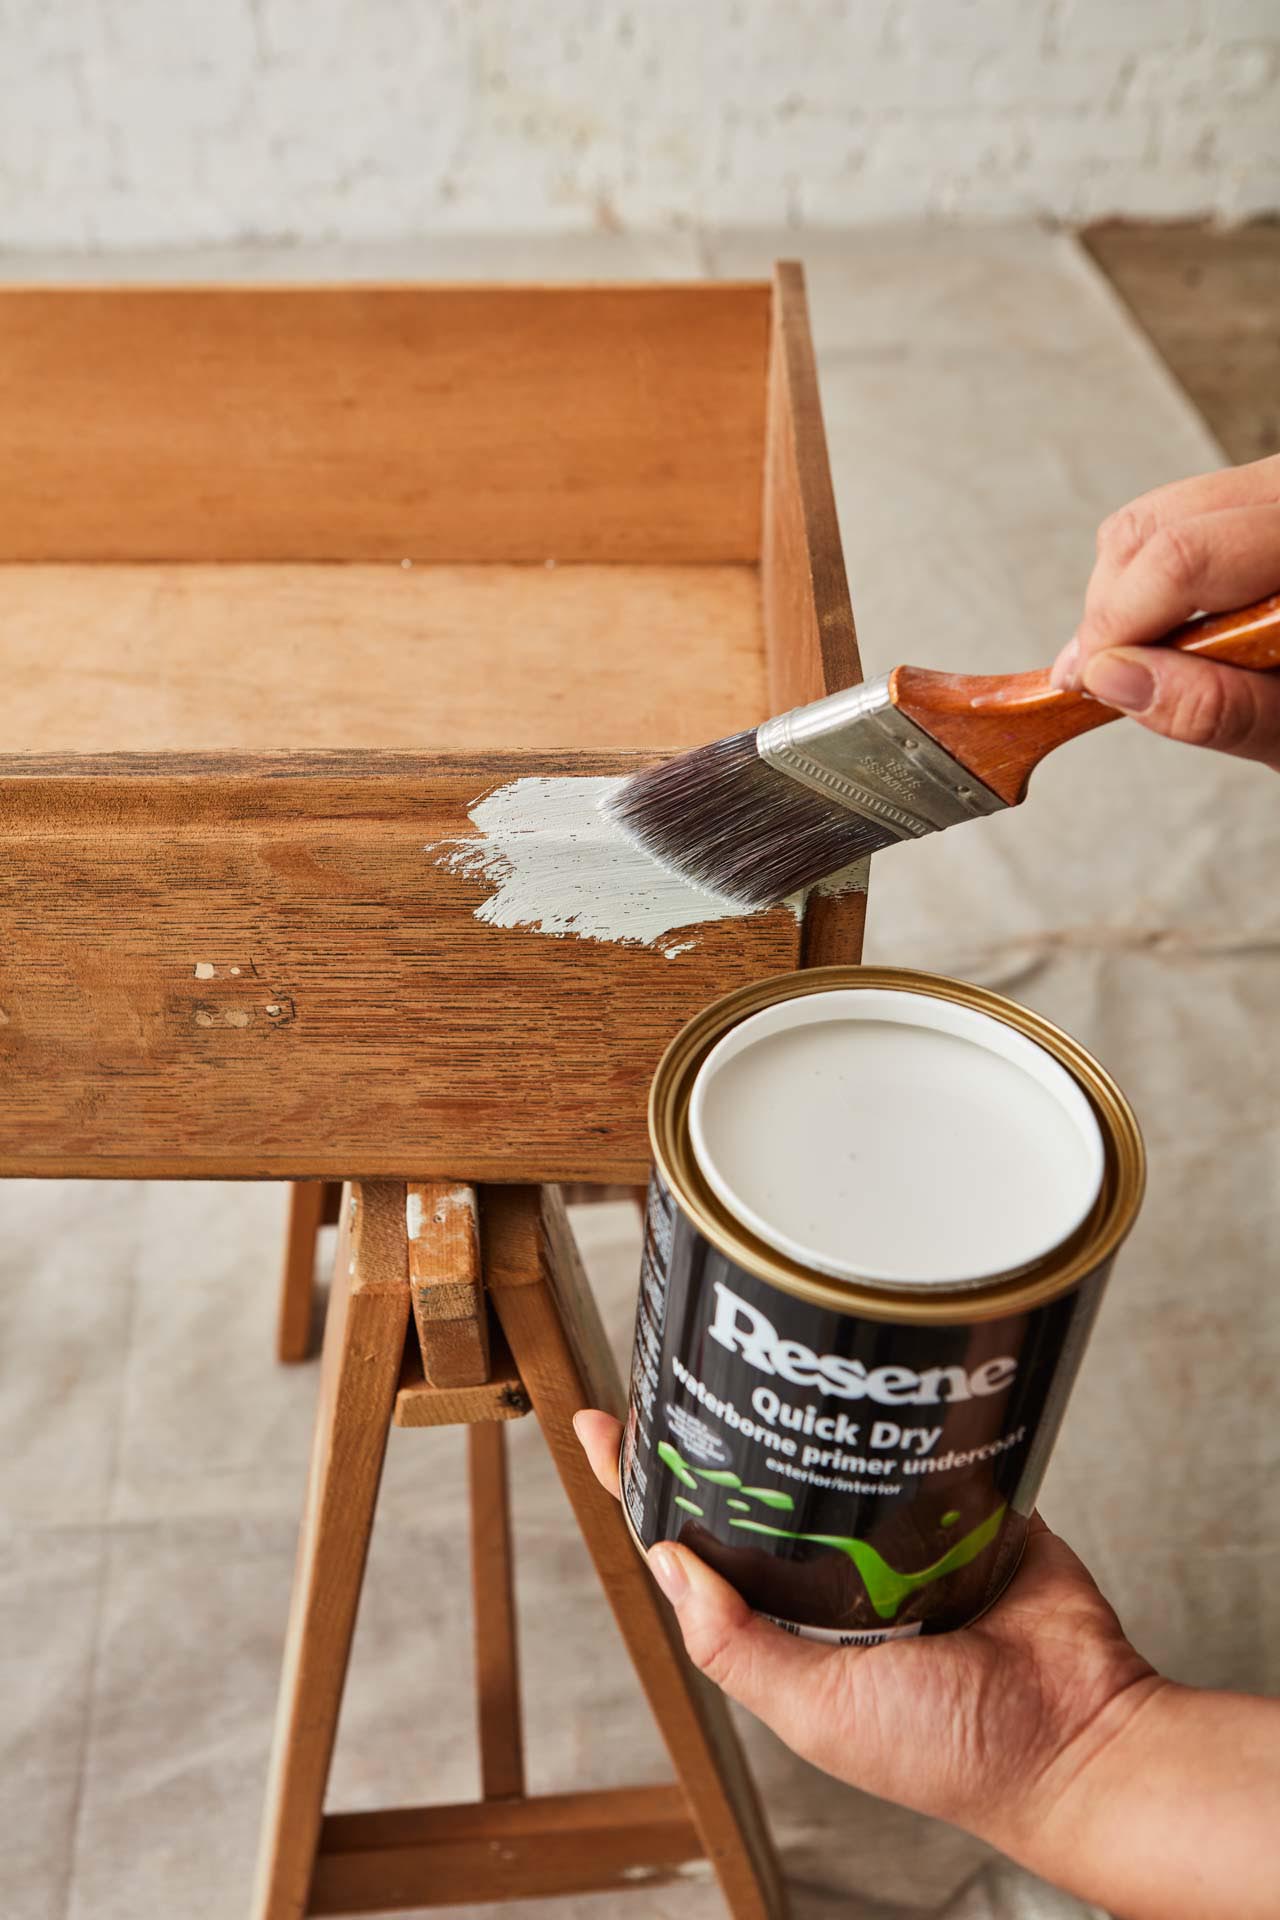
Apply Resene Quick Dry primer undercoat to the drawers. If it needs a second coat of primer, lightly sand first.
Step 5
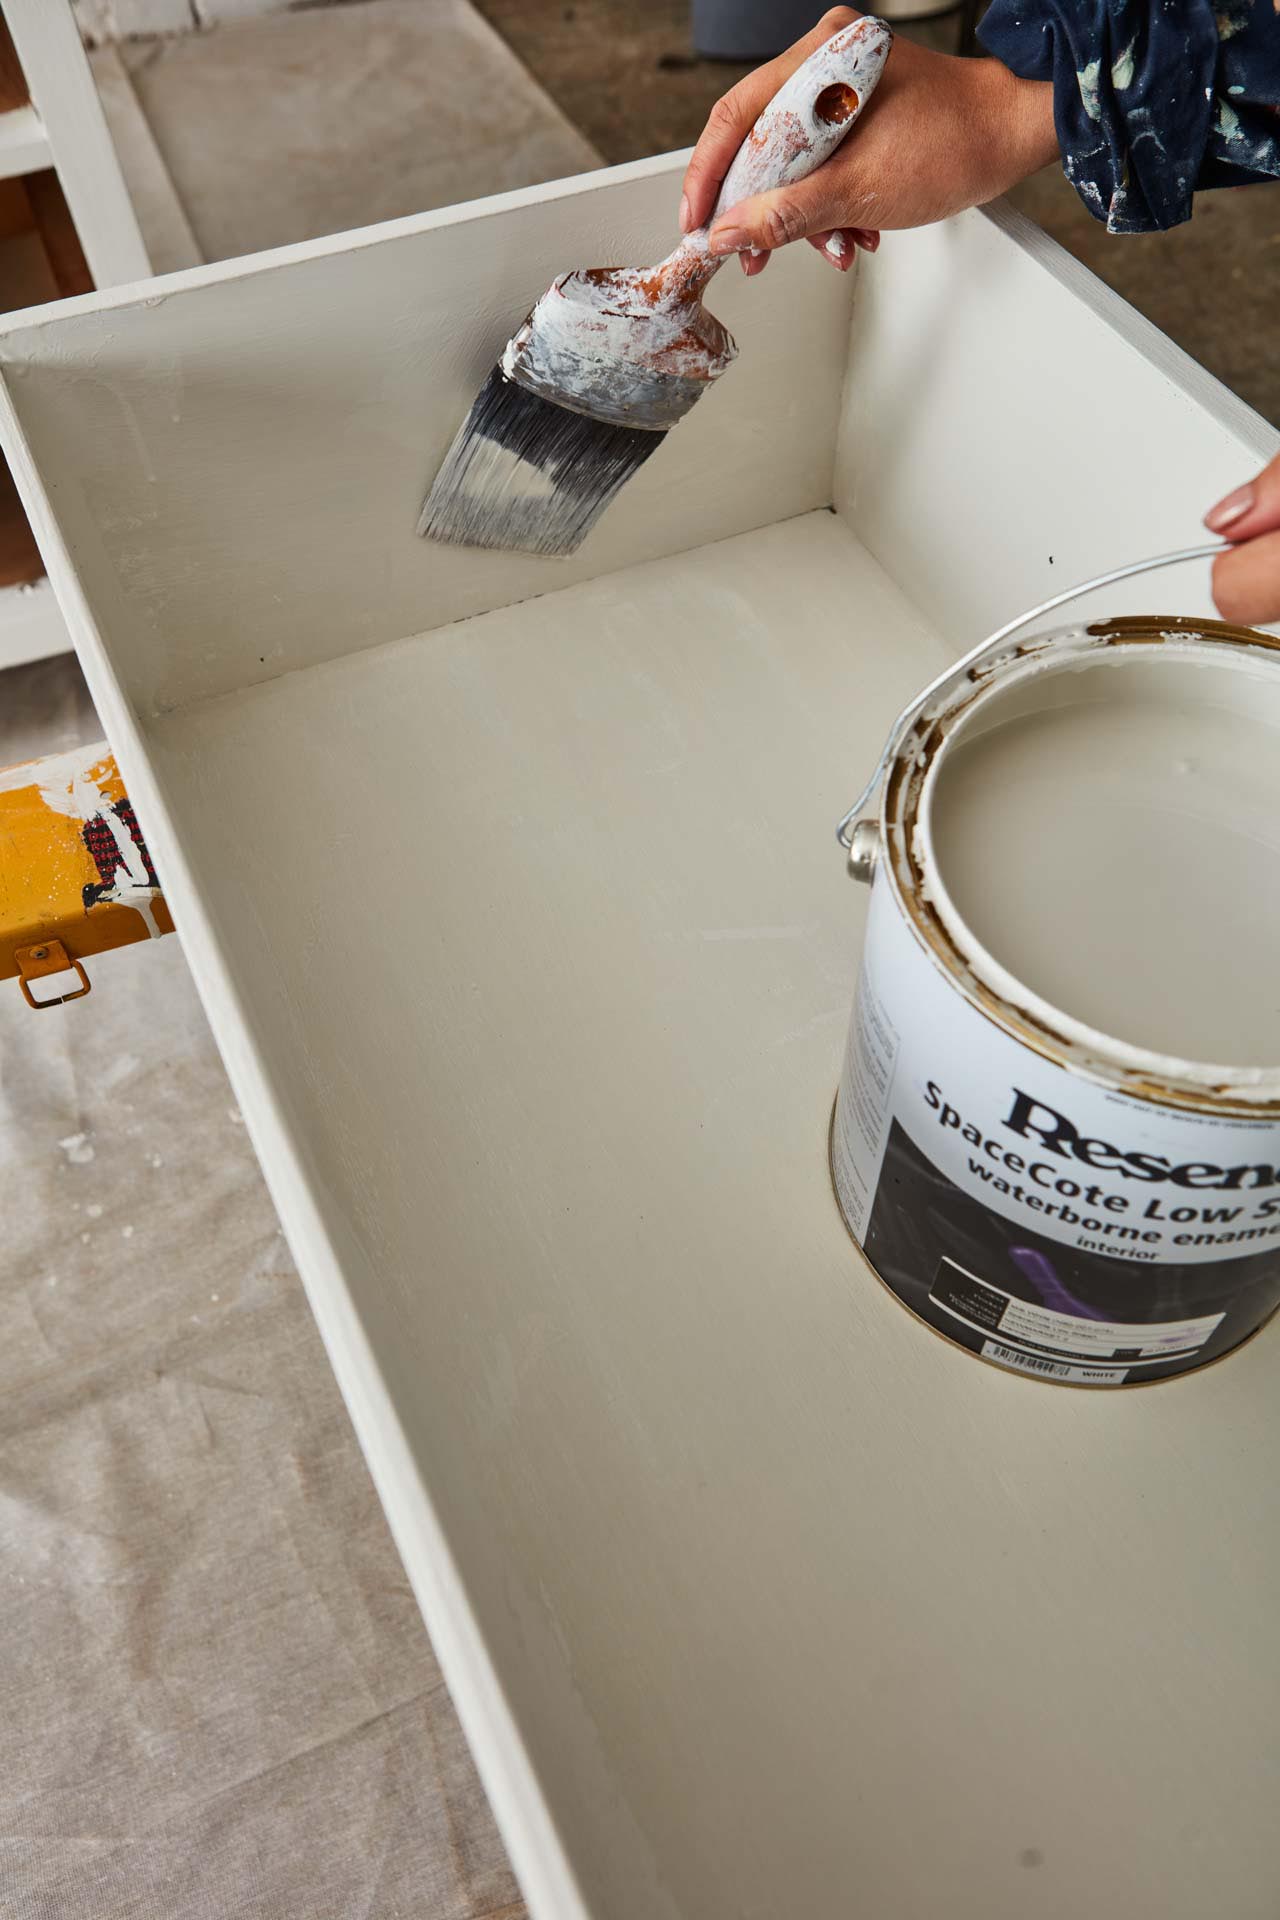
When the basecoat is completely dry, sand, and finish with Resene SpaceCote Low Sheen. We used Resene Milk White.
Step 6
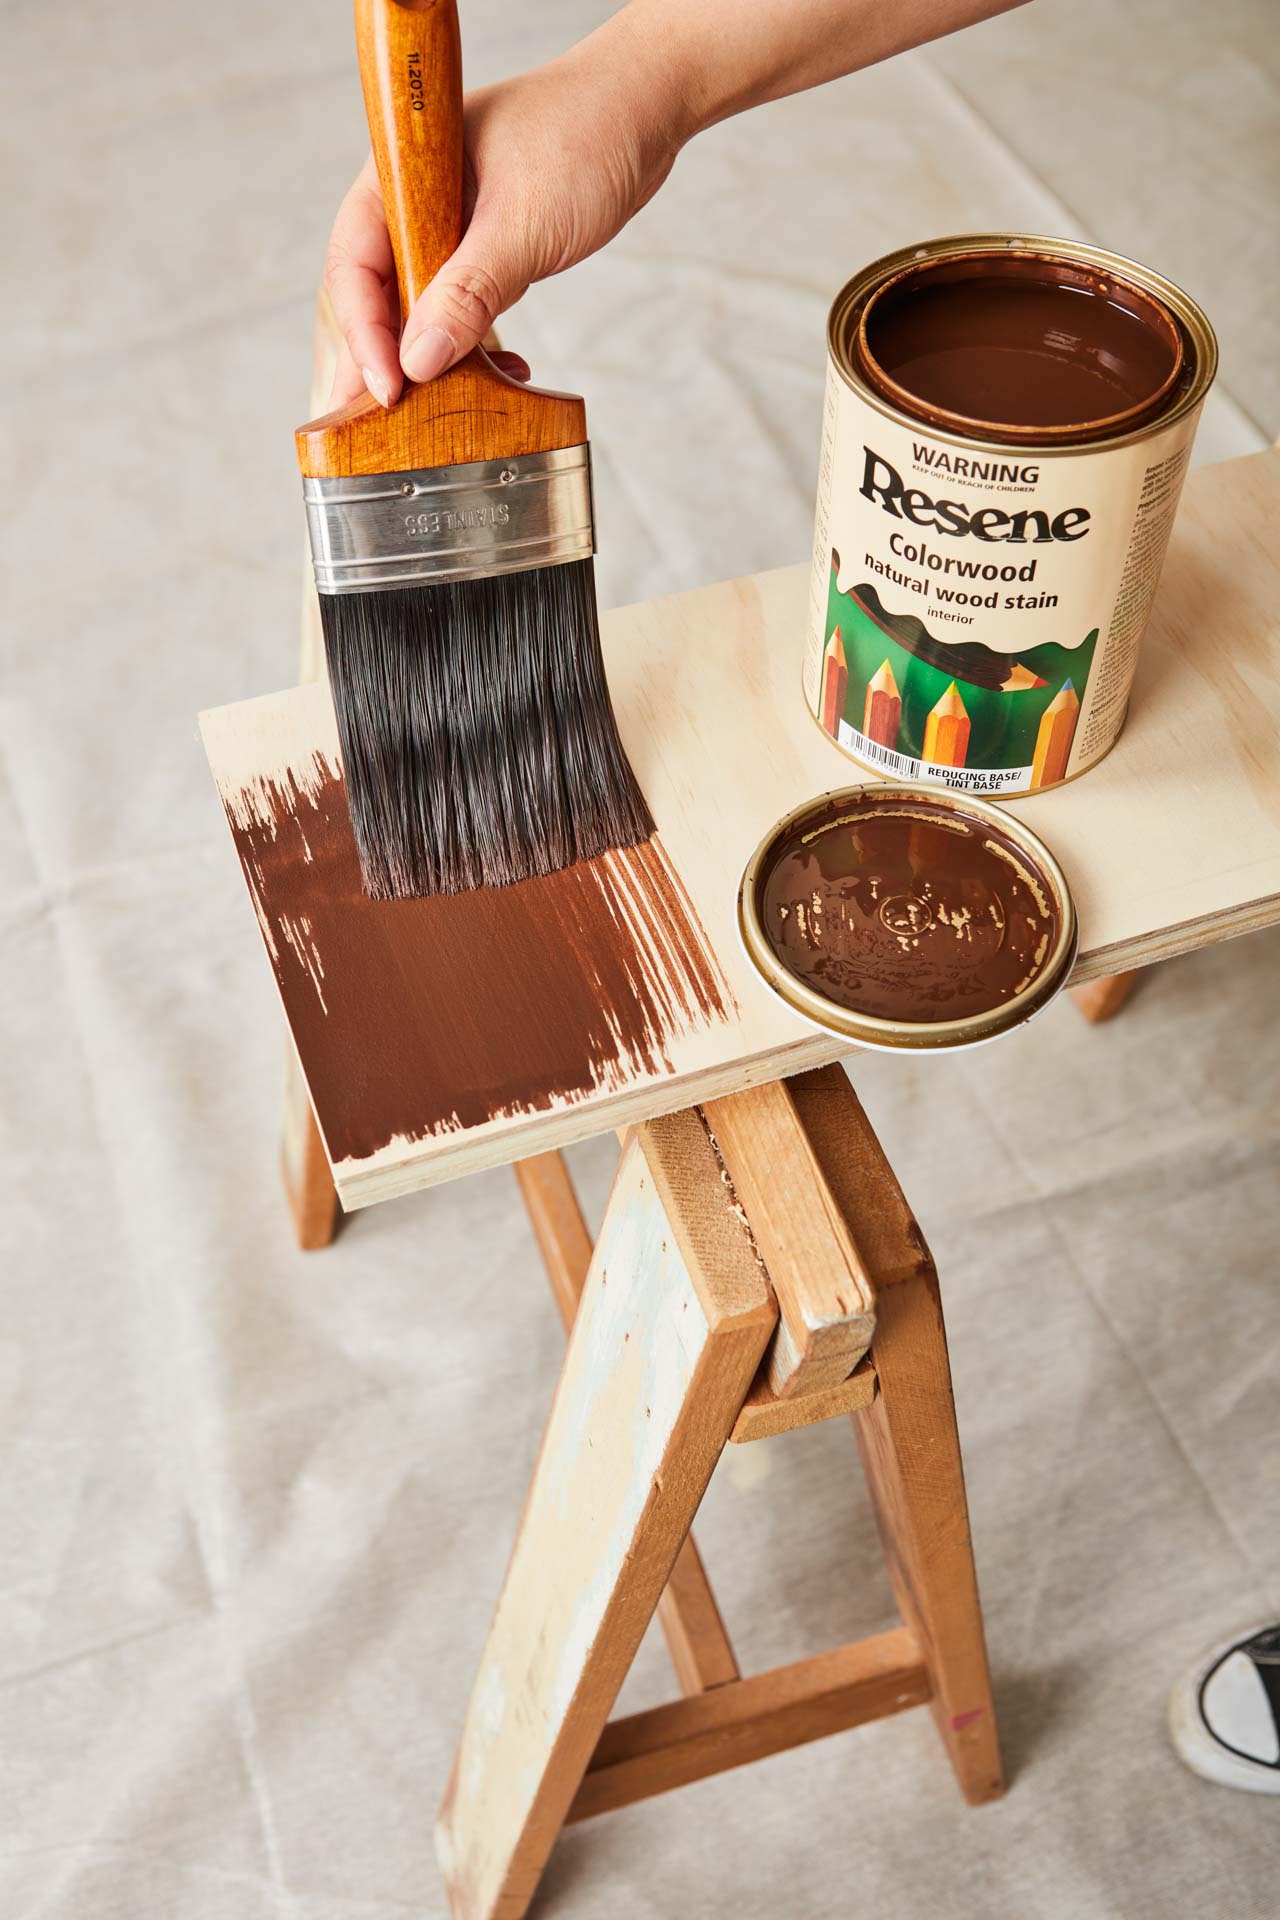
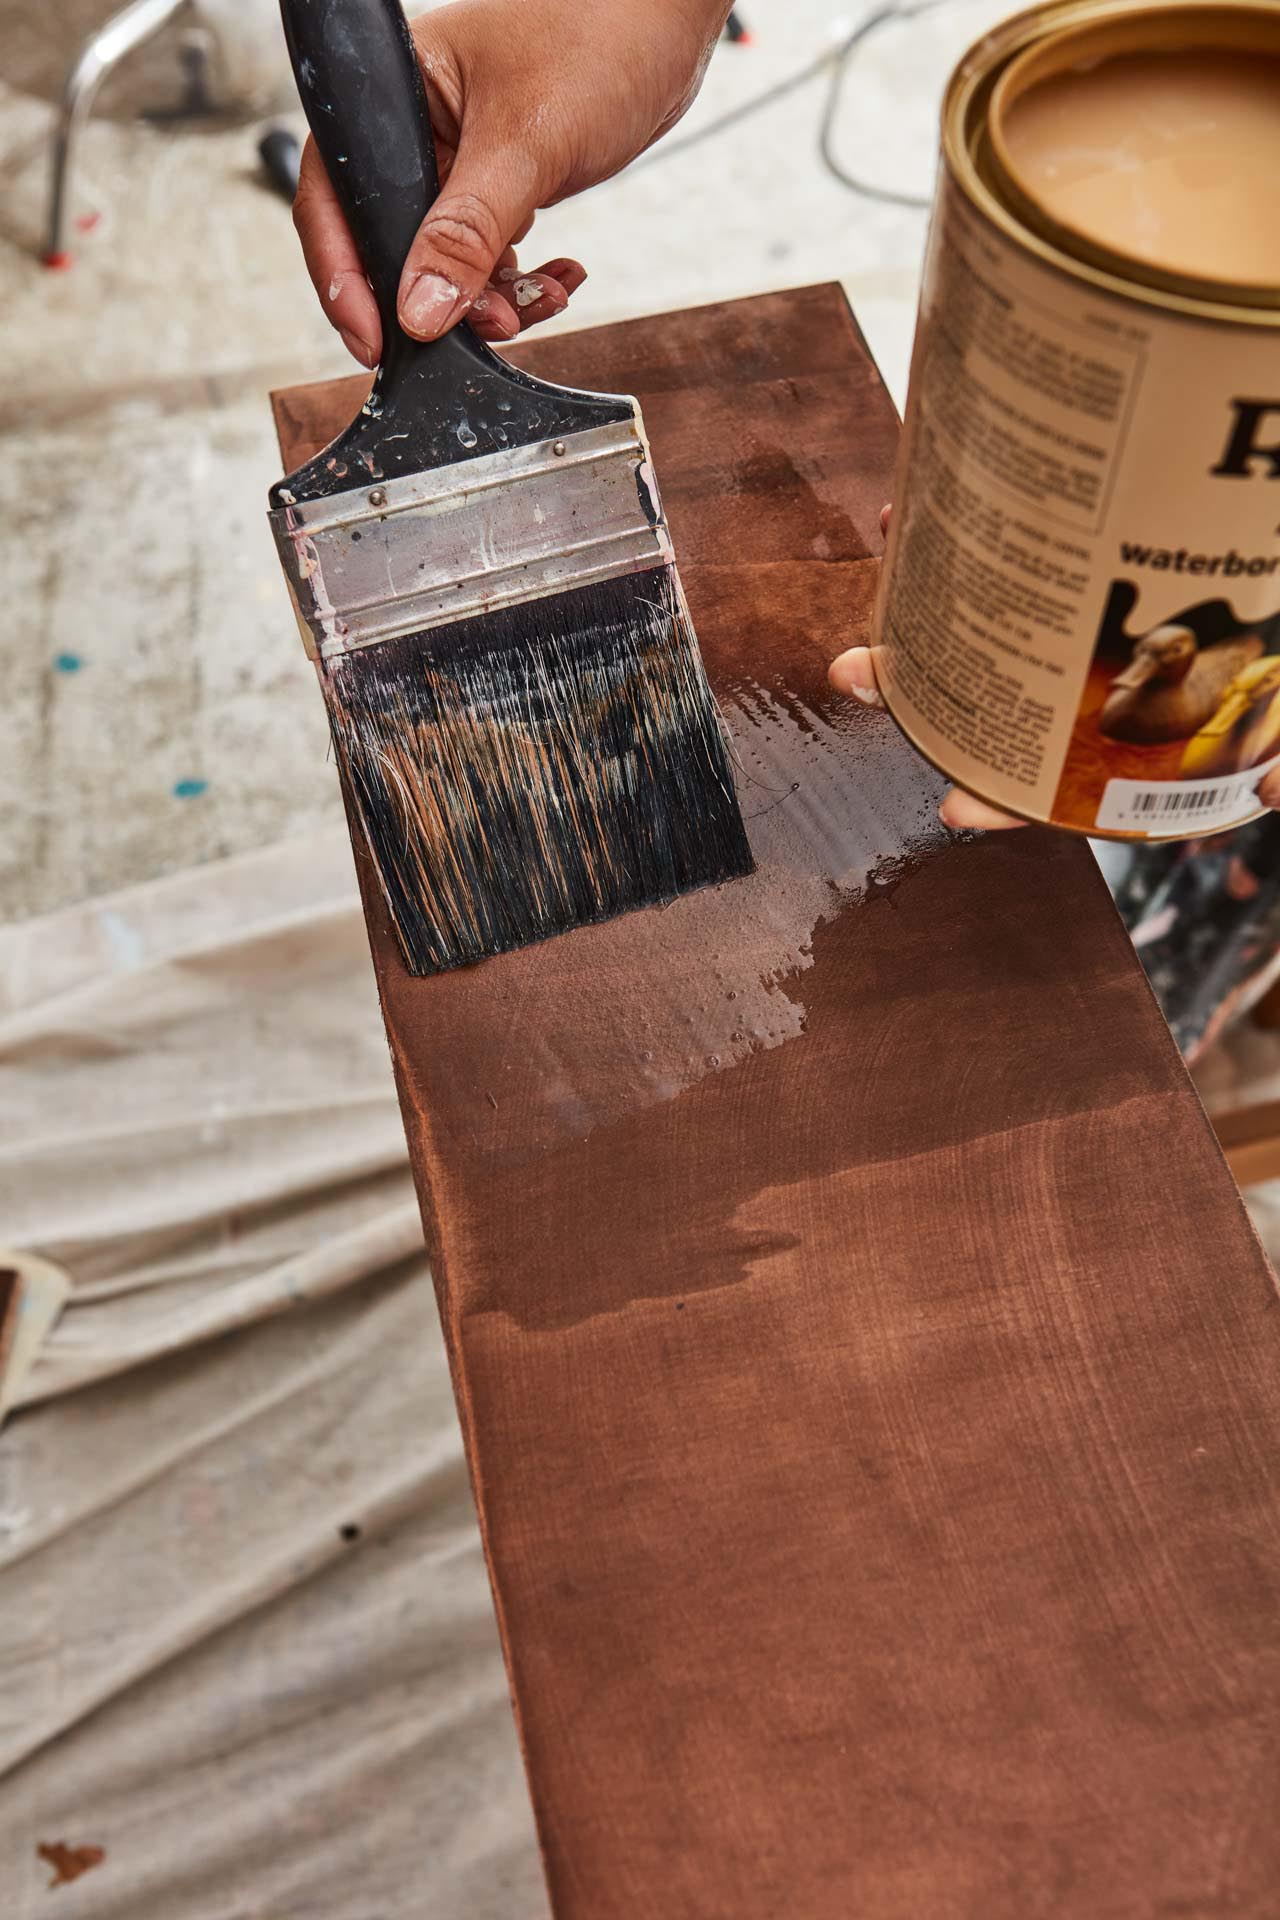
Make sure the surface of the wooden shelf you have cut is smooth – some sanding may be required. Stain the shelf with Resene Colorwood wood stain. We used Resene Deep Oak. Follow the stain instructions carefully. We found that applying the stain with a large brush then quickly wiping away excess stain with a cloth gave a good result.
Step 7
When dry, finish with Resene Aquaclear varnish.
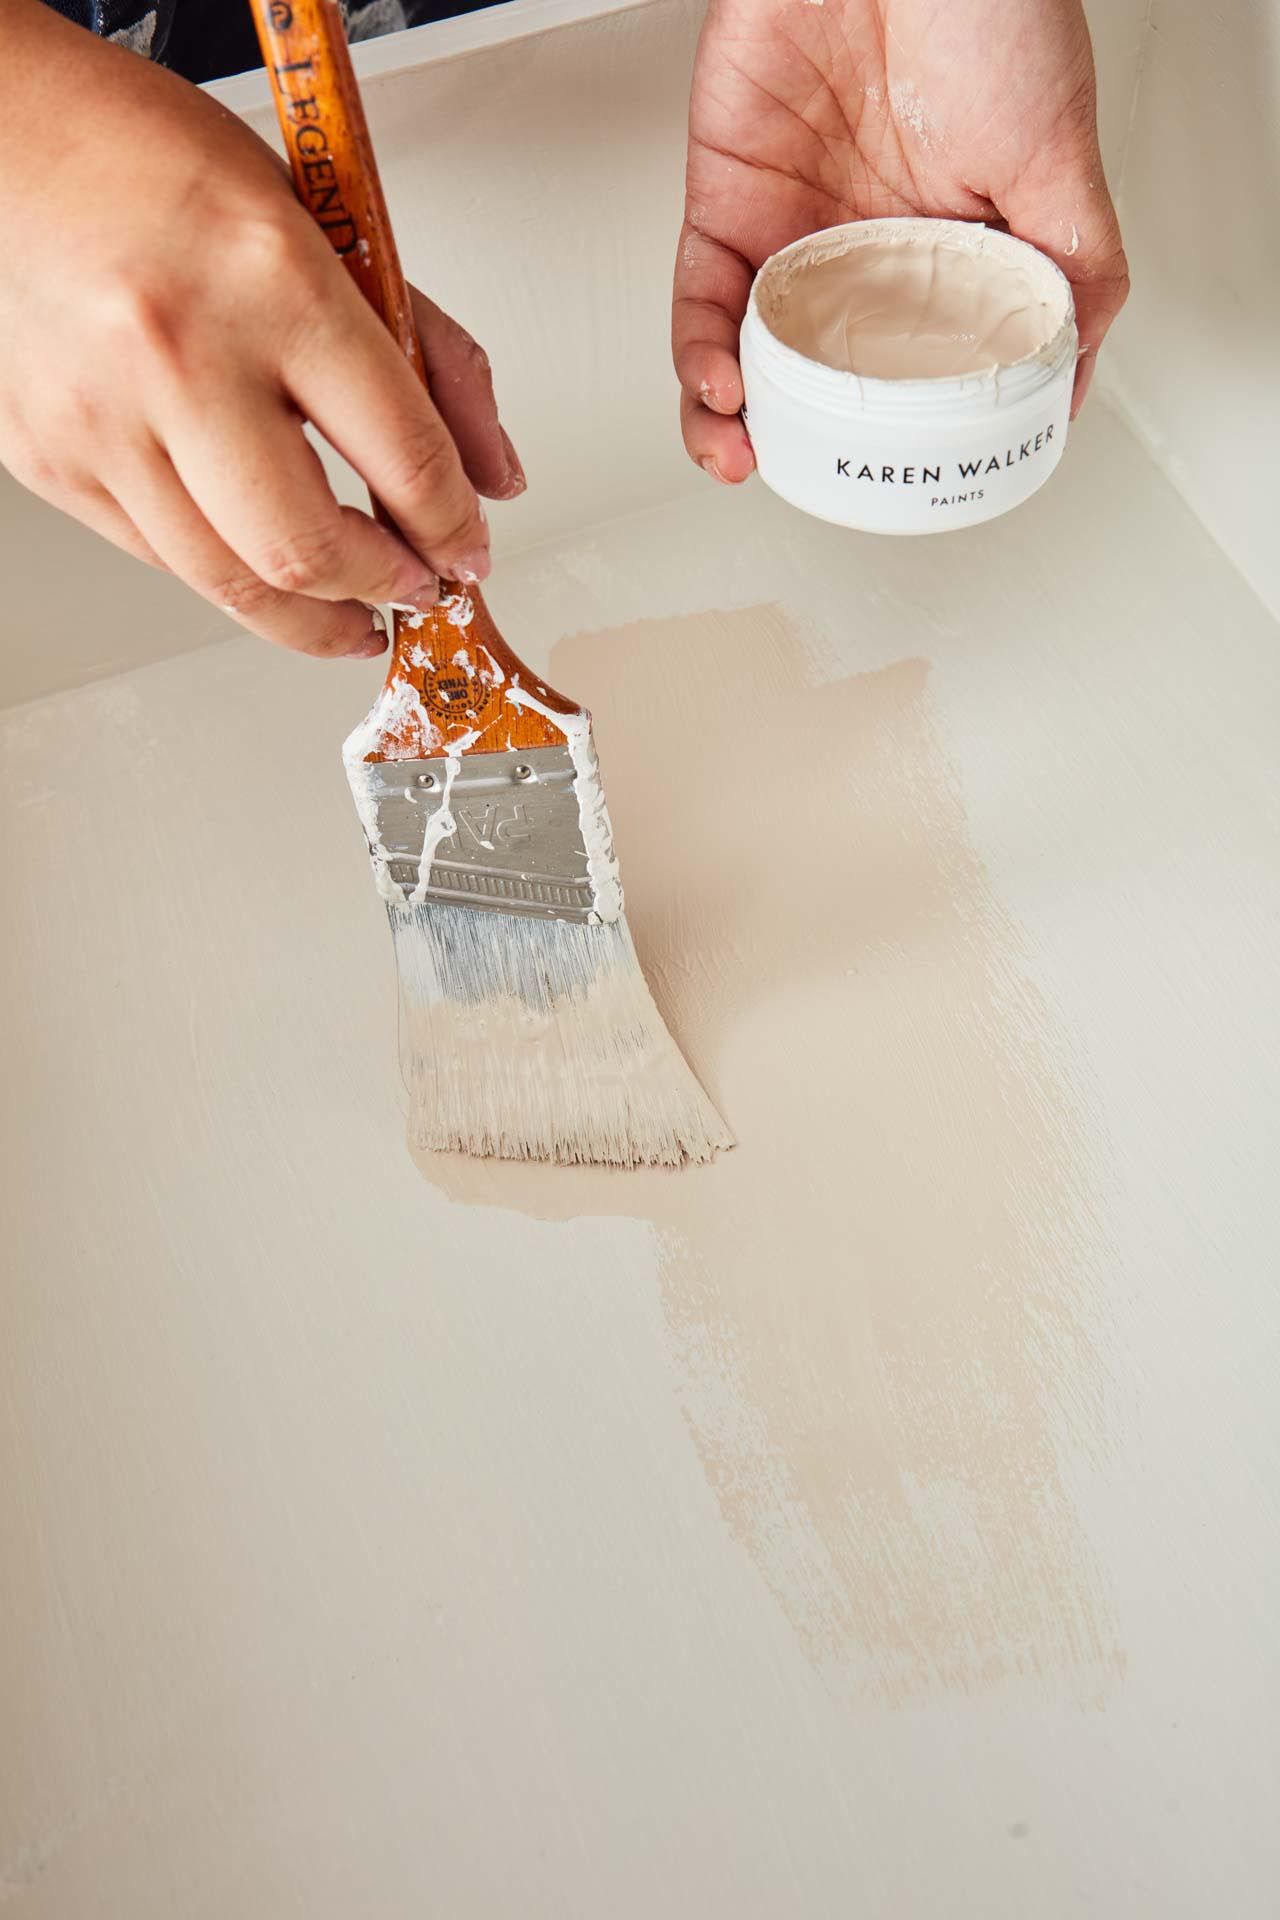
Step 8
Paint the back of the drawer with a colour that will work as the background for your design. We used Resene Grain Brown from the Karen Walker Paints collection.
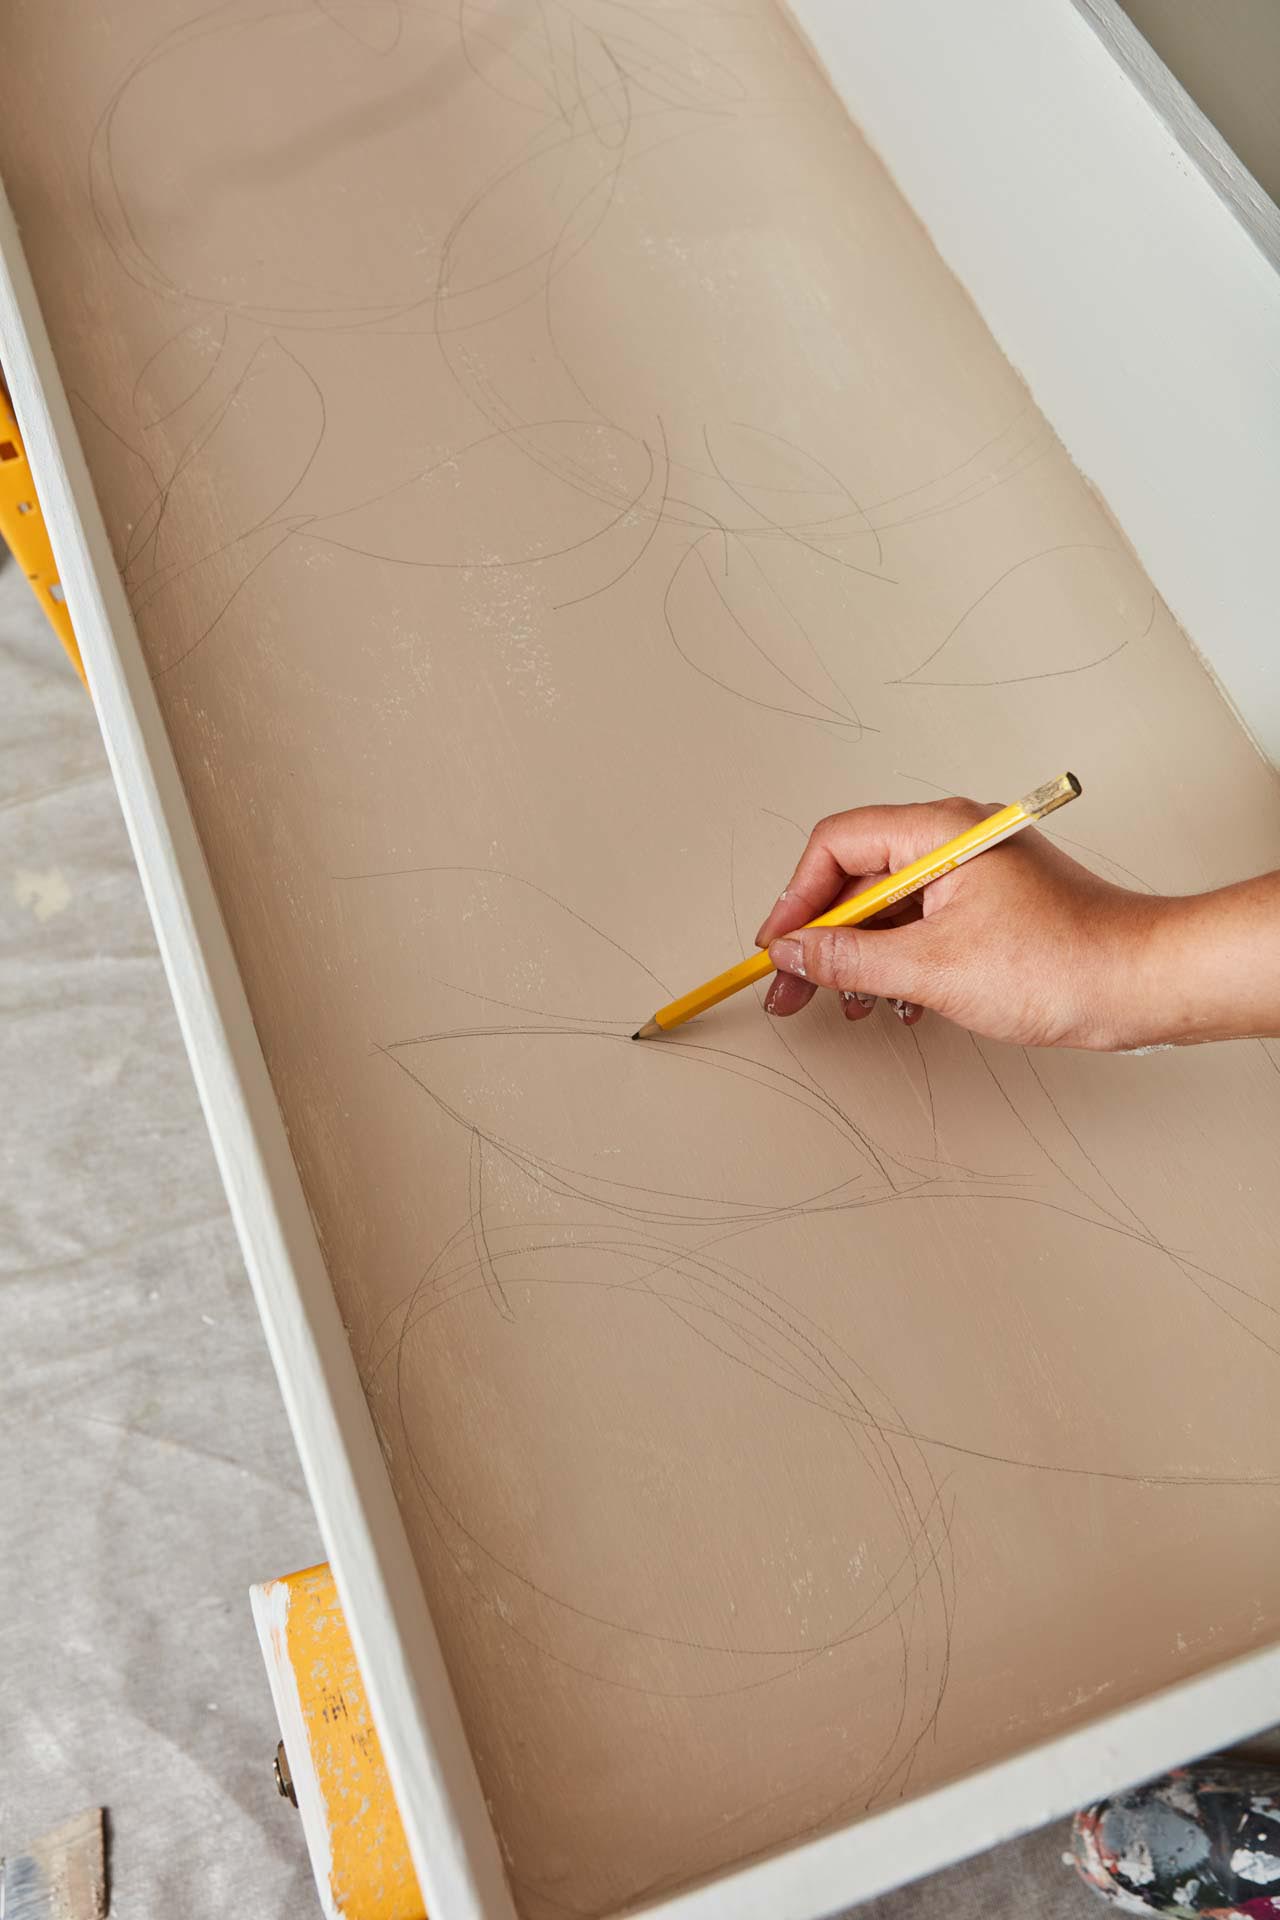
Step 9
Outline your design with pencil. We were inspired by abstract art we saw online.
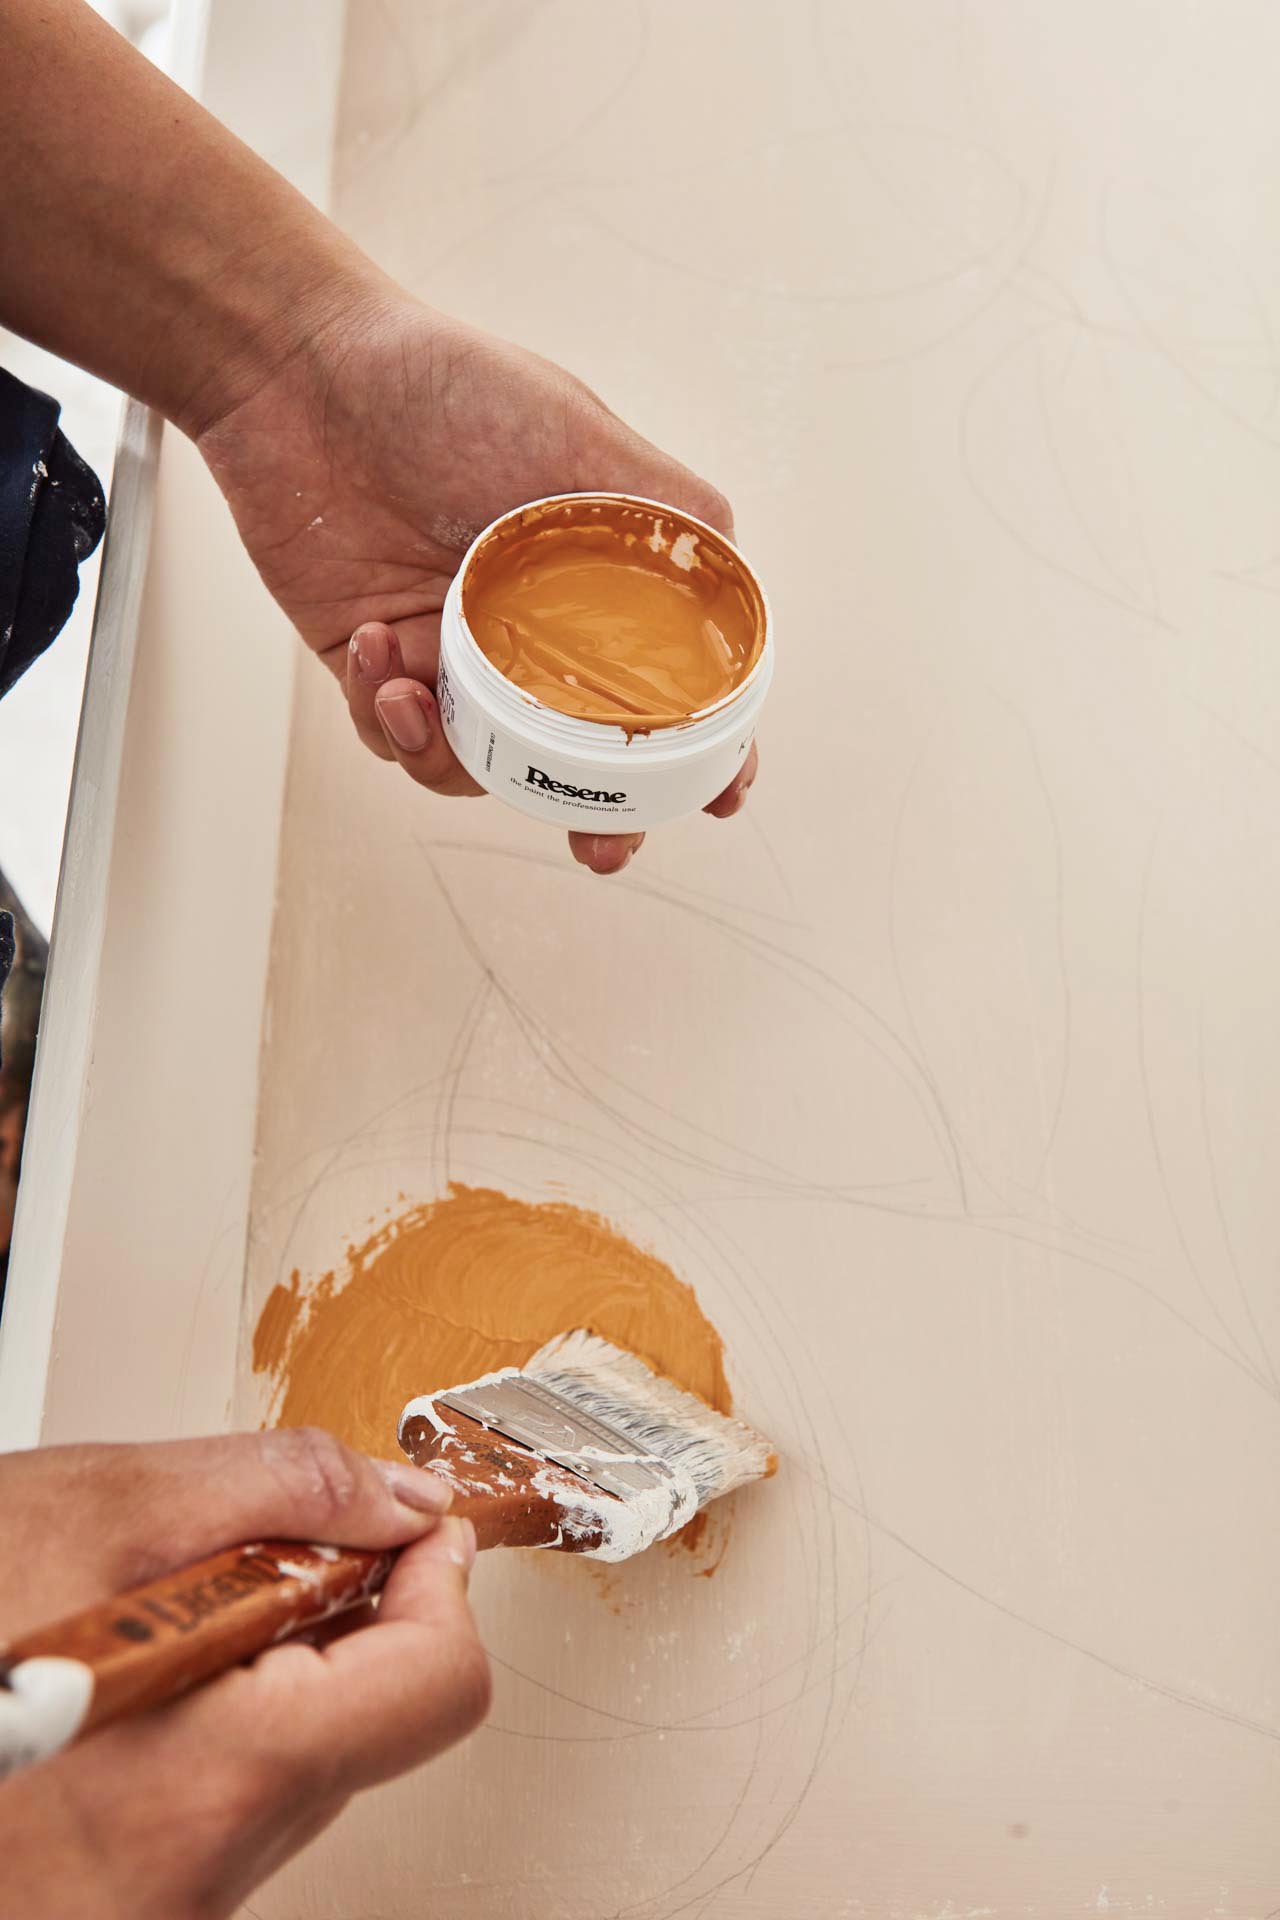
Using Resene testpots, fill in with your chosen colours, letting each colour dry before moving onto the next one.
Step 10
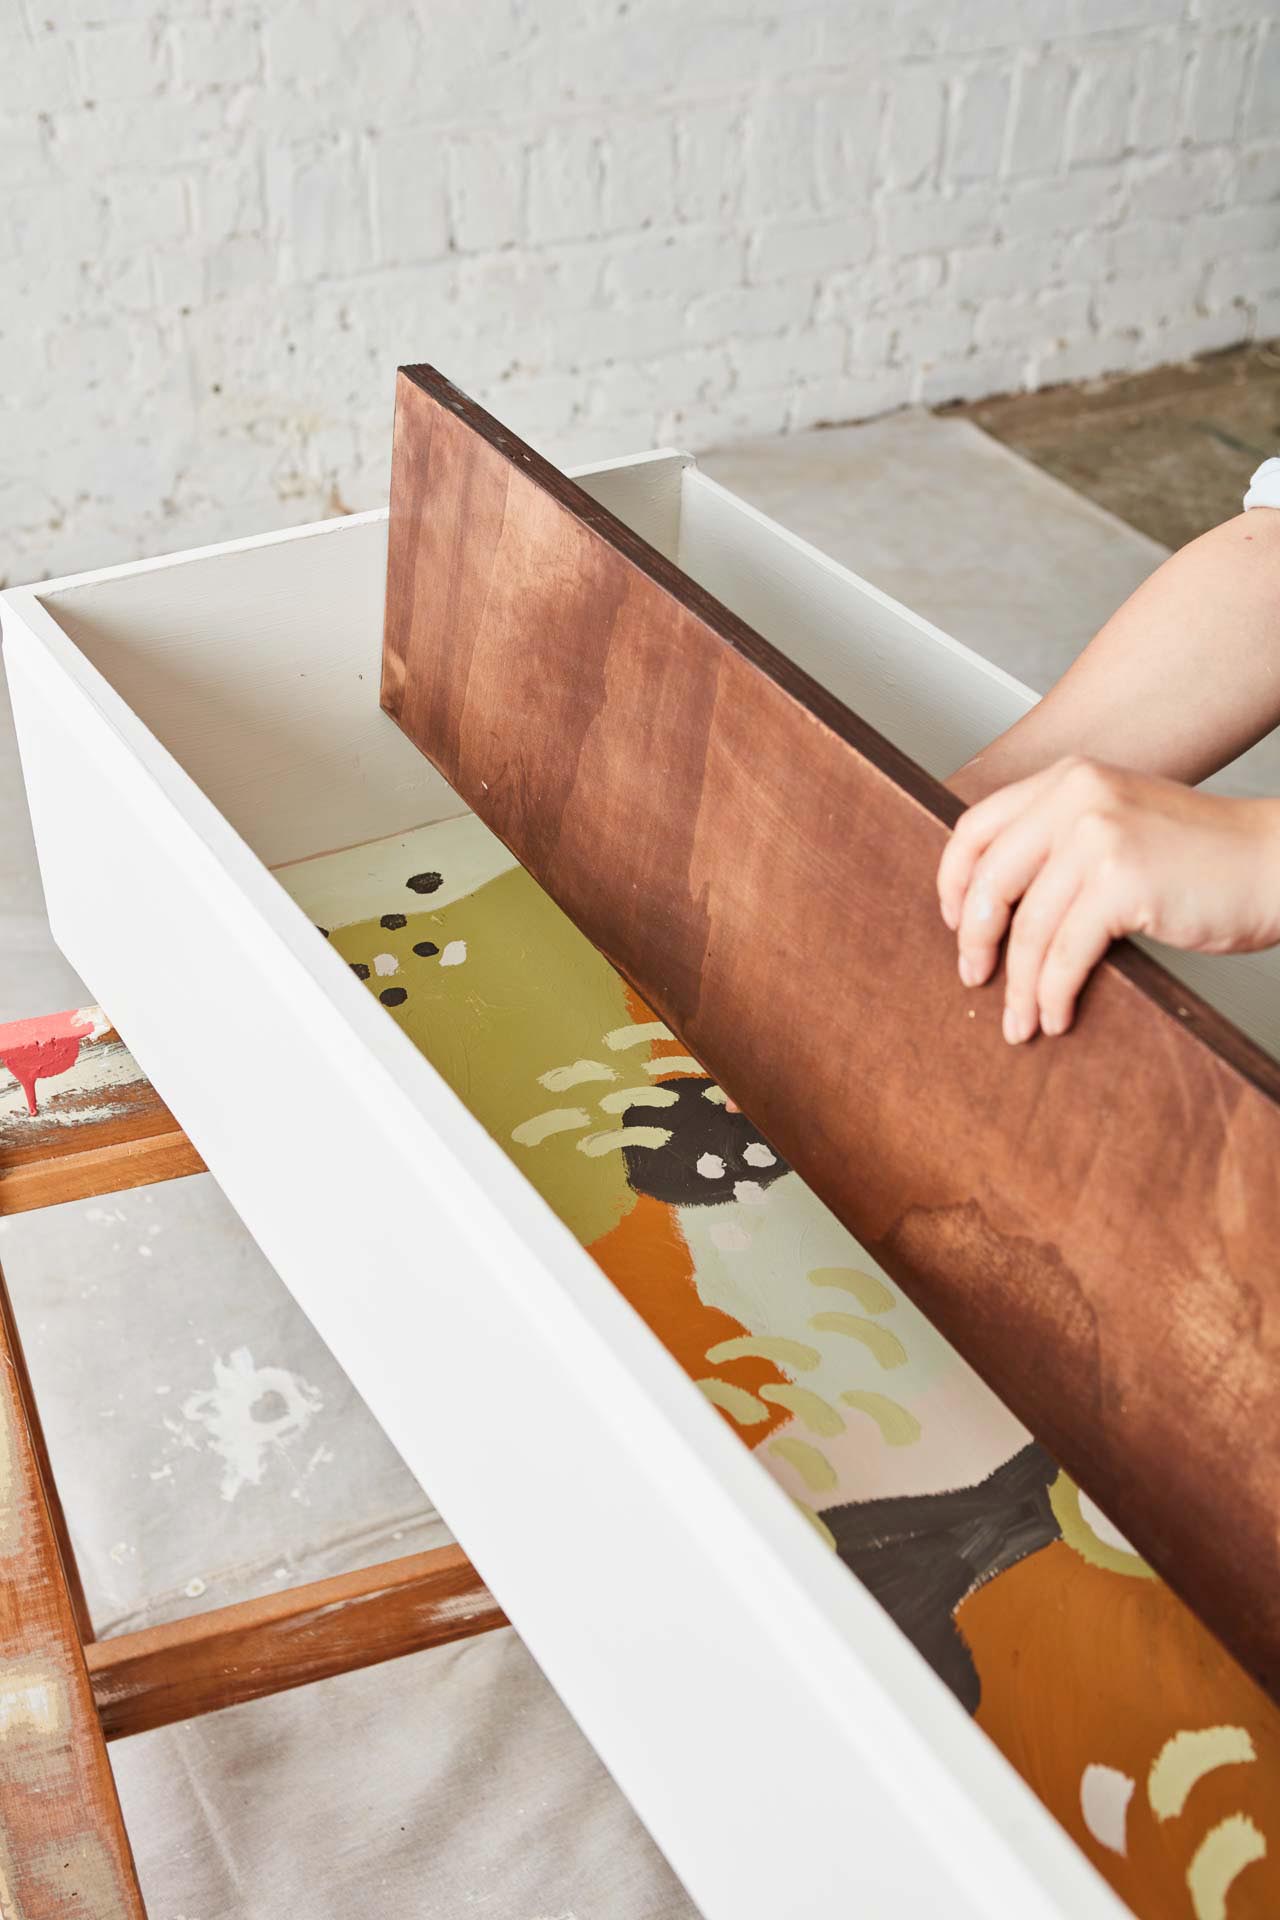
Measure evenly on either side of the drawer and mark the position of the shelf so that it’s straight. Make sure there is enough space above the shelf to hold whatever will sit there.
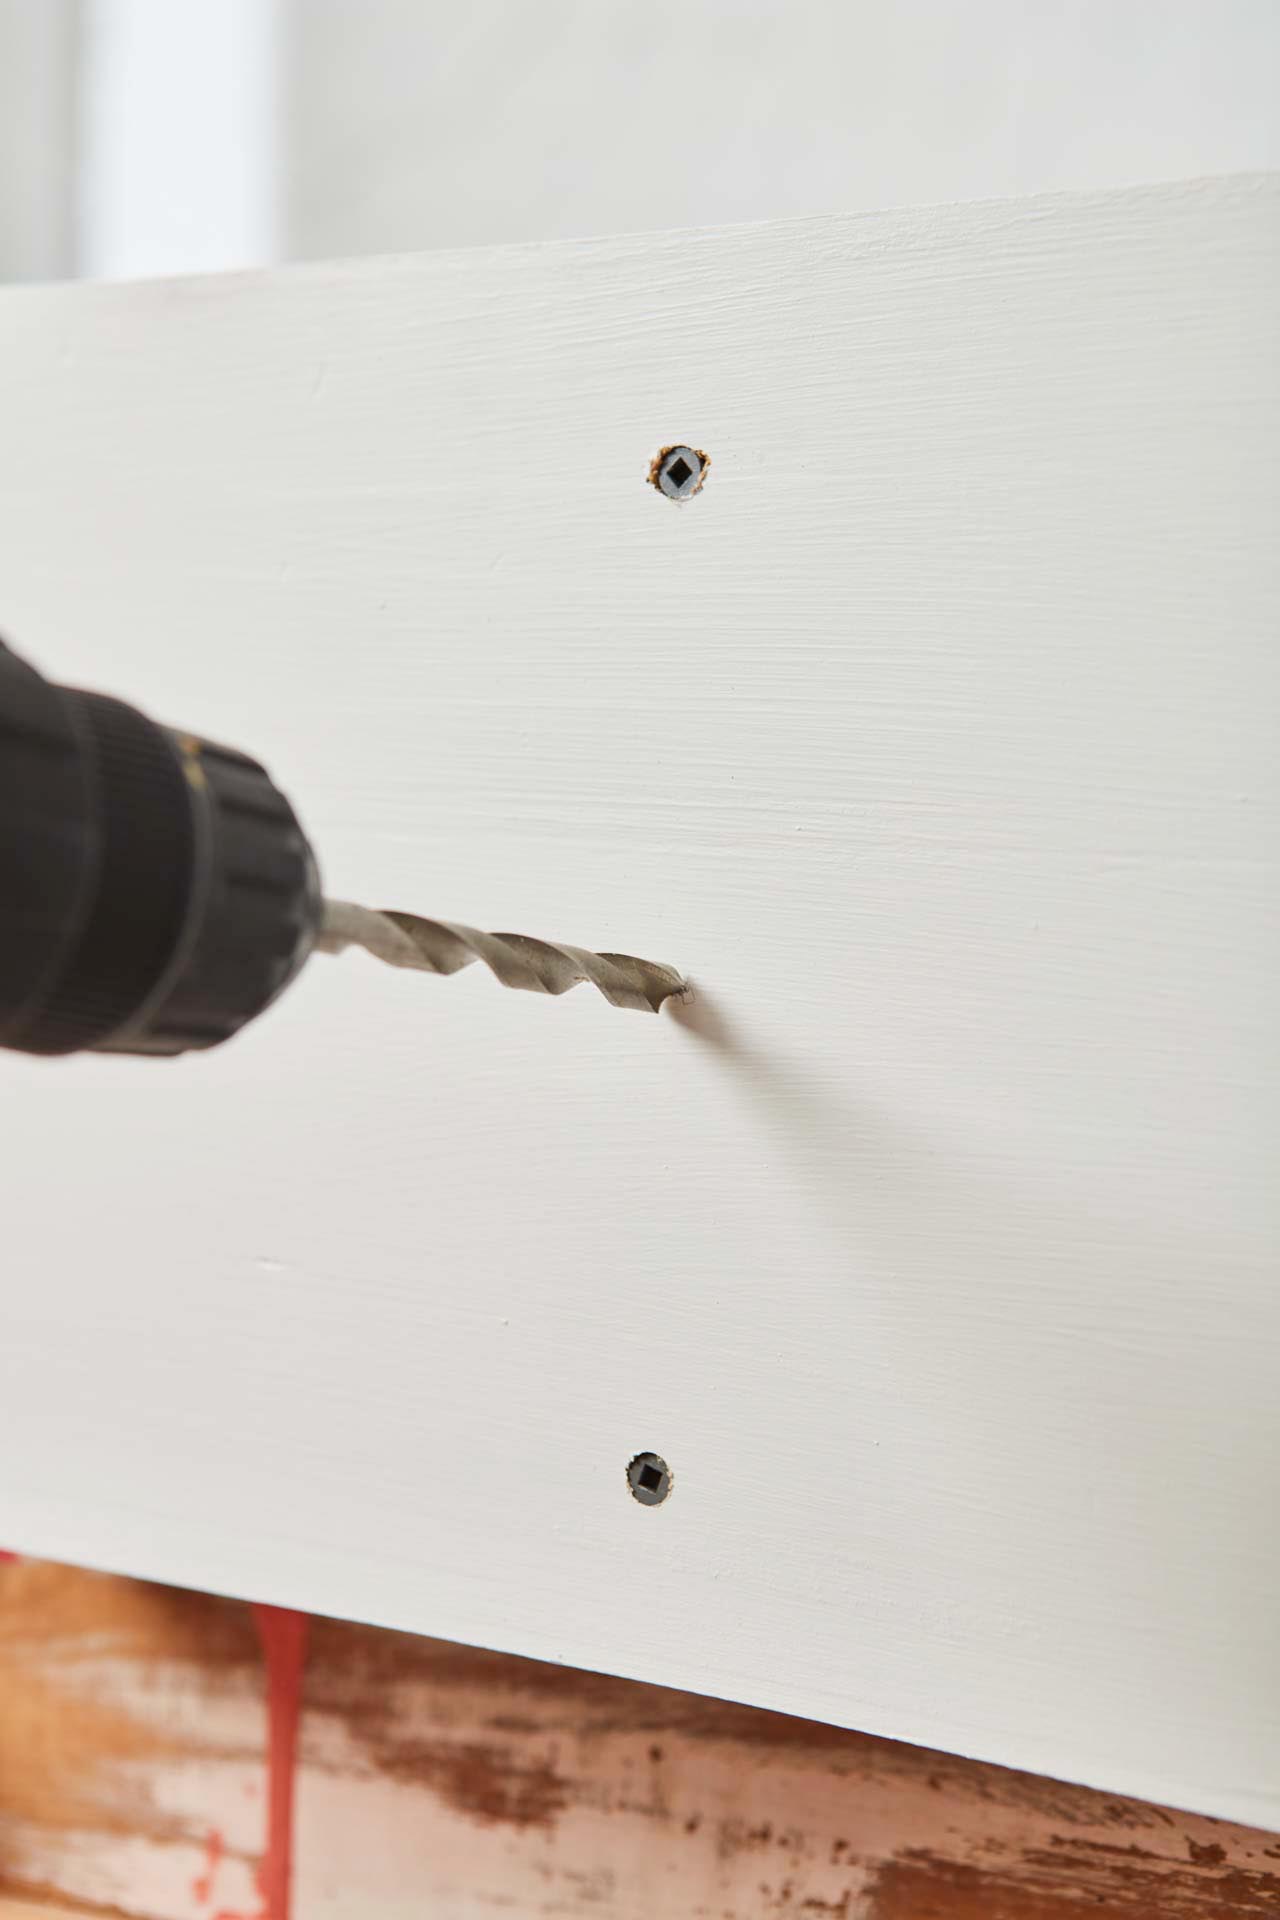
Step 11
Mark points for screws to hold the shelf in place. We also recommend using liquid glue suitable for timber to make it extra secure. Drill holes and screw shelf in position.
Step 12
Use Resene EzyFill Quick to fill the screw holes, allow to dry and sand. Using a small brush, touch up the paint.
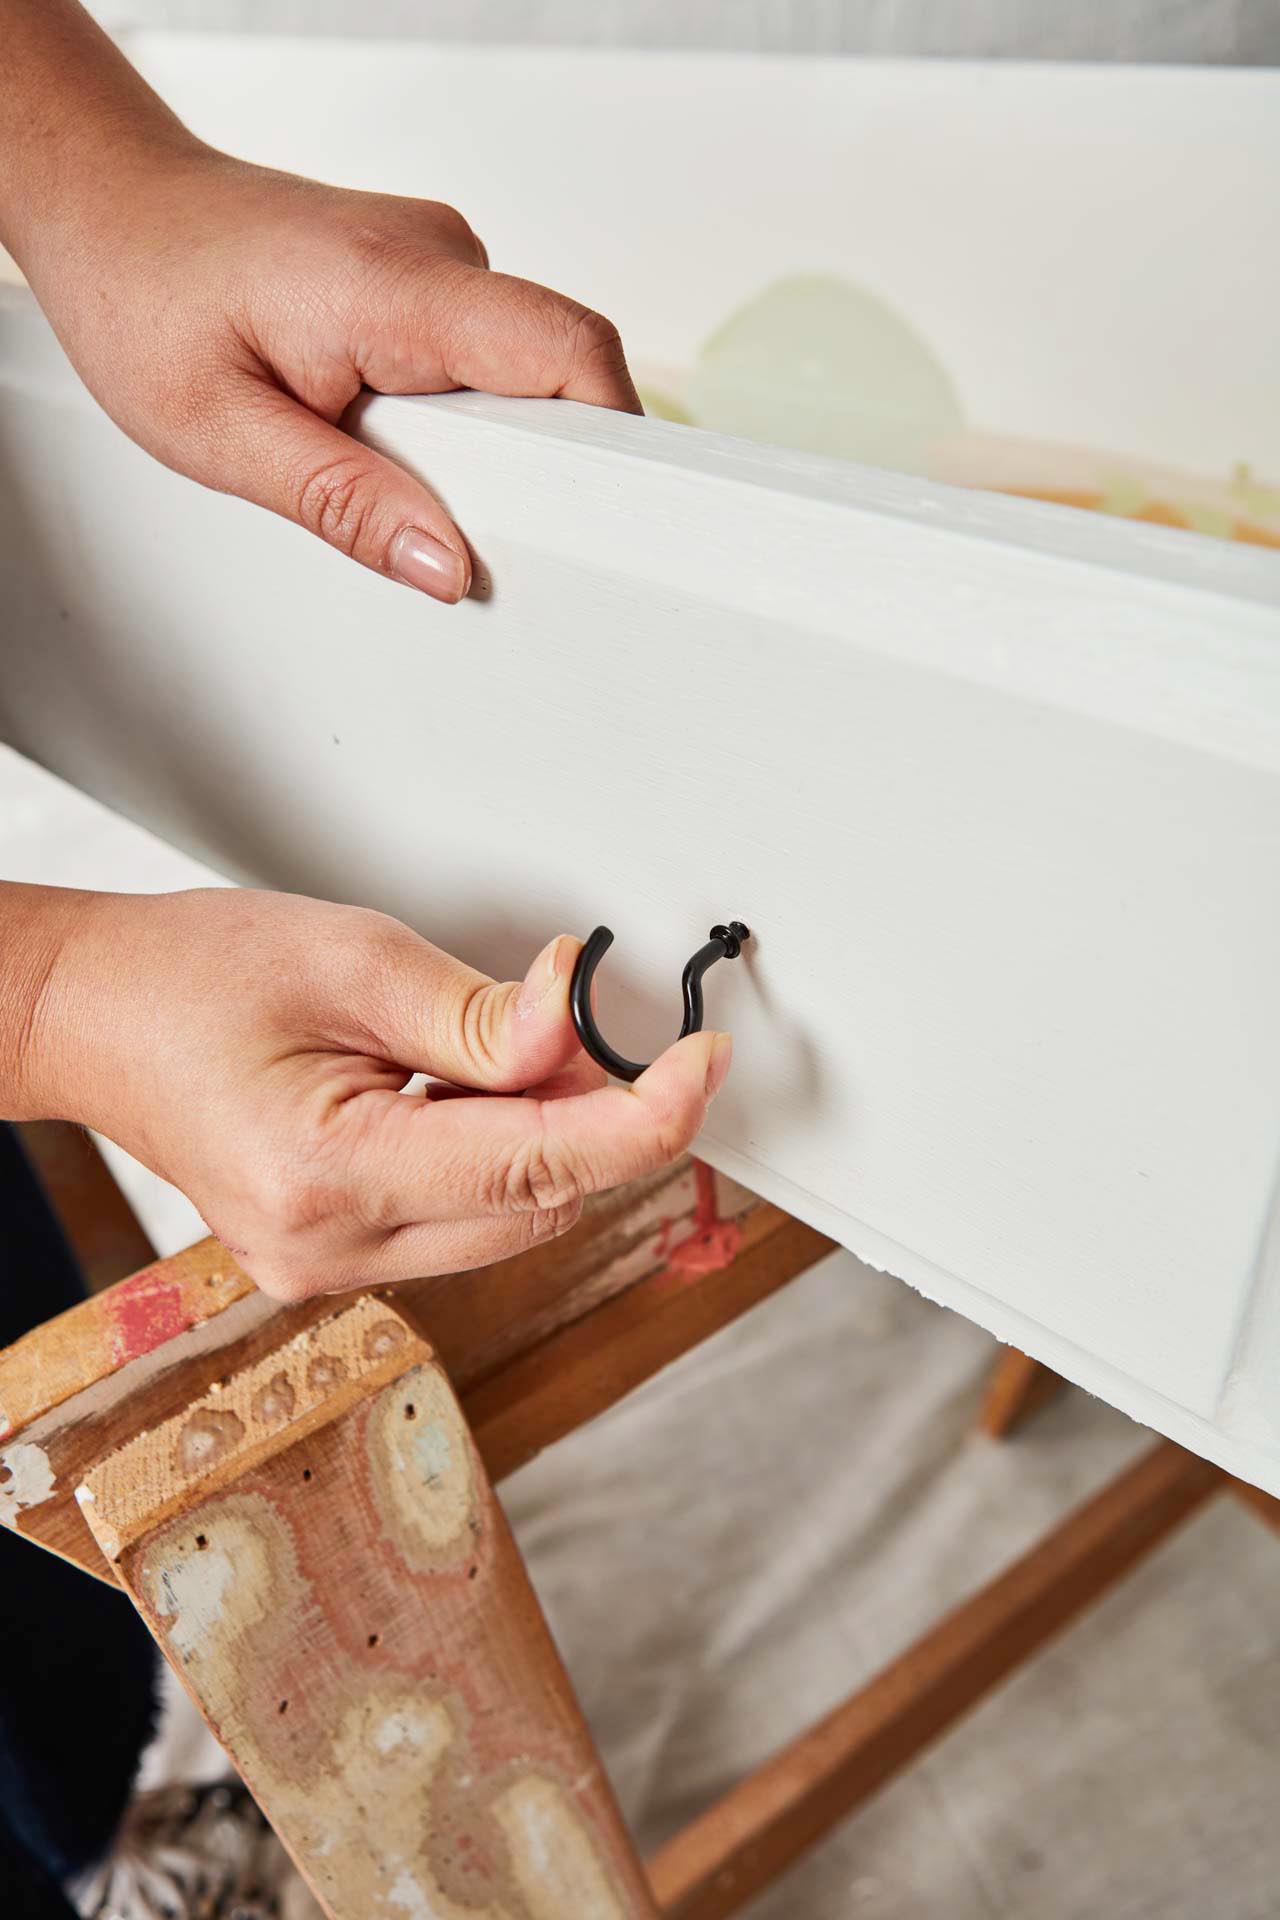
Step 13
If desired, add hooks to one of the drawers to hang cups – as above.
Step 14
Choose brackets that will hold the weight of the drawers, including anything you will store in them. We used flush mount hangers. L-shaped brackets are recommended for extra support.
For more project ideas and inspiration visit your Resene ColorShop
This article is sponsored by Resene