In the spring, at the end of the day, you should smell like dirt.” Yes please, Margaret Atwood! If her novel-turned-TV series The Handmaid’s Tale has proved to be too much of a slightly prophetic, depressing feminist dystopia for you, her command to pick up your trowel is an empowering reminder of how getting our hands
in the dirt is so good for us. Some of my happiest moments are those spent weeding, planting and mulching. At this time of year I usually stay outside until the light has disappeared and it’s just me, my wheelbarrow and tunes on my headphones – I have a fantasy where one of the neighbours compliments me on my lovely singing voice.
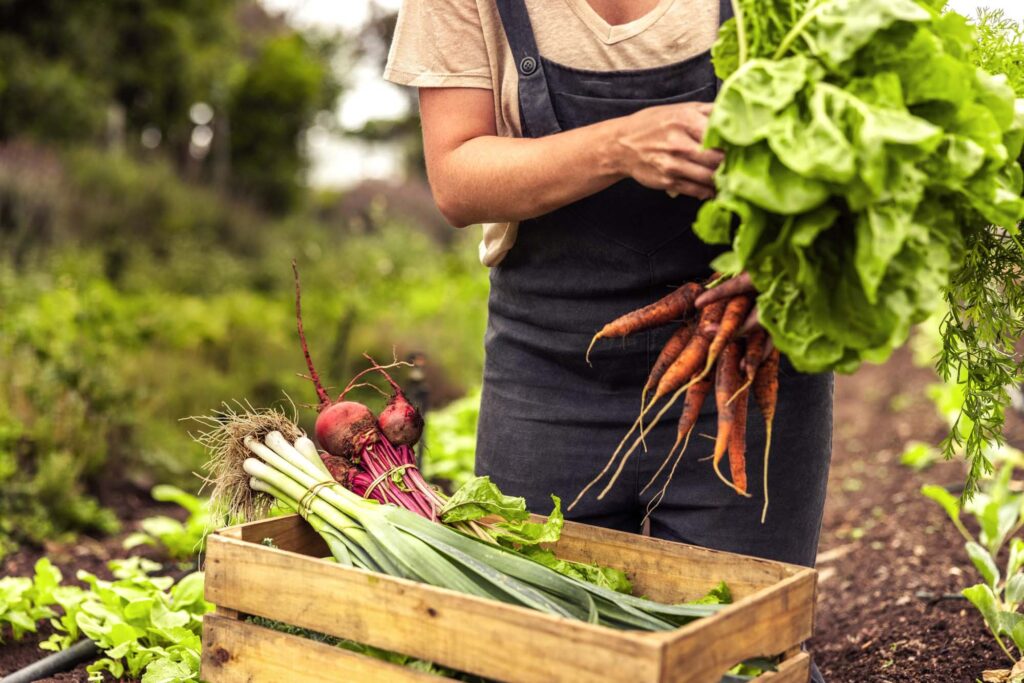
Spring in the garden is a joyful time of planning for food and flowers over the months to come. It’s always good to have something to look forward to, especially when it’s the anticipation of picking tomatoes, warm from the sun and smelling like freshly cut grass, or snacking on beans straight from the vine. And while it’s a bit of a privileged stretch to say that growing your own food will save you money, it’s definitely cheaper than therapy and is highly therapeutic – plus you get to eat your efforts.
Do Your Ground Work
Labour weekend is generally the “push play” button for planting summer crops. That’s because many of them require soil temperatures (as opposed to air temperature) to be above 16 degrees Celsius to get going. Beyond that date, any time after your last frost (hopefully Jack will notify you!) is the ideal time to get started. As for sunlight requirements, most vegetables require at least six to eight hours of sun
a day, so if you’re creating a new vegetable garden, make sure it’s in a sunny spot. If it gets any less, stick to leafy greens such as lettuces or silverbeet that will grow happily with four hours of sunlight.
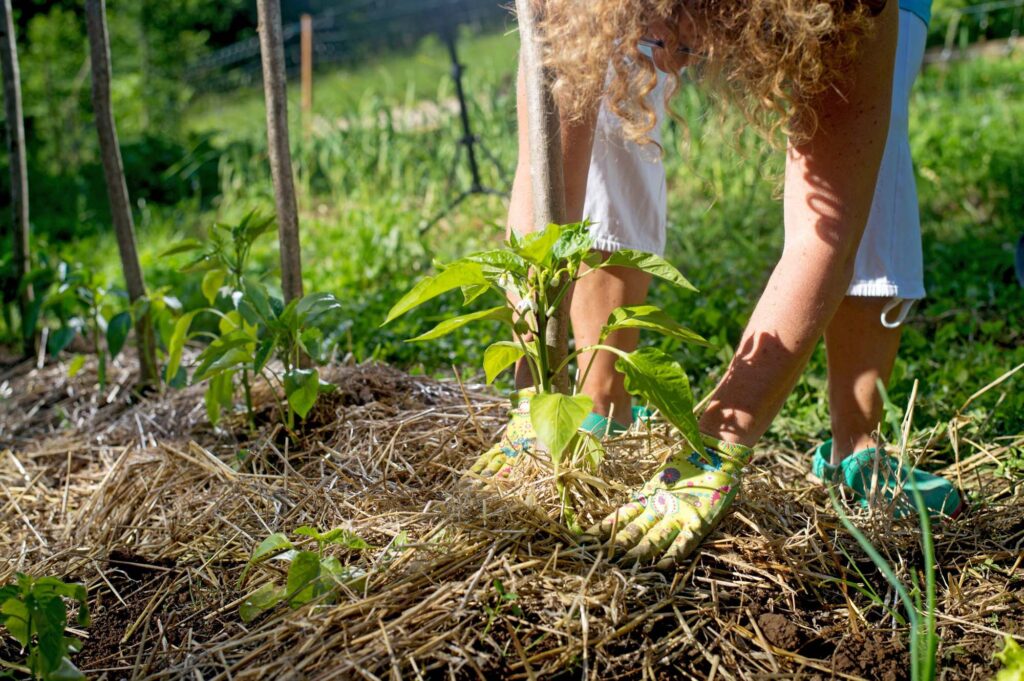
If planting into established garden beds, pile on compost and aged manure, such as sheep pellets, and you’re ready to plant. If you’re starting a garden from scratch, you can grow a decent vege garden from a freshly dug area of lawn. Scrape off the grass with a sharp spade (you can add the sods to your compost), loosen the soil with a garden fork, then add compost and well-aged manure such as sheep pellets.
If you don’t fancy digging, you can go “no dig” and create a “lasagne” garden. Mow the grass short, then put overlapping layers of wet cardboard or newspaper on top of your lawn to suppress growth. Add a layer of aged manure and compost, followed by mulch, such as straw or dead leaves, then another layer of compost. By this stage, your lasagne bed will be around 10-20cm deep. You can make pockets in the top layer and plant seedlings directly into it.
If you have heavy clay soil, raised beds are a good option. They’re not cheap though and can be expensive to fill, plus you generally need to top them up every year, as the soil compacts and settles over time. While compost is wonderful, keep in mind that it’s a soil conditioner rather than a growing medium. If you’re filling new raised beds, aim for two-thirds vege mix or potting mix to one-third compost.
If you’ve got quite a few beds to fill, it’s much cheaper to get a truckload of vege mix delivered than to buy individual bags of potting mix – even if you don’t use it all at once you can keep it in a shady spot or covered with a tarp until needed. Providing you remember to water them, most vegetables will grow happily in pots. If you’re gardening on a budget or want to grow heaps of food, drill holes in the bottom of plastic buckets. Some garden centres also have bins of old pots that you can take for free. Be sure to use a high- quality potting mix – you tend to get what you pay for. Look for options including sheep pellets or organic fertilisers.
Water Is Life
When it hasn’t rained, vege gardens need to be watered a couple of times a week, and pots should be watered daily or even twice a day during the hottest time of the year. Your plants will generally show you if they’re thirsty by looking a little wilted, but you can also put your fingers a few centimetres into the soil. If dirt doesn’t stick to them, it’s time to water. Always direct your hose or watering can at the roots of your plant rather than the leaves and take your time. Watering deeply encourages plants to put down deeper roots and makes them more resilient in hot weather compared to plants with a shallow root system.
Mulch Is Magic
Always add a layer of mulch around your crops to reduce evaporation and lock in moisture. Think of it as sunscreen for your soil. Pea straw is a popular option but you can also use a layer of compost, newspaper, a thin layer of grass clippings (too much will smell bad) or even weeds – just be sure to remove any flowers or seed heads. Always water your garden deeply before applying mulch so you’re not locking moisture out and keep it away from the stems of woody plants to avoid them rotting.
Grow What You Love
We love tomatoes so much that it was once thought they even incited feelings of love and lust in us – the French once called them pommes d’amour (apples of love). If you were going to grow a tomato of every variety available in Aotearoa, you could fill your garden exclusively with tomatoes and then some but the easiest type to grow are cherry tomatoes. They’re quicker to ripen and far less prone to problems such as splitting skin. And if there is one tomato to rule them all, it’s ‘Sweet 100’ – this cherry-sized tomato is the most prolific of the bunch and is available in red and yellow.
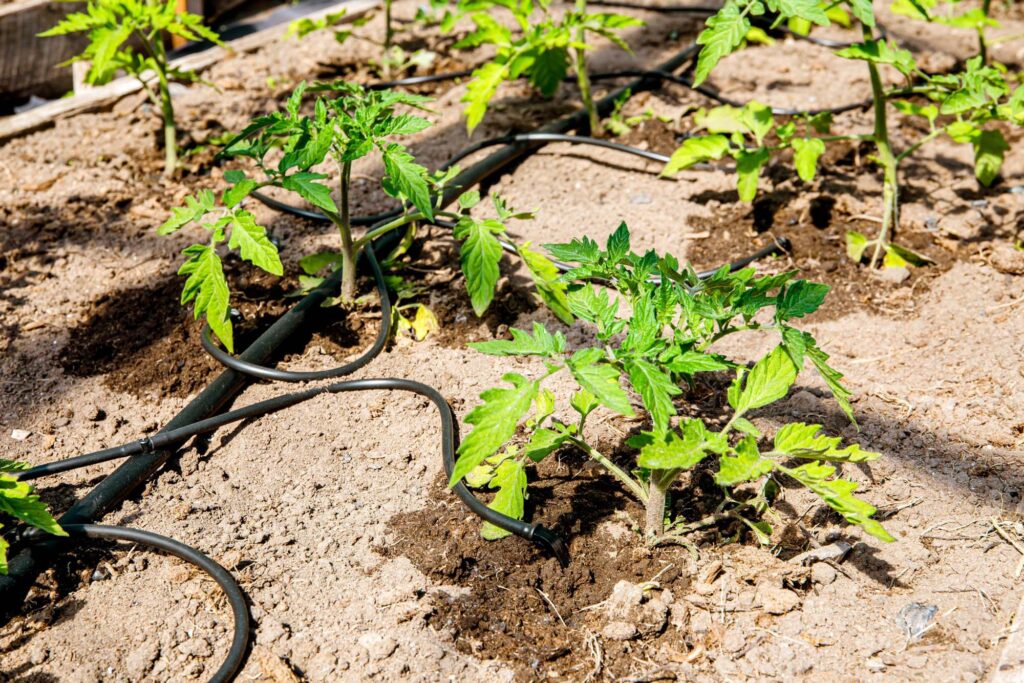
If you haven’t had much luck with tomatoes in the past, opt for grafted varieties where the part of the plant that produces fruit has been grafted onto a rootstock of a tomato variety known for its fast growth and resistance to disease. Tomatoes are susceptible to fungal diseases so make sure they have enough air flow around them and space them at least 1m apart. Don’t forget to stake them as well – it’s best to put supports such as a piece of bamboo in place when you’re planting them in case you damage the roots when you push in a stake later.
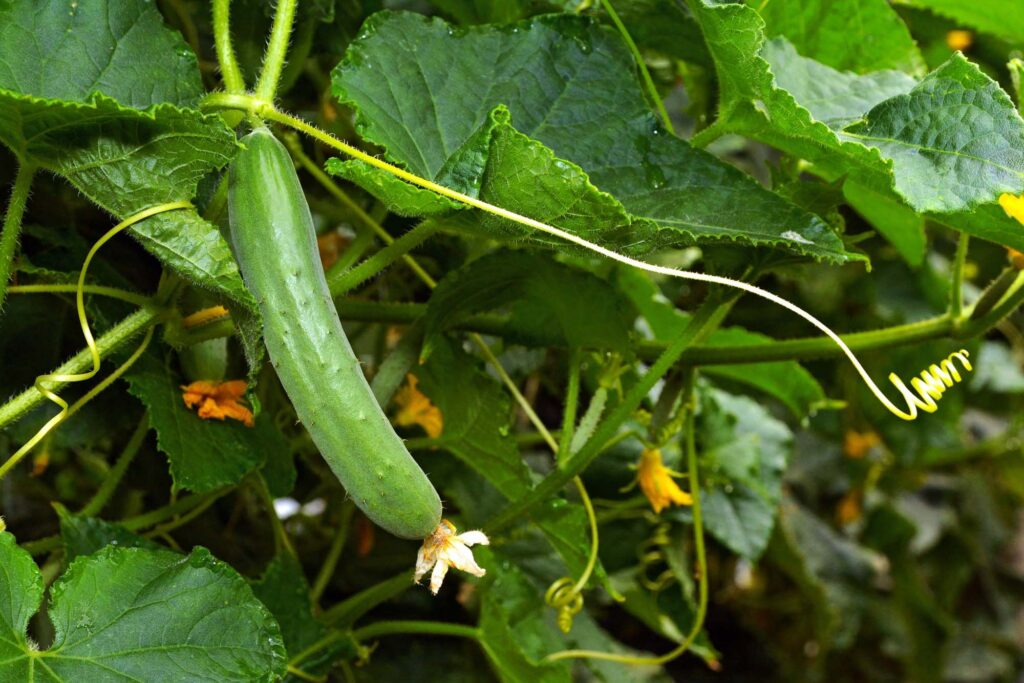
One of the biggest wins with growing your own cucumber is that you’re bypassing the plastic-wrapped supermarket version. Cucumbers need something to climb – I grow mine up a piece of reinforcing mesh that we got at our local recycling centre, but you can also buy pieces of it from hardware stores. Or rig up some bamboo and string. Cucumbers are a hungry crop, so give them your best homemade compost if possible and also work some blood and bone into the soil before planting them. Usually two plants are enough for a household (I came home from holiday once and harvested 17!) but if you want them for pickling, plant at least five or six. ‘Homemade Pickles’ is an heirloom variety that is ideal for – you guessed it – making pickles. You can even grow cucumbers in pots. ‘Spacemaster’ and ‘Iznik Mini’ are good compact options for containers.
Once cucumbers set fruit, keep picking them so they keep producing cucurbits, but often these vegetables stress out the most relaxed gardener because once they start producing, it can be hard to keep up with harvesting them. And if you don’t pick them when they’re the perfect eating size, they turn into watery marrows! So just plant one or two – and make friends with your neighbours. You can dip the flowers in batter, deep fry them and stuff them with ricotta and herbs.
There are beans and then there are freshly picked beans. Once you grow your own beans you’ll never want to buy store-bought beans again, plus they’re one of the most trouble-free crops to grow. You can sow the large seeds direct, around 2-3cm deep, or start them off in containers and transplant them if slugs and snails are a threat. Climbing beans can crop for up to three months whereas dwarf beans, which are a great option for pots, generally produce a prolific crop over a month. Climbing beans need something to climb (and some dwarf varieties do better with staking too). I grow climbing beans over an archway we made out of the kids’ old trampoline frame and wire mesh. Whereas most beans are annuals, completing their life cycle
in one year, ‘Scarlet Runners’ are perennials and will pop up the following year. Beyond your regular green beans, there are some beauties to choose from, including royal-coloured ‘Purple King’ and ‘Fire Tongue Dwarf’, which produces cream and pink marbled-looking beans that can be eaten whole when young or left to dry, then shelled.
Add to Your List
Other crops you can plant in late spring and early summer include corn, beetroot, broccoli, cabbages, cauliflowers, pumpkins, lettuces, radishes, yams, kūmara, watermelons and eggplants (these final three in warmer areas only). l Don’t forget to plant herbs such as basil, chives and lemon balm right now. l And remember to plant some flowers – they’re a magnet for pollinators, which will then pollinate your vegetables. Plant marigolds, borage, cosmos, calendulas, zinnias and snapdragons.