These fun dyeing techniques make for the perfect Easter crafts. Round up the kids and have a fun craft-filled afternoon.
1 Long lasting
If you want eggs to last for only a few days, hard-boil them before dyeing and decorating. Discard any that crack.
2 Blowing out
Blowing out eggs makes them more fragile, but they’ll keep longer.
Make a hole at each end of a fresh egg using pins or a paring knife, ensuring that one hole is larger than the other.
Poke some wire into the larger hole and move it around to loosen the contents.
Hold the egg over a bowl, with the larger hole facing down.
Gently blow into the smaller hole until the egg is empty.
Rinse with soapy water, and dry completely.
3 Dyeing techniques
To dye the eggs, mix 10-20 drops of food colouring (depending on the colour intensity you want) to one cup of boiling water.
To make the dye more colourfast, add two tablespoons of white vinegar.
Soak the eggs for 5-10 minutes.
Top tip
The longer you leave them, the deeper the colour. Use egg cartons as drying racks.
4 Special effects
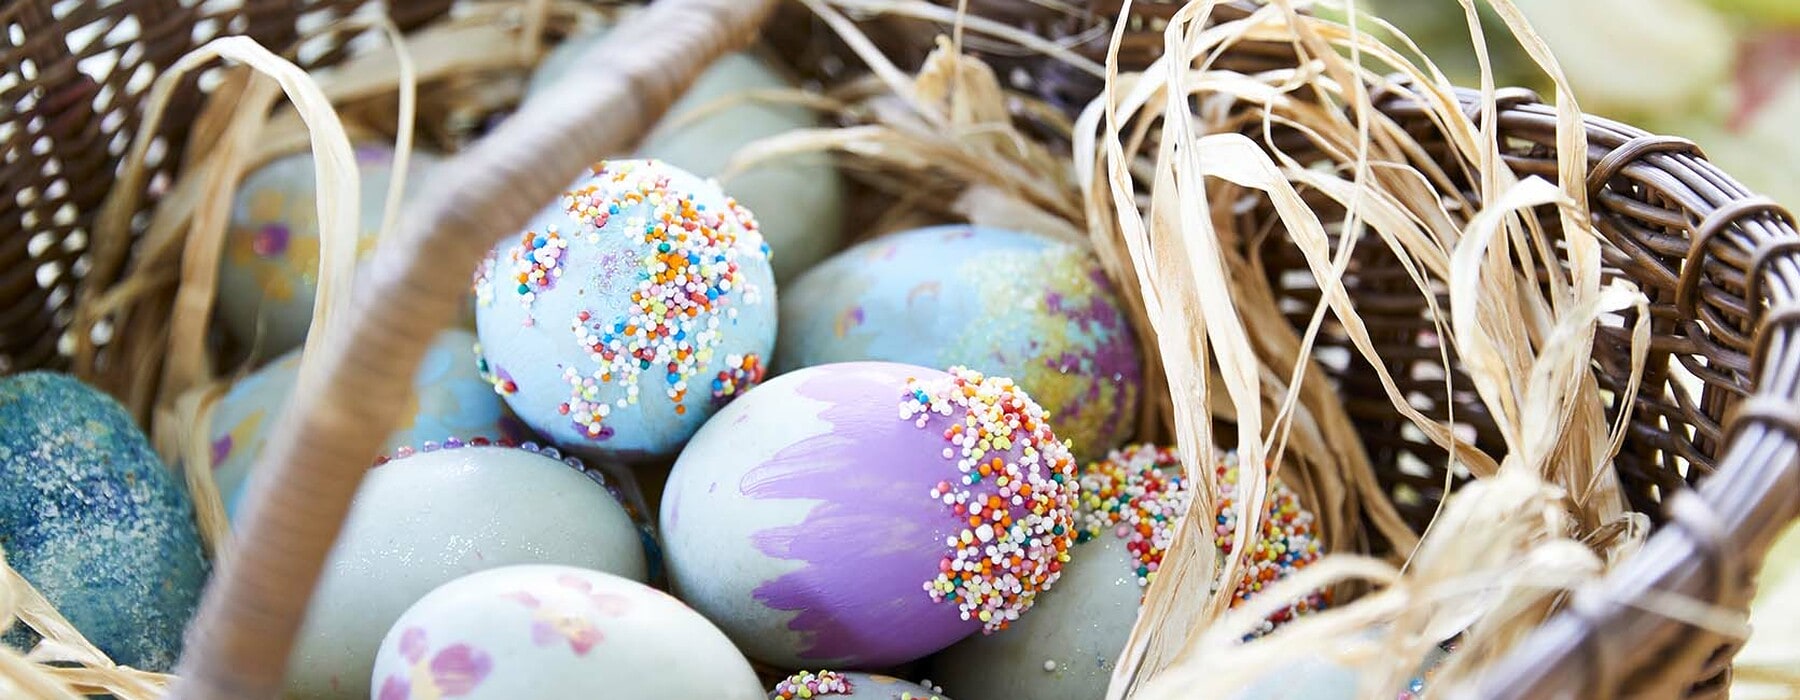
Play around with marbling, two-tone effects, paint spatters, beads, glitter, pom-poms, dried flowers… Use a variety of paint brushes and sponges.
5 Finishing touches
To get sprinkles, jelly crystals, coloured sugar crystals and other sweet treats to stick to your eggs, mix two parts water to one part white granulated sugar and reduce over a medium heat until just before boiling point. Add a little more sugar if the solution is too runny. It should resemble clear liquid glue.

