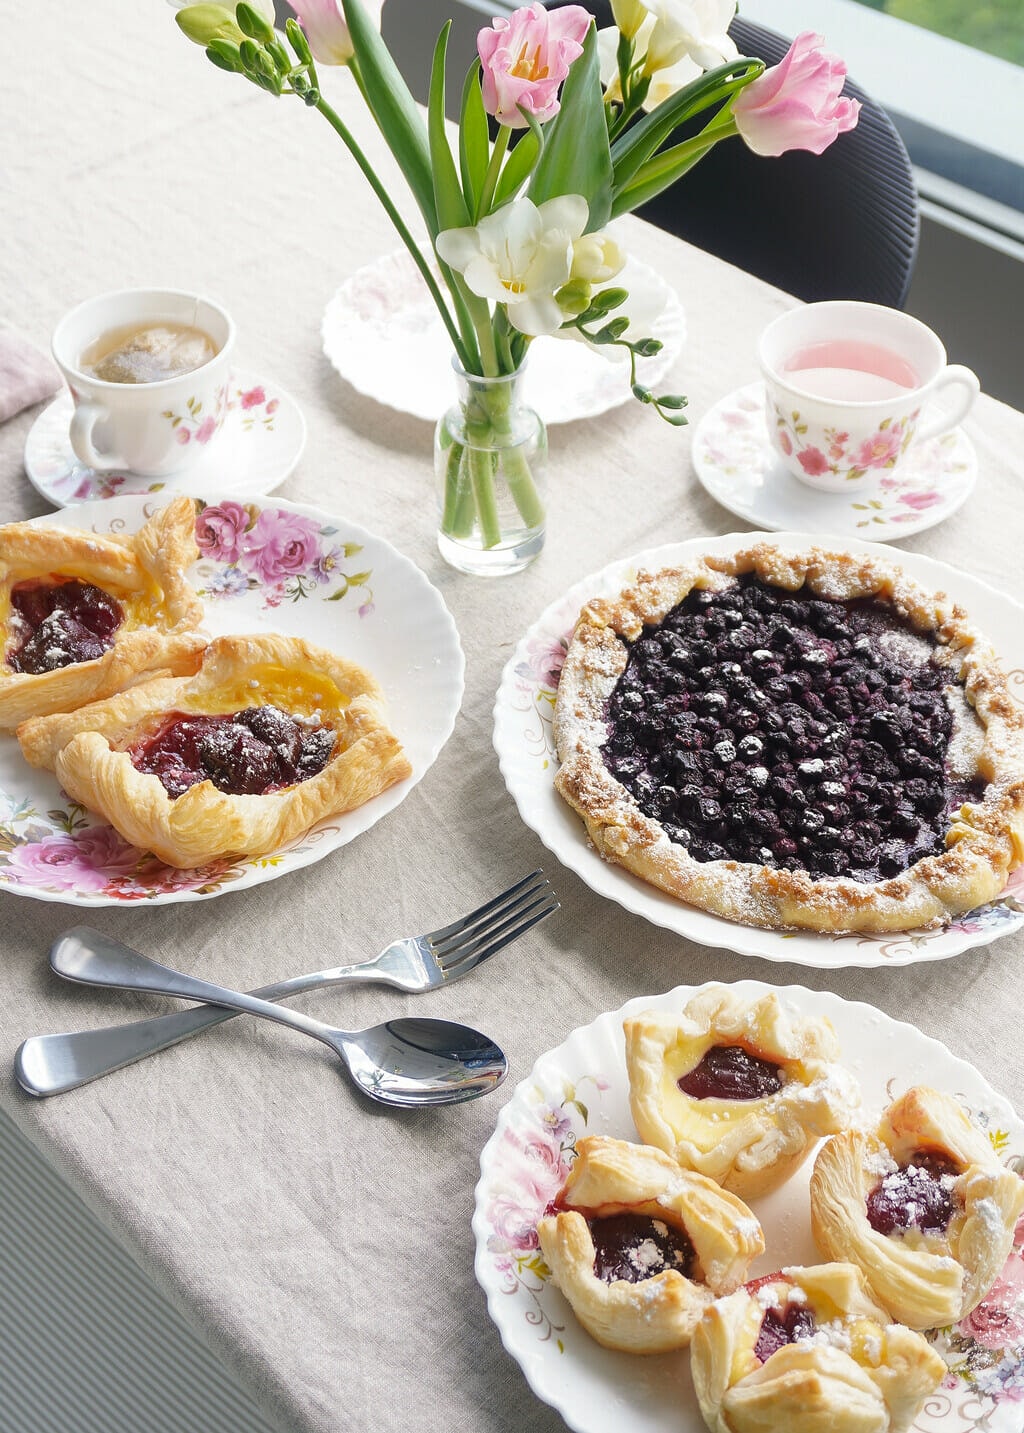
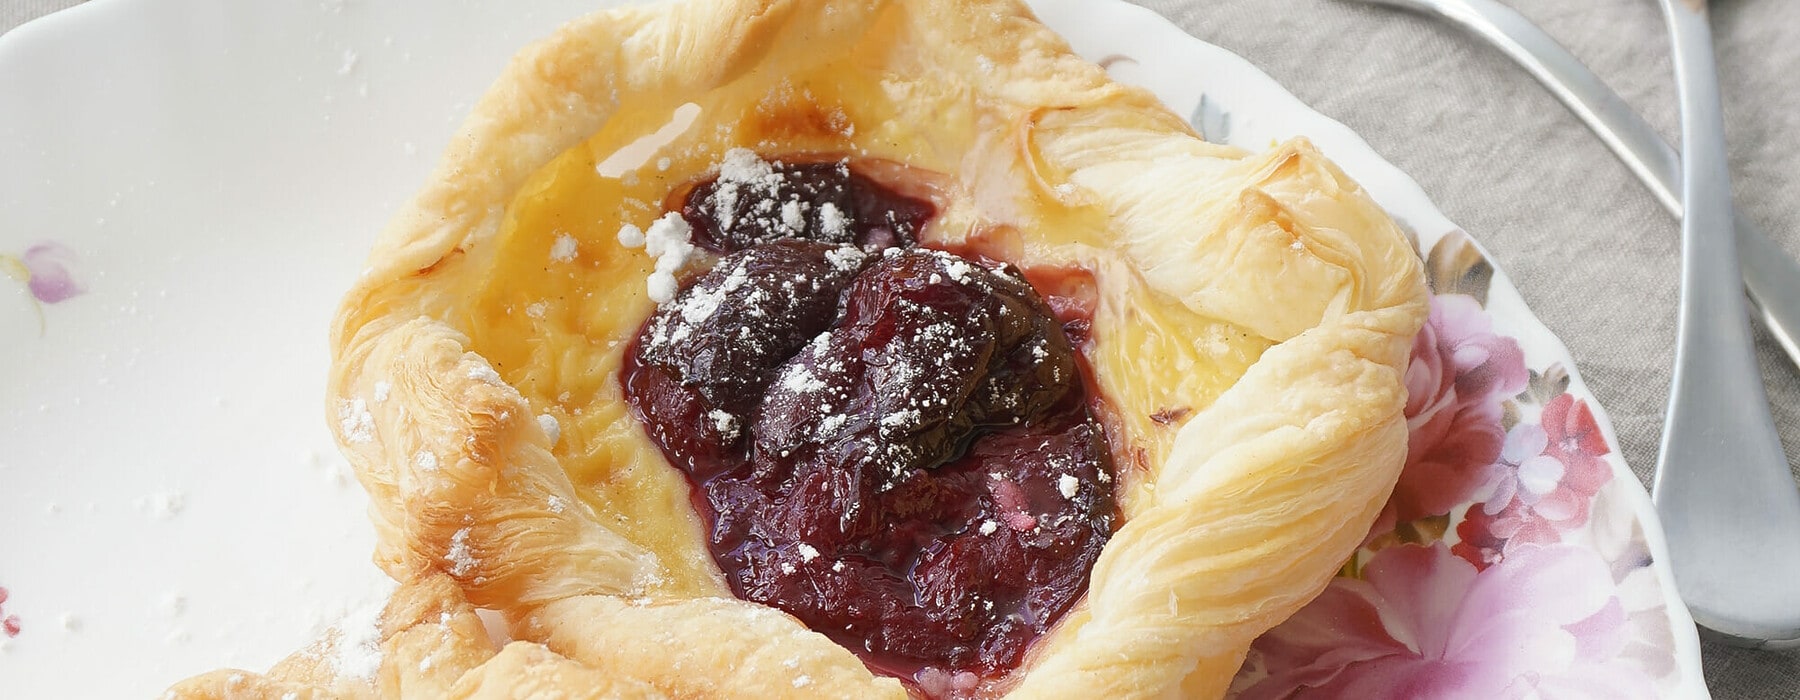
I don’t remember a time in my life before my love affair with pastries began. There was no significant moment where I remember eating my first apricot Danish or almond croissant but it forever changed my perspective on baking. The delicate richness paired with a crunch on every layer felt more exquisite when doused in pastry cream and fruit. The plum Danish will forever be a favourite of mine. Similar to that of an apricot Danish, but with a winter spice melancholy that leaves you feening for a mug of mulled wine. One would argue that this sort of culinary genius should be harder to make and it definitely has a reputation for being challenging, but today, we are turning the leaf on puff pastry. I will forever have store-bought puff pastry in my freezer at all times for any emergency but the comparison is something like homemade bread – the initial satisfaction is the same, but it won’t leave your house smelling like a warm cuddle.

Puff pastry begins with flour, butter, water and a concept called laminations. There is a rough puff version that is specifically catered towards sausage rolls and pies, but I like to take the time and attention for the full puff pastry when working with delicate Danishes. The basis is, you are laminating layers and layers of butter in between layers and layers of flour – leaving you with wafer-thin pastry sheets that puff up ever so delicately, providing full mouth satisfaction. Though a few small scraps might fall from the corners of your mouth as you crunch down on its flakey goodness, I can promise you that there will never be any leftovers.
The most important thing when making puff pastry is to always keep it cold. When the layers of butter start to melt and fold into the flour, that’s when you will lose the puff – and it can be hard to come back from. The recipe below provides the most indulgent pastry experience but does require a little pre-planning. This is something I would start 3 days before required – but I promise it will only take about an hour or two of work.
Ingredients
- 390g all purpose flour
- 5g of salt – about a pinch
- 90g unsalted butter (very cold)
- 210ml water (very cold)
- 300g unsalted butter (softened)
Method

My preferred method will always be to make this by hand. It allows for a delicate forming of ingredients – but a food processor will save you a lot of time.
Either way, the first step is to sift the flour into a large bowl, and add the salt. Dice the cold butter into small cubes and smoosh into the flour. You don’t want to turn this into shortbread, so don’t take it as far as a bread crumb consistency. Rather, smoosh each butter cube within the flour to incorporate, but its best left ‘chunky.’
If doing by hand, make a well in the center and add all your cold water at once. Using a spatula, slowly drag the flour to the water and mix until fully incorporated. You are looking for a sticky and shaggy dough that still shows the butter pieces spread throughout.
If using a food processor, you are going to see finer pieces of butter spread through your flour. It’s important not to overmix at this point, otherwise, you can lose the light and flaky nature of your pastry. Slowly drizzle in your water. Turn the machine off as soon as the dough forms and nothing is stuck around the sides.
The pastry is now ‘made’ and this is where the laminations occur. Turn your dough out onto a very lightly floured surface – you always want to eyeball how much flour you are adding to your dough as it will increase the gluten content and can make it more stodgy. Knead the dough into a rough ball. Wrap and chill overnight.

Hot Tip: I highly recommend investing in a dough scraper for your baking activities. While commonly used for bread, this tool will take away all the excess flour and butter from your bench, better than any paper towel or bench scrub can do – and without the mess. It is a very inexpensive addition to your kitchen, and I promise you’ll be thanking me later.
Prepare your softened butter by placing it between two sheets of cling film. Roll out with a rolling pin into a rectangle about 12 x 20cm. You want to achieve roughly similar consistency between the butter and the dough. If you find your dough is going to be harder than your butter, leave it out on the bench to freshen while you prepare the butter rectangle.
Next, roll out your dough onto a lightly floured bench top. You want to have one long rectangle here. Shake off any excess flour.
Remove the cling film and place the butter rectangle in the center of your dough rectangle. Fold the dough on top of the butter, enclosing it completely. None of the butter should be exposed.
Continue to roll it out and then fold the dough in thirds, like a business letter. Rotate the dough so it is now longer in length than width and roll out again. This is the process of laminations – folding the butter in between the pastry.
Wrap and put back in the fridge for 30 minutes. Every 30 minutes, remove the pastry from the fridge, roll out again, and fold back into a business letter shape.
Rotate, roll slightly, and refrigerate. You want to complete this process 5 times. Once all the laminations are complete, cover the dough and chill overnight before using. Bake as required.
Though this process may feel long and windy, it is extremely simple to do while cooking other meals. I simply roll out, fold like a business card, roll out and fold again, place in the fridge to chill for 30 minutes and continue working on other tasks. It is this lengthy process that gives puff pastry the reputation for being extremely challenging, but working with cold butter and a handy dough scraper will make this process fairly painless.


