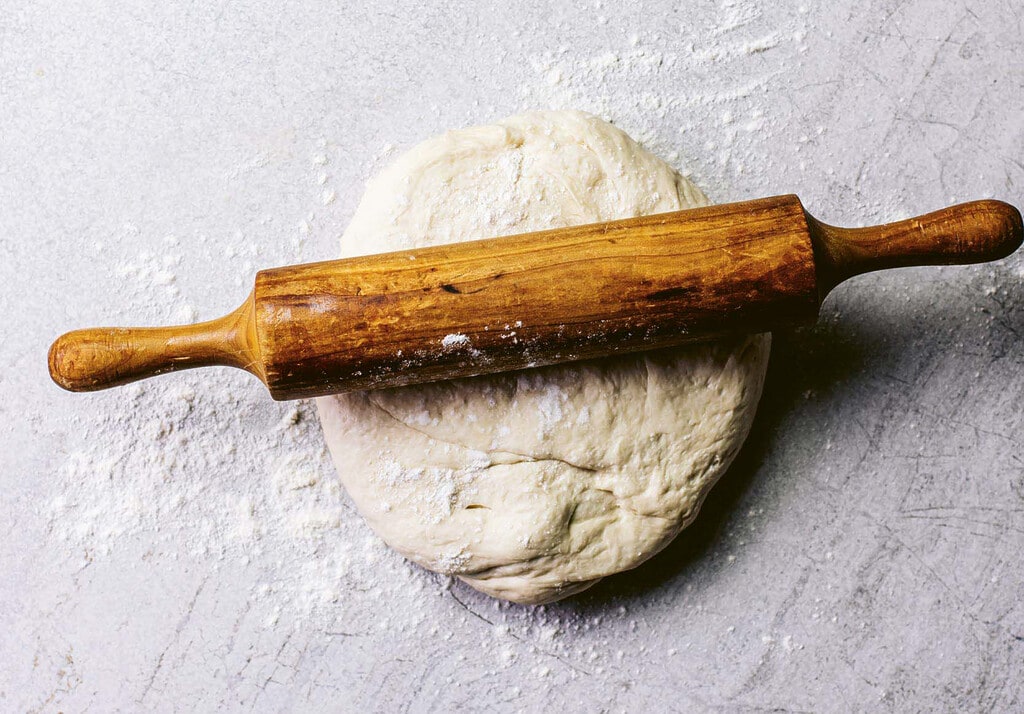
Here is a simple and versatile recipe for basic yeast dough that can be used for all manner of things from pizza bases to fry bread.
Basic Yeast Dough
1 sachet (8g) instant yeast, or 2 tbsp active yeast
2 cups warm water
4 cups high-grade or bread flour
2 tsp salt
4 tbsp white sugar
Flour for kneading
1. If using active yeast, combine with the warm water in a medium bowl, cover and leave aside for 5-10 minutes. If using instant yeast, you can skip this step and the yeast goes straight in with the flour as follows.
2. Place the flour into a large mixing bowl, add salt and sugar and mix to combine. Make a well in the centre and add the instant yeast, if using, and slowly pour in the warm water, mixing to combine. If using active yeast, pour in the yeast and water mixture in the same way.
3. Turn out onto a floured bench, and fold together gently with your hands, being careful not to over-mix. Lumps are fine, just make sure there are no big clumps of dry flour left. Add a little more water if required, kneading gently until you have a soft, pliable, non-sticky dough.
4. Return the dough to the bowl, cover with a lid/dinner plate/damp tea towel and leave somewhere warm to prove for 45 minutes to 1 hour, or until doubled in size.
Aunty’s Fry Bread
Makes: 24
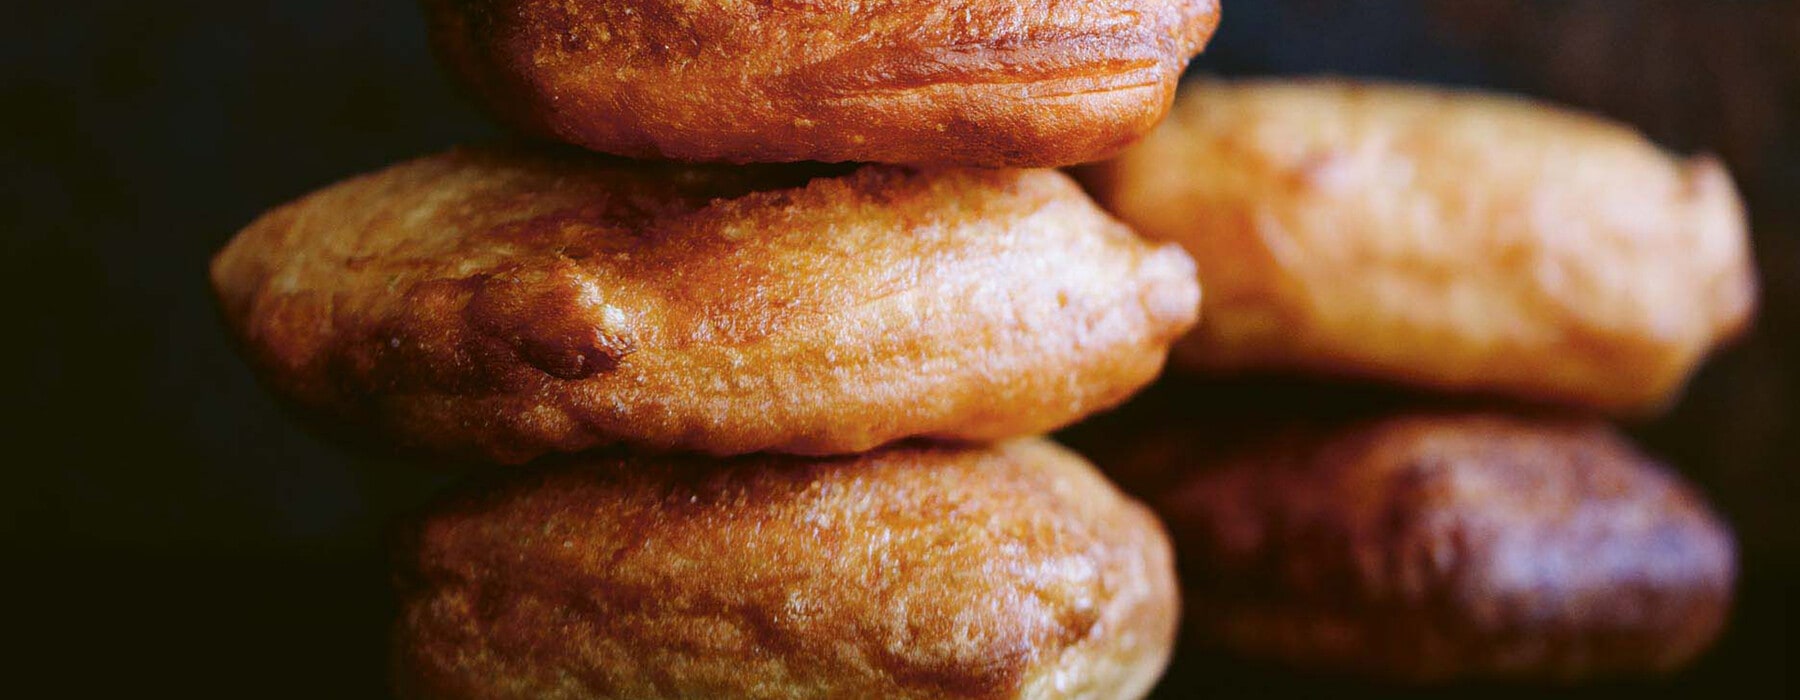
Fry bread is a staple in our whānau, and there’s bound to be someone selling them at a food market near you. Essentially it’s just a yeast dough fried in oil, and I know many cultures have their unique variations on it. Fry bread is exactly what it sounds like. Fry some dough in oil or fat and you get fry bread. Luscious, soft pillows of bread, with a beautiful golden shell, ready to be dipped in soup, or ripped open and slathered with butter.
1 basic yeast dough recipe (above)
Neutral oil with high smoke point for deep frying such as canola or rice bran
1. Make basic yeast dough. Once the dough has doubled in size, punch down the dough and remove it from the bowl onto a lightly floured or oiled bench. The flour or oil is just to prevent sticking. I prefer to use the “ways of the aunties” and use oil, as any excess dry flour on the dough can burn when you come to fry it – and these burnt fragments can also remain in the cooking oil and ruin it.
2. Roll out to about a 1-2cm thickness, and cut into your desired shapes: I suggest 5 x 5cm squares. Create some room between each, as they will keep rising. Cover the dough with cling film or baking paper and leave to prove and plump up on the bench for another 20-30 minutes.
3. Heat a medium pot or deep frying pan of oil over a medium heat, or alternatively you can use a deep-fryer. You don’t want the oil too hot (if you have a thermometer, 180°C is good), or the fry bread will brown before it is properly cooked inside. If you don’t have a cooking thermometer to test when the oil is ready, dip the handle of a wooden spoon or a chopstick into the oil. If the oil starts steadily bubbling, then the oil is hot enough for frying. If the oil bubbles very vigorously, it is too hot, and you’ll need to turn the heat down. If no or very few bubbles pop up, then it’s not hot enough.
4. Fry the dough shapes in the oil, 4 or 5 at a time, allowing each fry bread to become golden and puffy before turning over to cook the other side (about 1-2 minutes per side). Once cooked, remove from the oil with a slotted spoon or mesh scoop, and drain on a wire rack or paper towel-lined tray. Leave to cool for 5 minutes before eating (if you can!).
5. Serve with soup or stew, filled with creamed pāua or chowder, or eat like scones – cut open and layered with your favourite toppings. Or, simply eat as is. Reka!


